

Hardware components | ||||||
_ztBMuBhMHo.jpg?auto=compress%2Cformat&w=48&h=48&fit=fill&bg=ffffff) |
| × | 1 | |||
| × | 1 | ||||
| × | 1 | ||||
 |
| × | 1 | |||
 |
| × | 6 | |||
Software apps and online services | ||||||
 |
| |||||
| ||||||
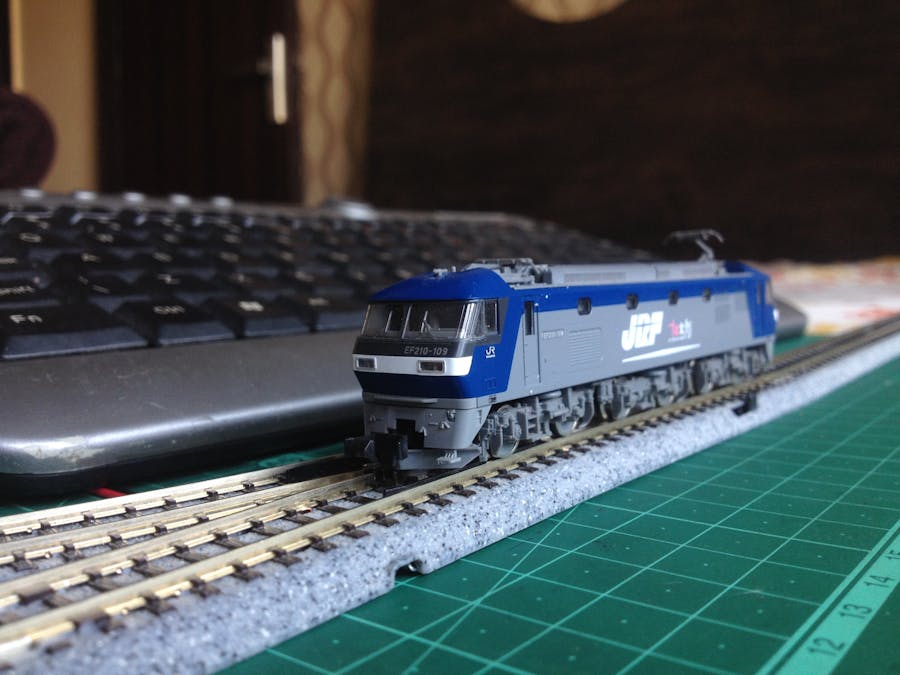
In one of my previous tutorials, I showed you how you can control your model train with your TV remote. In this tutorial, I will show you how to control a model train layout with a keyboard through a computer using Processing. So, let's get started!
Step 1: Get All the Stuff!So, before starting with the build, make sure you have all of these;
Any Arduino board compatible with Adafruit motor driver shield(V1)
An Adafruit motor driver shield(V1)
A crosshead screwdriver
3 pairs of male to male jumper wires(2 pairs for the turnouts and the third one for the power feeder track)
A power feeder track
2 turnout tracks(you can add as many as you want by modifying the Arduino and processing code)
A 12 volt DC power supply(Current capacity of at least 1000mA or 1A)
A suitable USB cable to connect your Arduino board to a computer
An external keyboard (Optional)
Step 2: Get the Arduino Code and Upload It to Your BoardMake sure you have the Adafruit motor shield library installed in your computer.
Step 3: Plug on the Motor Driver Shield to Your BoardMake sure the pins of the motor driver board are aligned correctly with the headers of the Arduino board.
Get your tracks and set up your model railway layout.
Make sure no wiring connections are loose.
Use a rerailer to ensure all of the wheels of the locomotive and the rolling stock sit perfectly on the tracks to prevent derailments.
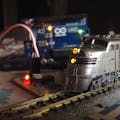
Wait! before powering up your setup make sure there are no loose connections, faulty components or derailed rolling stock or locomotive(s).
Step 10: Connect the Arduino Board to the Computer Via USBDownload the Processing IDE from here. Download the given code and open it in the IDE.
Step 12: Test Your LayoutFeel free to add more features to this layout by altering the codes, adding more turnouts and motor drivers. It's all up to you. I hope you will enjoy making this project. All the best for your build!


Comments