


Hardware components | ||||||
 |
| × | 1 | |||
 |
| × | 1 | |||
_ztBMuBhMHo.jpg?auto=compress%2Cformat&w=48&h=48&fit=fill&bg=ffffff) |
| × | 1 | |||
|
| × | 1 | |||
Software apps and online services | ||||||
 |
| |||||
Hey techies, we are back with another new post on nodemcu. In this article, we are going to set up the Nodemcu with Arduino IDE software. You can give the commands to the nodemcu in two different ways, one is by AT command and another is through the Arduino Ide. We are going to discuss the second method in detail. The setup is lengthy we need to add the board and libraries but don't worry we are here to guide you. Just follow the given steps carefully and try to minimize all the errors. For more information regarding this tutorial nodemcu setup on Arduino please visit our website TECHATRONIC.COM as all my further projects and tutorials will be pre-uploaded there.
Basically nodemcu is a microcontroller with built-in wifi. It belongs to the family of ESP boards. Let's discuss some of its properties that make it an awesome microcontroller board for developers. It has 16 GPIO pins which can be used as input either output pins. It also supports the UART, I2C, and SPI protocols that can be controlled by the Arduino IDE. This is the pin diagram of the nodemcu board.
Step 1
Download Arduino IDE software on your PC and install it properly.
Step 2
Open the software and click on the left upper corner ” file” option then click on the preference. Click on the preference and paste the link that we are sharing in the next step.
Step 3:-
Paste the given link into the additional board manager URL.
http://arduino.esp8266.com/stable/package_esp8266com_index.json
Step 4:-
This is the last step in which you have to go to the tools from the given option. Click on the board where arduino/genuino uno and select the board manager to add the board in App.
Step 5:-
Write esp8266 in the search and install the board to the software.
Step:6-
Now choose the board as mentioned in the screenshot below.
Step 7:-
Select the system port in which the nodemcu is connected.
Now, you can check again and Upload an example code to the nodemcu, you need to connect nodemcu with the USB cable to the pc and upload the code by following the above-given instructions.
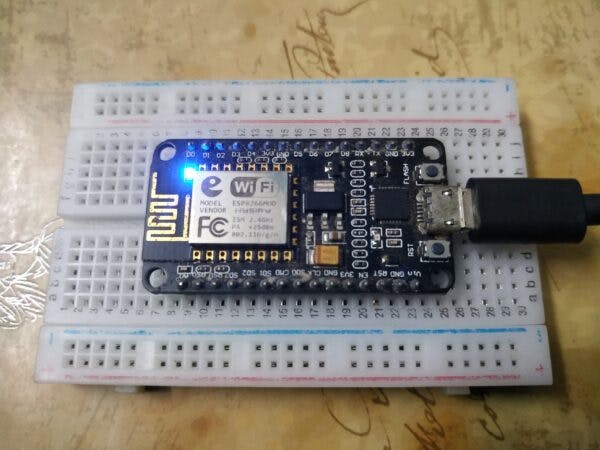
Now after successfully uploading the code a blue color light will start blinking in the Nodemcu. for further information, you can refer to our full post - click here
Thanks for reading.


Comments
Please log in or sign up to comment.