Some months ago I did a IoT project posted on Hackster, ESP32 Solar Weather Station.
I decided to apply for the ESP8266 IoT Contest - Simplify the Connected World. However one of the rules was to use the mydevices platform. After some research, I discover that (at the current date) the microcontroller that I was using was not supported. I did several attempts but I could not make the code work.
The solution, use the ESP8266MOD ESP12 that I had laying around.
SensorAll the physic parameters are given by the BME280 sensor. Also check the wiki page for some more info.
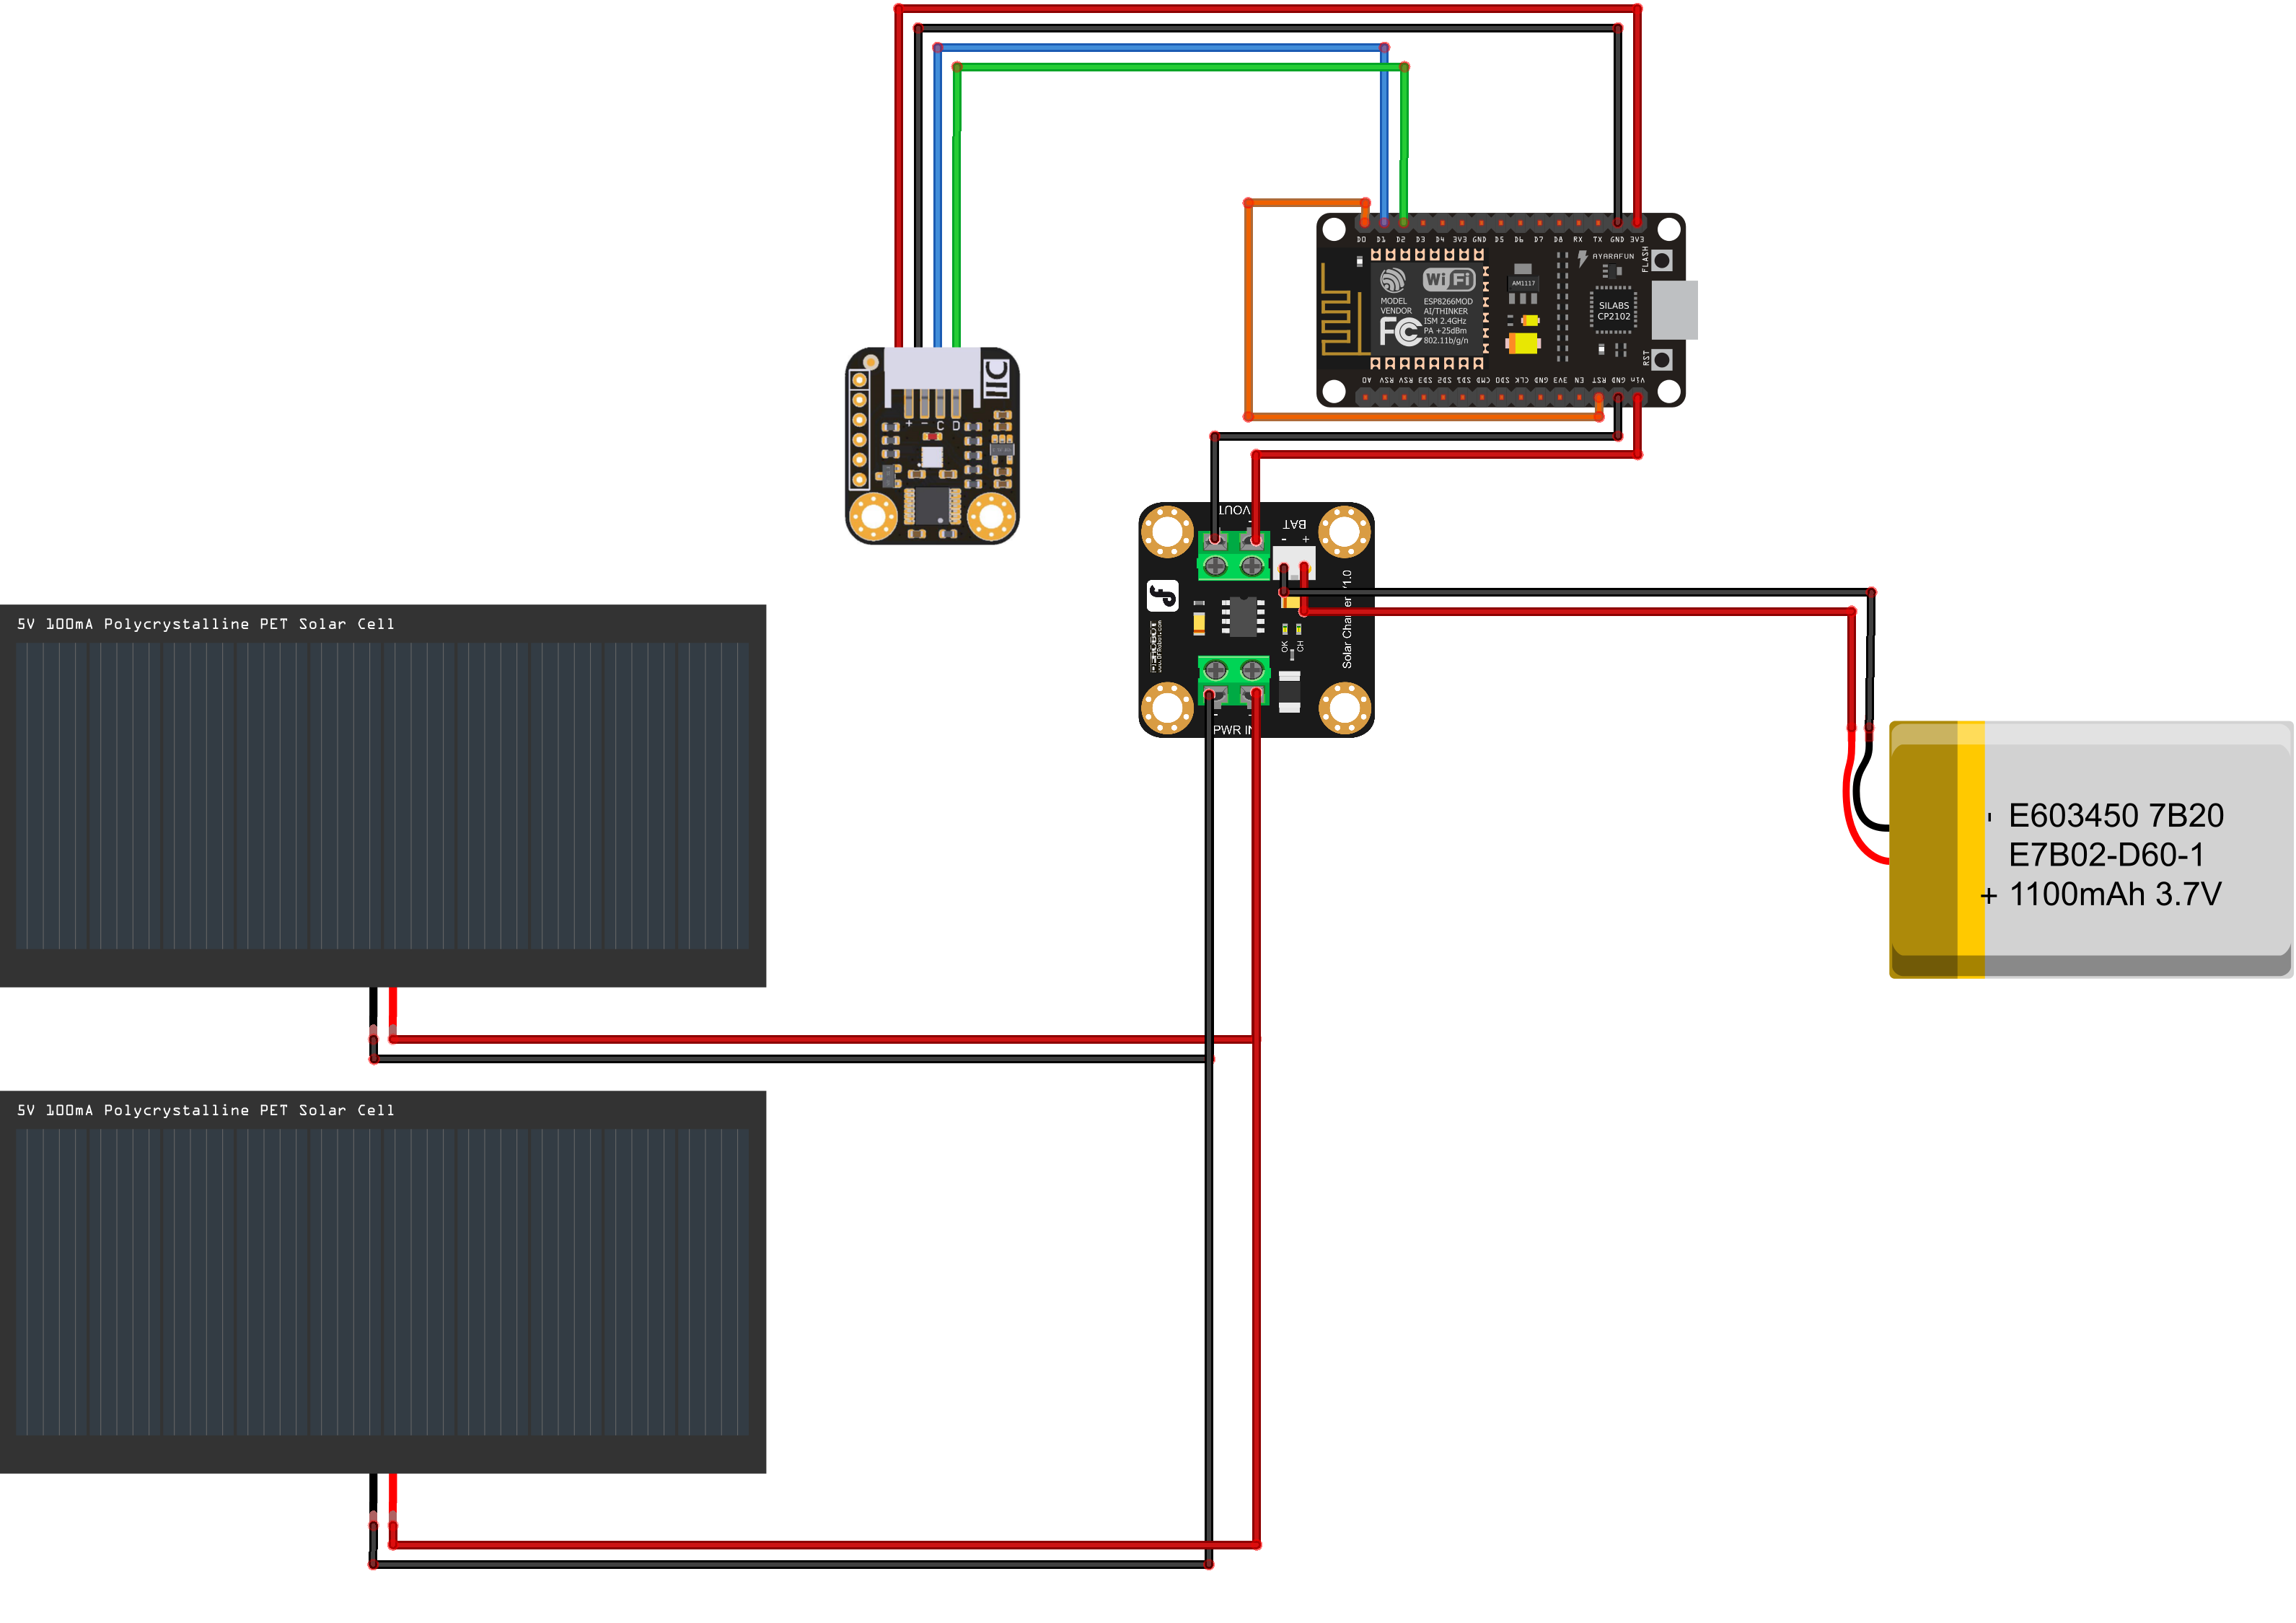
PowerTo turn the system completely "wireless" the power necessary is provided by two 6V solar panels that can deliver 2W of power. The cells will be connected in parallel.
The energy produce is then be stored in a 3.7V Polymer Lithium Ion Battery with +/- 1000mAh capacity. The Solar Lipo Charger module from DFRobot will be responsible for the energy management.
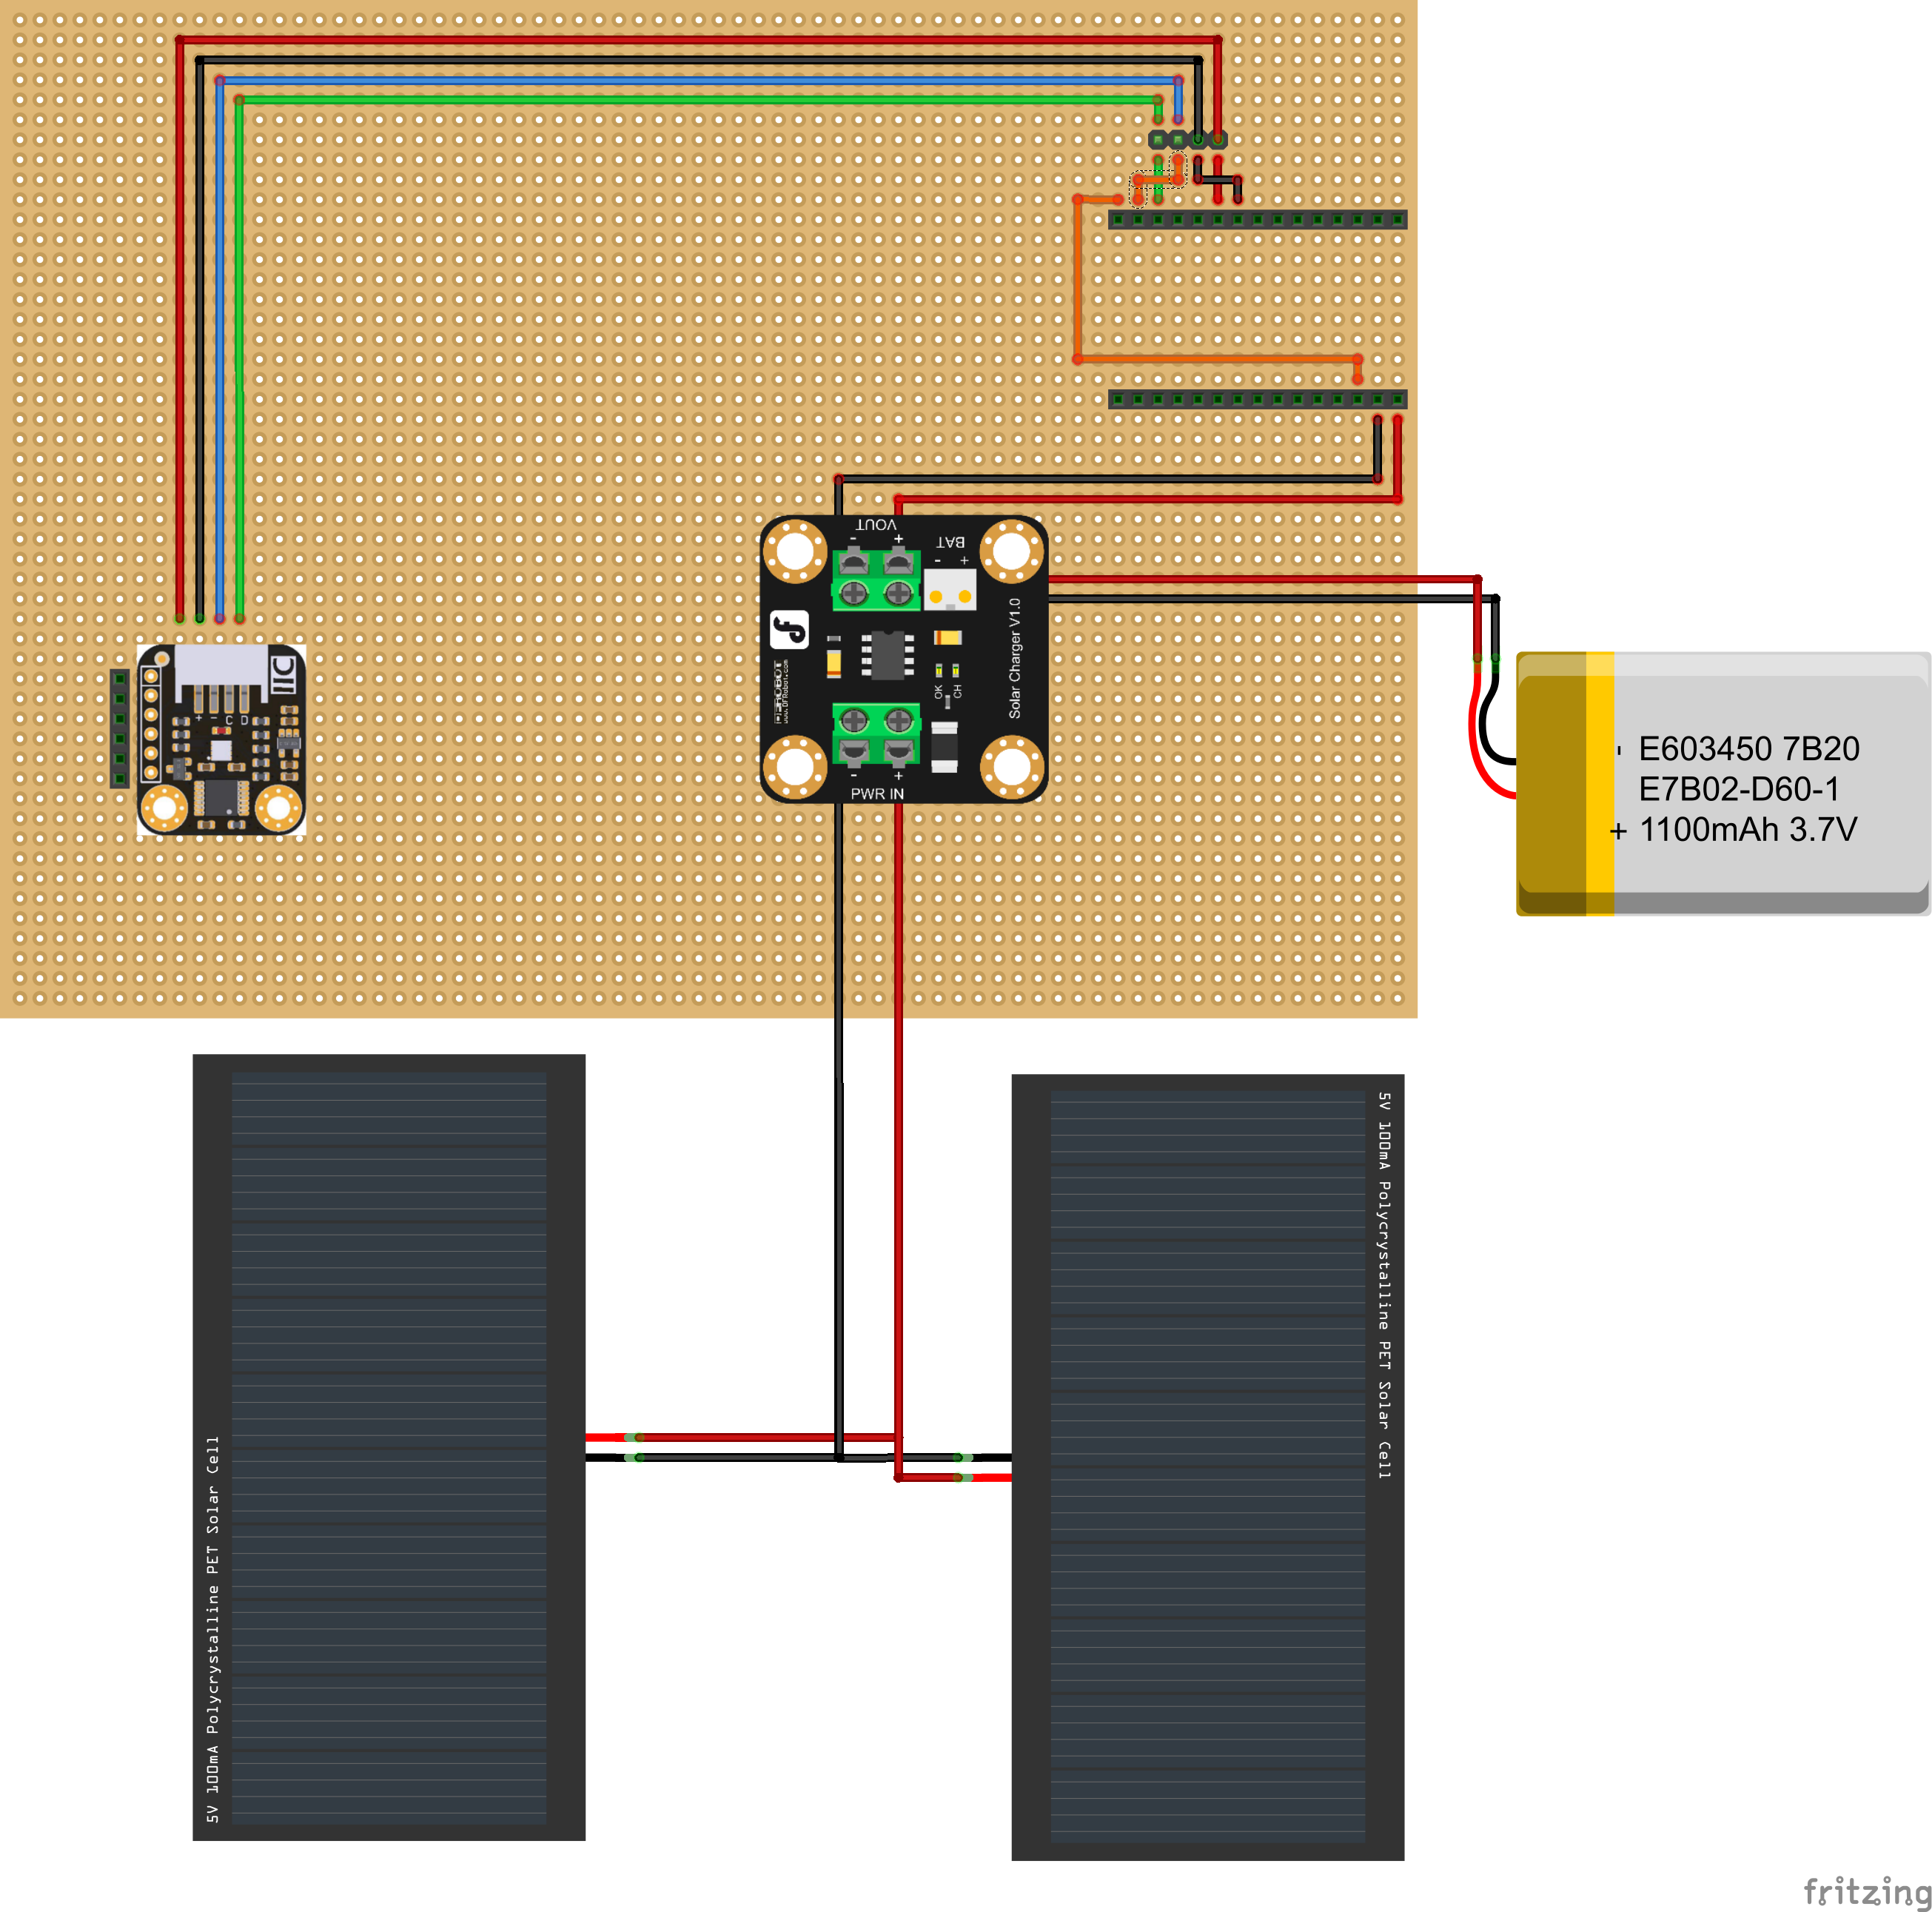
ComponentsThe ESP8266 is powered by the 3.7V battery that is connected to the Solar Lipo Charger in the battery input port. The solar cells are connected in the PWR In ports. The Vin and GND ports of the ESP8266 are connected to Vout ports of the Solar Lipo Charger.
The BME280 power is supplied by the 3.3V port in the ESP8266. The communication is done trough the I2C lines (SDA / SCL). For the sleep mode, D0 need to be connected to reset pin (RST). To fix all components in the box I used a perfboard, some headers and wires.
The basic idea is this:
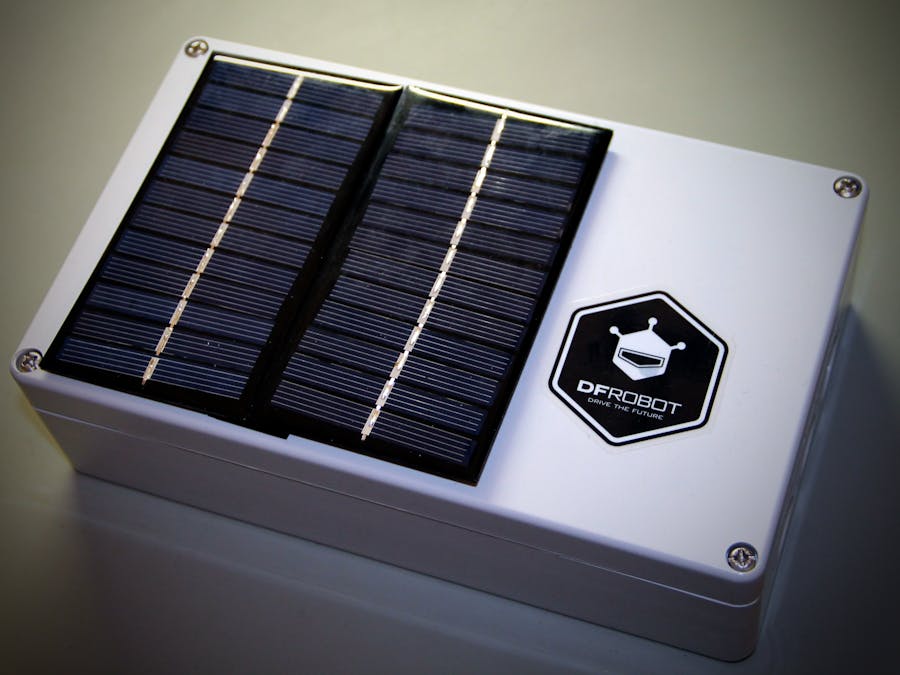
For the solar cells, I just used hot glue to fix them in the top cover of box. Since the box already had holes, no need to do more.
First of all get your self an account in cayenne.mydevices.com.
Select "All devices".
Select "Generic ESP8266":
Copy:
- MQTT USERNAME
- MQTT PASSWORD
- CLIENT ID
And paste in your code.
CodeFor you to use my code, do the following things:
- The first one is defining your wifi network name and password.
- The second is past the Username, Password and Client ID obtained in the previous step.
- Also you can define a new sleeping interval, if you wish so.
After these steps, go to your Cayenne dashboard and you should have something like this:
Now you can customize your dashboard:
So again the same project however some different conclusions.
I also included the sleep function on this one, still did not measure it, work for the next time.
In this version I manage to include a function to retrieve the internal voltage but the value displayed is still not the correct one. So I'm guesting that the next time the voltage divisor will be the best options.
Another positive thing was, discovering the cayenne.mydevices.com other features, that possibly I will use in other future projects. Say tuned.
Please write me if you found any mistake or if you have any suggestion/improvement or questions.
"Do not get bored, do something".


Comments
Please log in or sign up to comment.