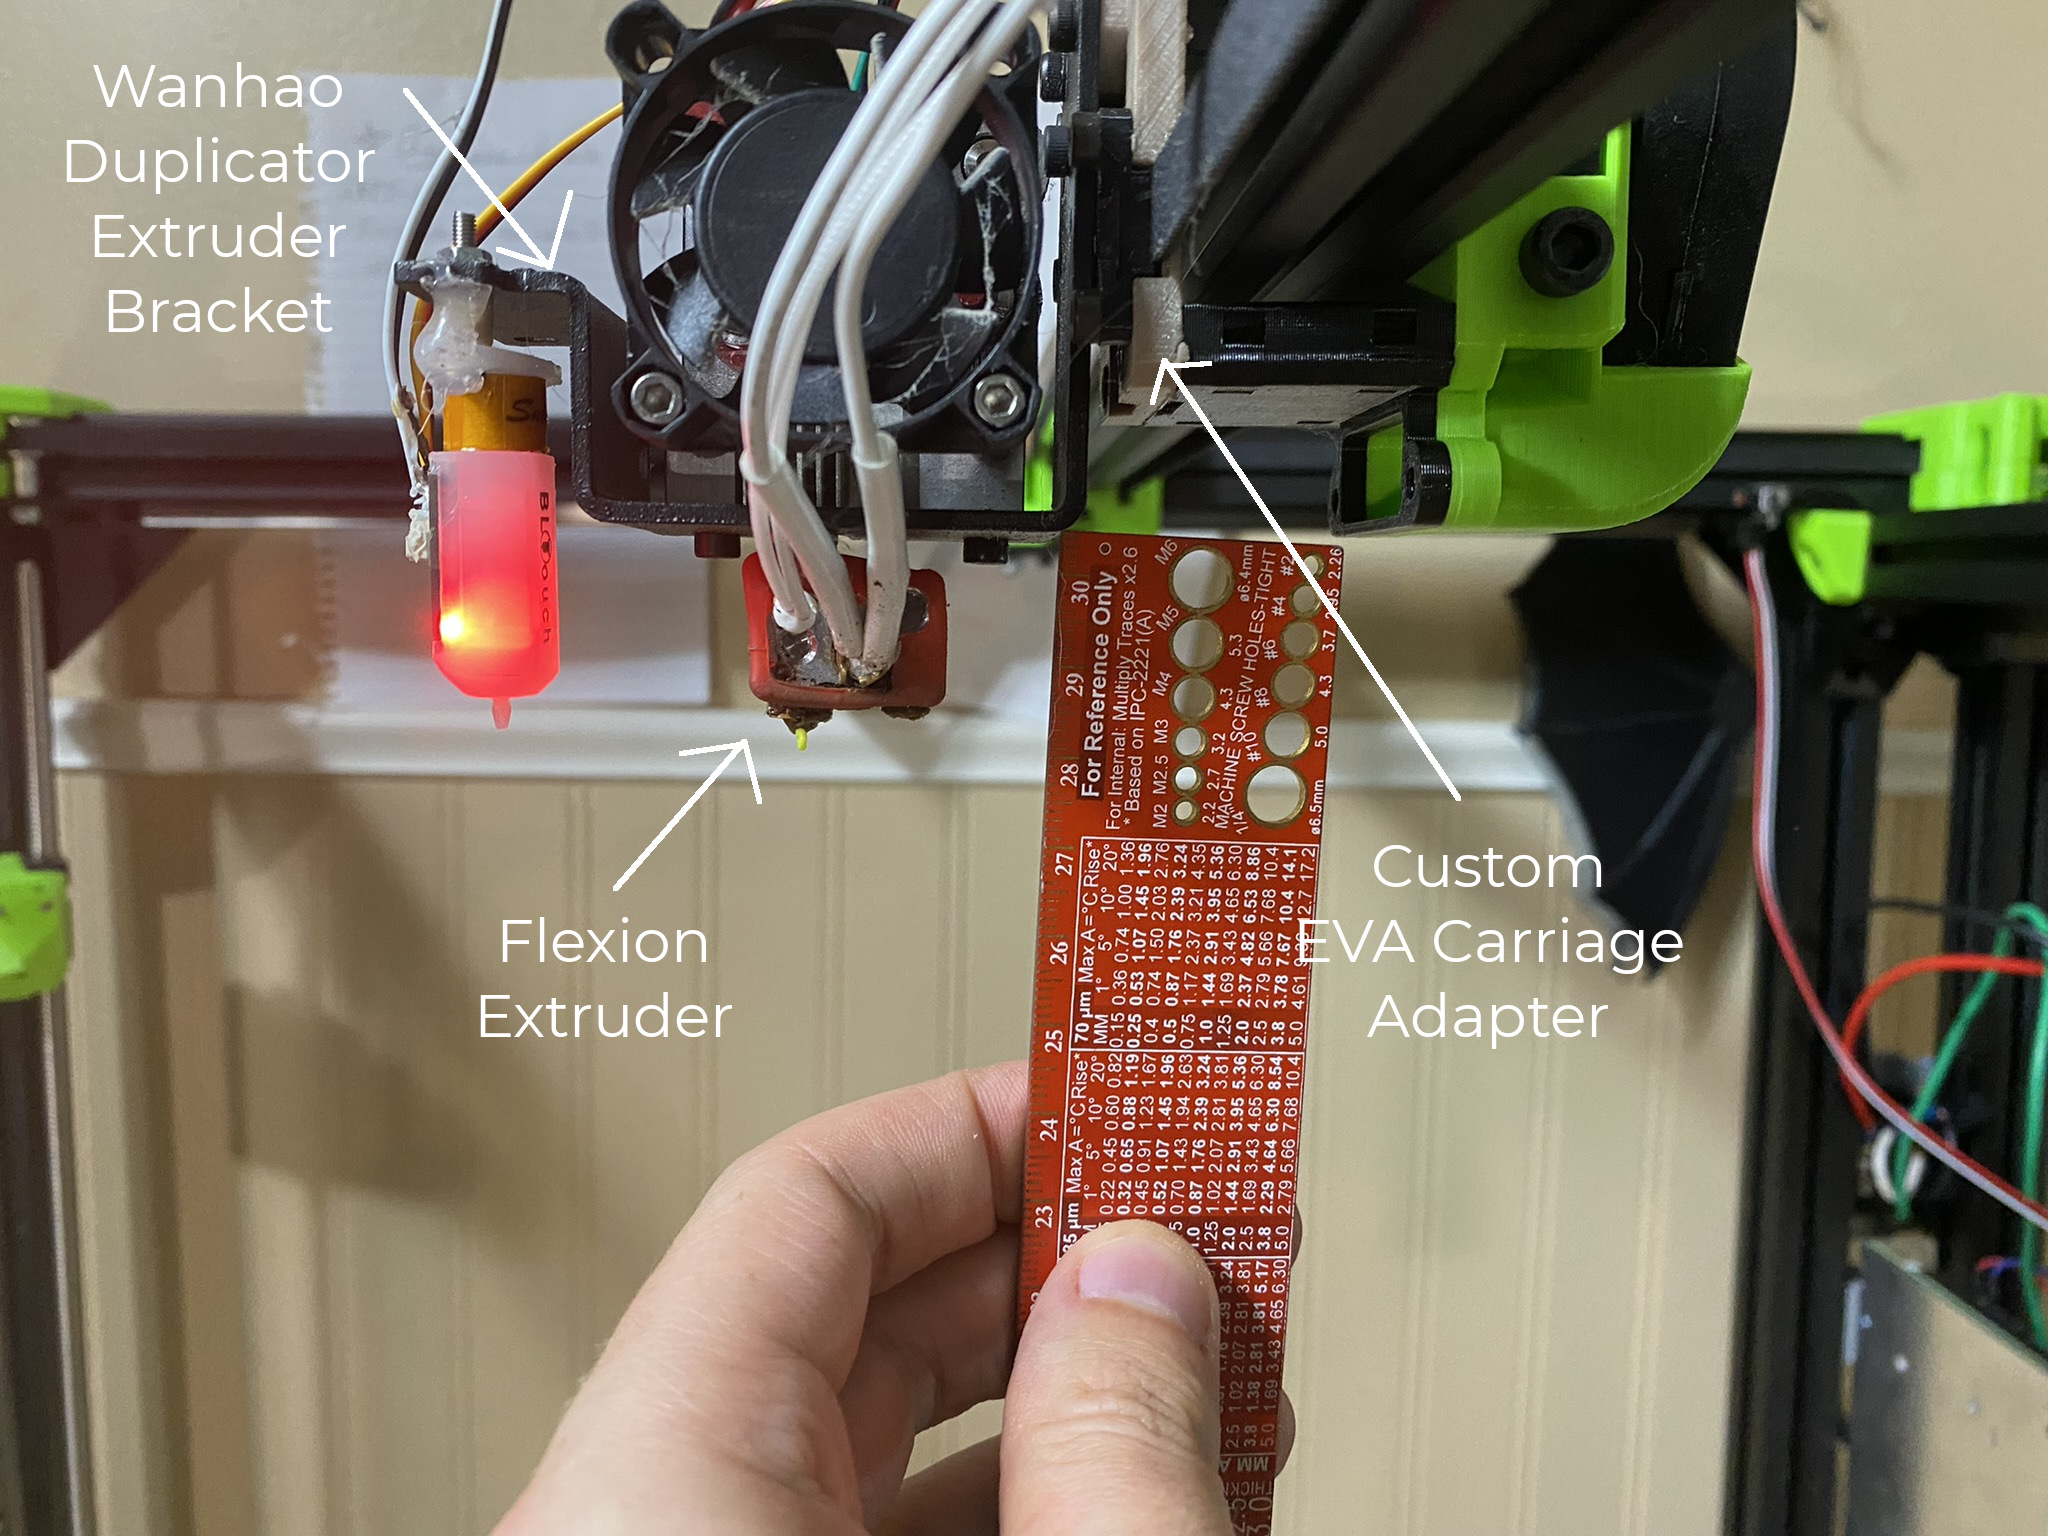
There is a ton of info on the internet for printing solid filaments like PLA, but comparatively very little info on printing flexibles like TPU. It took me about a year of trial and error to finally get a setup that works for me. Here is the guide I wish I had one year ago, I hope it helps you!
1. Buy the Flexion ExtruderThere is no way around this. You cannot print flexible filaments on a normal extruder that was designed for hard filaments like PLA. Every extruder says it CAN do flexibles, but most give terrible results. Just get the Flexion, it is reliable and it is designed specifically for flexible filaments like TPU. After you get the Flexion, use the company's recommended slicer settings, and make sure to check out the "Tips" section of their website. EDIT 1/12/2025: What extruder you use will depend on how hard your TPU is. With harder TPU like Overture's High-Speed TPU, you can work with a regular extruder and a volcano nozzle, and it will still print ok. With softer TPU you will need a specialized extruder like the OmniaDrop.
2. You are going to have to print slowly.Even with the Flexion, I was getting around 22mm/s with standard TPU. This is a far cry from the 400mm/s you can get with PLA, but that is the sacrifice you make for printing with flexibles.
3. Use Overture High-Speed TPU for a speed boostWith High-Speed TPU I was able to increase my speed up to 45mm/s. The material is designed to be less compressible, so it pushes into the nozzle more like PLA does.
4. Buy a filament dryerAgain, this is non-negotiable. Without drying your TPU mid-print, it will end up curled and gnarly, looking like a tangled mess of popping bubbles and spider webs. If you have left your TPU out for a day or more, you should dry it again for 4 to 6 hours before printing with it. I will usually leave my TPU drying overnight before starting a print the next day.
5. In your slicer, set support distance from body to be 1 x the line width (in the XY direction) and 2x the layer height (In the Z direction).
This makes supports easy to remove. TPU bonds to itself really well, and so making sure there is a big distance between the body and the supports really helps when removing them. If this doesn't work for you, print out a small file with lots of overhang, and experiment with different support distances until you get one that provides enough support but is still easy to remove. Here is a model to use: https://www.thingiverse.com/thing:5512676
6. Extra cooling helps.Without sufficient cooling, your prints may start to curl up at the overhangs. In addition to my typical extruder fan duct, I have a floor fan pointing at the bed of my printer. Just make sure to PID tune your printer with the floor fan on. You may have to play with the PWM settings on your heater element.
7. Tune your retraction distance.The Flexion's instructions say to have a retraction speed of 60mm/s and a distance of at least 5mm, but I was getting some popping noises due to the filament being retracted and then pushing out some air, so I lowered that distance down to 2.5mm and it was fine.
8. Try to eliminate or hide supports.If you can, split a part in half to get rid of supports. The areas over supports tend to just look ugly and can droop. I will only use supports on areas that won't be shown off a lot, such as the inside of a leg on a costume. Another way to get rid of supports entirely is to check "Make overhangs printable". I set the maximum overhang angle to 30 degrees.
If you have any questions, please let me know! I have scoured the internet to find a setup that makes me happy, and I feel like I have one now. I would be happy to share what I have learned.
Here is a video of my setup in action:


Comments
Please log in or sign up to comment.