
Hardware components | ||||||
 |
| × | 1 | |||
| × | 1 | ||||
| × | 1 | ||||
Software apps and online services | ||||||
| ||||||
In the previous article, we used SimpleMPI of NVIDIA CUDA Samples to implement cluster computing and distribution on Seeed Jetson Mate, a 4-node Jetson devices. This time we used Kubernet's lightweight management tool K3S to build Docker container cluster management functions on this 4-node device.
Why we use K3s:
1. Docker container is a major trend in software development, especially for AI applications deployment
2.Kubernet is currently the most popular management solution in the Docker field
3. K3S is a lightweight management tool, which saves resources and makes installation easier. It is more suitable for the application of embedded AIOT platform.
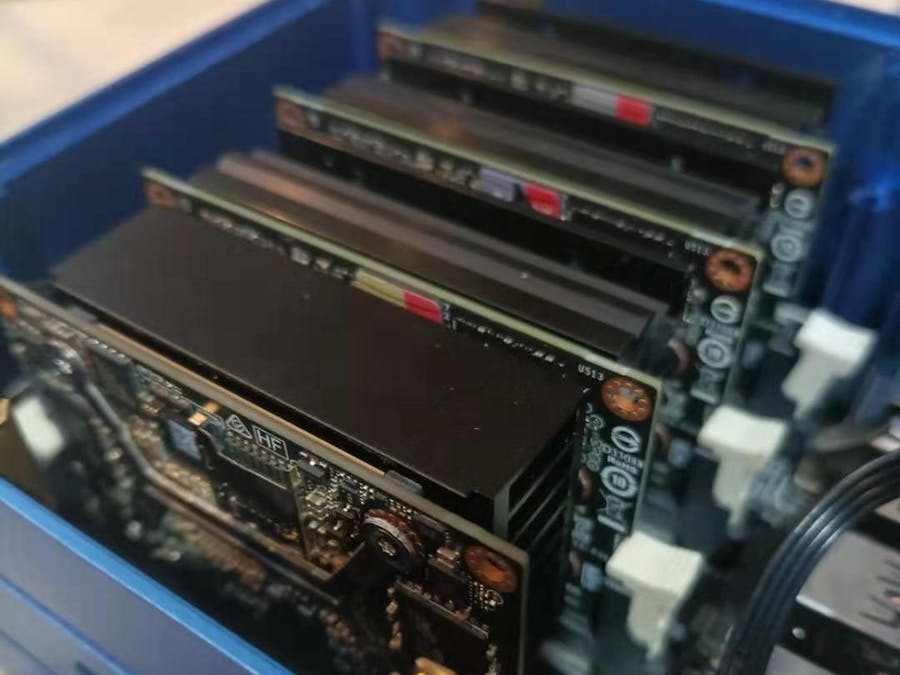
Today, we use one piece of Xavier NX module in NVIDIA Jetson Xavier NX development kit as the master node and three pieces of Jetson Nano 4GB modules in NVIDIA Jetson NANO development kits as the worker nodes.
The development environment of all devices is Jetpack 4.4.1 version, and Docker version 1.19 and nvidia-docker2 management tools are pre-installed on it.
In the process, you need download the NVIDIA l4t-ml:r32.4.4-py3 image from NGC (ngc.nvidia.com), which support Jetpack 4.4.1. This image fully supports a variety of deep learning application frameworks and Jupyter interaction Environment, and you just use one instruction
Part 1 Set up k3s cluster in Jetson MateEnvironment buillding
The configuration of each node in this example is as follows: (Please specify the IP part according to your own environment)
Add all the above four IPs and Host Names to the /etc/hosts file for these four nodes.
127.0.0.1      localhost
127.0.1.1      node3  <= the hostname of this device
# Add the IPs and Hostnames of all nodes in the cluster below:
xx.xx.xx.30     node0
xx.xx.xx.31     node1
xx.xx.xx.32     node2
xx.xx.xx.33     node3
(save the document)
The advantage of this is that the subsequent execution operations can directly use the hostname of each node without remembering the IP.
Use K3S to build cluster management
Install K3S Server on the Master (node0 here):
curl -sfL https://get.k3s.io | INSTALL_K3S_EXEC="--docker" sh -s -Check whether the installation is complete:
docker imagessudo kubectl get nodeTo test whether the calculation can be performed, execute a third-party packaged cuda devicequery container:
sudo kubectl run -it nvidia --image=jitteam/devicequery --restart=NeverIf it is correct, the following will appear:
Install K3S agent on three Workers (node1/node2/node3 here):
First find the key (token) of k3s Server on the Master (here, node0), and execute the following instructions:
sudo cat /var/lib/rancher/k3s/server/node-tokenYou will see a string similar to the following length (but it must be different):
Execute on each worker (node1/node2/node3)
export k3s_token="<The node-token string shown in the previous step>”export k3s_url="https://<IP_OF_MASTER>:6443" # here <IP_OF_MASTER> is node0Then execute the following instructions:
curl -sfL https://get.k3s.io | K3S_URL=${k3s_url} K3S_TOKEN=${k3s_token} sh -* The above steps are executed on each worker node
Execute the following instructions on the Master to check the agent installation:
sudo kubectl get nodesThis means that the 3 worker nodes have entered the k3s management scope, but the role has not been set.
Set the role for each worker: execute the role setting command on the Master node (node0):
sudo kubectl label node node1 node2 node3 node-role.kubernetes.io/worker=workerCheck the node status again:
sudo kubectl get nodesNow we completes the construction of the k3s cluster.
Check the cluster information and execute the following instructions:
sudo kubectl cluster-infoPart 2, execute tensorflow in NVIDIA l4t-ml container
1. Download l4t-ml:r32.4.4-py3 image:
docker pull nvcr.io/nvidia/l4t-ml:r32.4.4-py32.Write jetson-tf.yaml:
apiVersion: v1
kind: Pod
metadata:
  name: jetson-tf
spec:
  restartPolicy: OnFailure
  containers:
  - name: nvidia-l4t-ml
    image: "nvcr.io/nvidia/l4t-ml:r32.4.4-py3"
    command: [ "/bin/bash", "-c", "--" ]
    args: [ "while true; do sleep 30; done;" ]
3.To check the Pod status, execute:
sudo kubectl get podConfirm that the target pod (jetson-tf here) is in the Running state, which means it can be used. If it is in the "ContainerCreating" state, please wait for processing
4. Start this container, please execute
sudo kubectl exec -it jetson-tf -- python3Go directly to the container's python3 interactive environment and execute the following code:
from tensorflow.python.client import device_lib
device_lib.list_local_devices()
The GPU supported by Tensorflow in the k3s container can be displayed. The complete test can further execute the following code in Python3:
from tensorflow.python.client import device_lib
def get_available_gpus():
  local_device_protos = device_lib.list_local_devices()
  return [x.name for x in local_device_protos if x.device_type == 'GPU']
get_available_gpus()
After execution, you will get the following output.
Comments