Seeed designed and produced a small computer case several months ago as below:
Two weeks ago, they told me that they designed a carrier board named Jetson Mate, which can install up to 4 Nvidia Jetson Nano/NX SoMs. There is an on board 5-port gigabit switch enabling the 4 SoMs to communicate with each other.
And it can be placed in this computer case.
Soon, They deliveried the whole systerm sample to me.
There is a big fan on the top of the systerm. and you will see the interface& ports in one side: 4xUSB 3.0,1x Gigabit Ethernet,1xUSB2.0,1xHDMI output and 1 xTypc-C
This picture looks more clear.
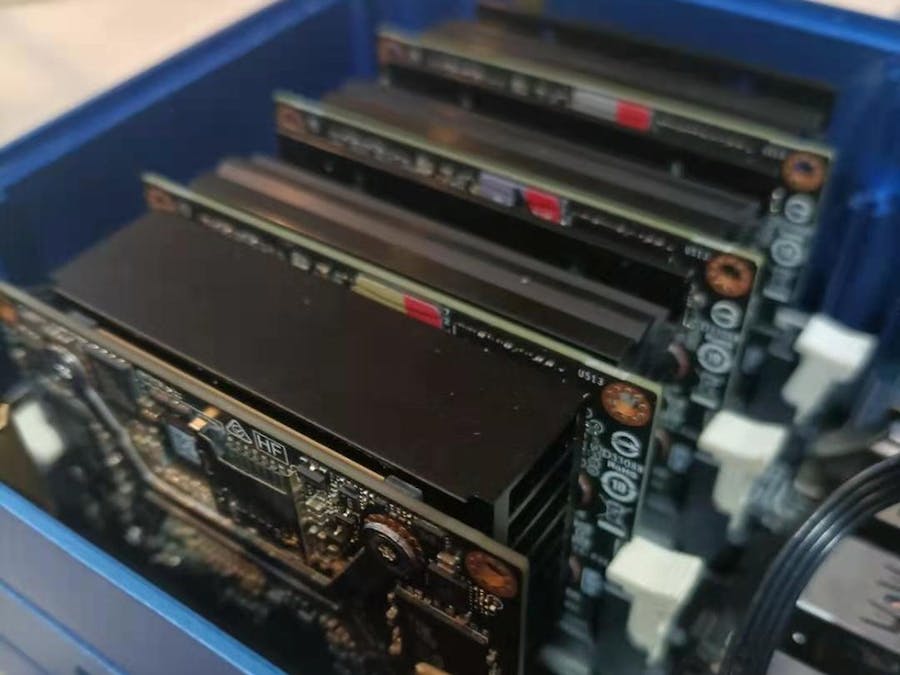
Open the top-cover, you will see the whole carrier board:
Now let‘s insert modules in it.
We used one Jetson Xavier NX module from a Jetson Xavier NX developer kit, and 3 Jetson NANO modules from 3 Jetson NANO Developer kits ( B01 version ).
Please note that
1. Jetson Mate support NVIDIA Jetson NANO module with 16G eMMC and NVIDIA Xaver NX module with 16G eMMC as well.
2.Jetson Mate do not support NVIDIA Jetson NANO module from Jetson NANO 2GB develper kit as well as Jetson NANO 4GB developort kit (A02 version)
This 4 nodes consist of one master node and three worker nodes. we inserted NX module in master node and 3 NANO modules in worker nodes.
Power-onThe Systerm
A 65W PD power adapter is need to for power-on the systerm.
We use this one:
Note that output 20V/3A is the key! ! !
One developer ever asked me whether these four modules should work together. We tested and found it could work regardless of inserting 1, 2, or 3, and any combination
Flash the systerm
We just flash the TF cards use NVIDIA official images.
Check with Jtop, you will find we flash NX module with Jetpack 4.4.1 and NANO modules with Jetpack 4.4 DP.
Don't forget insert TF cards into the Jetson modules after flashing
Now let's power on the systerm
Is it beautiful, right?
you will also find the indicator light for each modules start to flash
Plug in the network cable to get IP address
This step is to obtain the network IP of each node, so that each node can be accessed through SSH for login and management
MPI Configurationwe just follow this tuturiol as below:
https://github.com/garyexplains/examples/blob/master/how_to_build_nvidia_jetson_gpu_cluster.md
it works.
MPI Test
Now we could run a NVIDIA simpleMP sample for test
Perfect!
Summary:
1.It is really amazing to be able to implement a 4-node cluster in such a small space.
2.For building small-scale clusters, it saves a lot of wiring, such as power cords and network cables.
3.The design of the large fan is very cool, and the heat dissipation seems to be stable at present. There is no noise.
4.It is not complicated to build a cluster configuration environment with MPI.
According to information disclosed by Seeed, this system (without modules) sells for less than US$200, which is extremely cost-effective. It is said that it will go on sale this month.


Comments
Please log in or sign up to comment.