Before going to the project make sure that you've already installed the latest version of Arduino IDE on your desktop (Windows, Linux, or MAC OS X). You can download Arduino IDE on https://www.arduino.cc/en/main/software.
If you have installed Arduino IDE before, I really suggest you to update (uninstall and install the new one) the software, otherwise it may not work.
Installing ESP32 Add-on in Arduino IDETo add ESP32 Board in your Arduino IDE, follow these instructions :
1. Open your Arduino IDE, go to File>Preferences
2. Put https://dl.espressif.com/dl/package_esp32_index.json into the “Additional Board Manager URLs” field as shown in the figure below. Then, click the “OK” button
Note: if you already have another boards (i.e ESP8266 boards URL), you can separate the URLs with a comma like this:
https://dl.espressif.com/dl/package_esp32_index.json, http://arduino.esp8266.com/stable/package_esp8266com_index.json3. Then go to the Boards Manager. Go to Tools > Board > Boards Manager
4. Go to the search bar and type ESP32 then install ESP32 by Espressif Systems
5. Wait a few seconds then you've installed it
Note: Some cases will have an error message when downloading the add-on
If you find this problem, go to File > Preferences then click on "C:\Users\Arbi\AppData\Local\Arduino15"
Delete all files in that directory and repeat from step 1 to 4.
I have the same problem and it worked with this solution :). Let's go to the next step
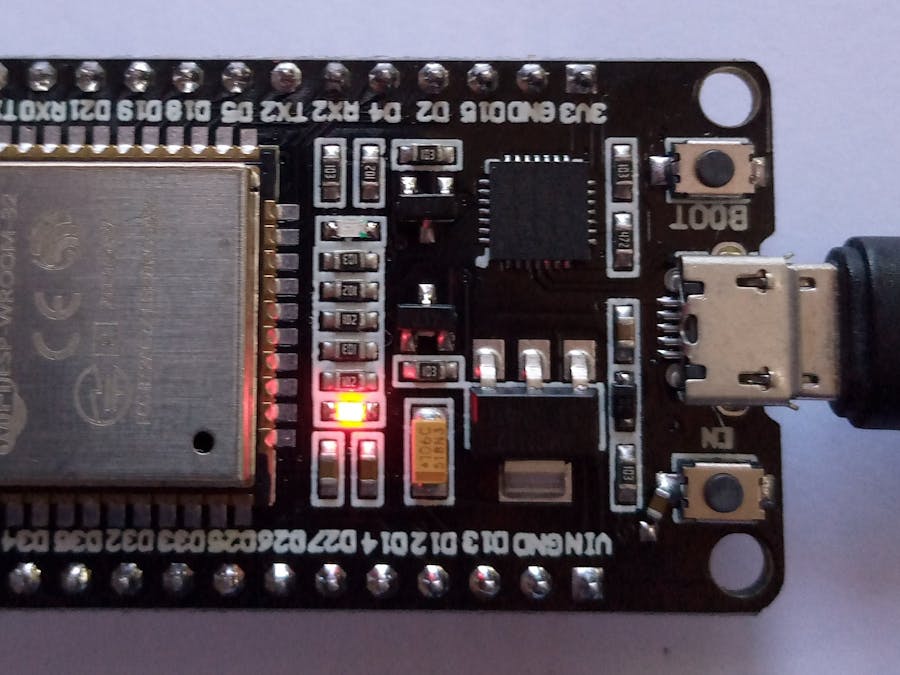
Testing your ESP32 Board1. Open Arduino IDE and plug the ESP32 Board to your computer.
2. Select your Board in Tools > Board menu (in my case "DOIT ESP32 DEVKIT V1")
3. Select the Communication Port, go to Tools > Port > (in my case it's COM15)
4. Open the example code for testing your ESP32, go to Examples > WiFi > WiFiScan
5. Press upload button on a WiFiScan sketch and wait a few seconds
6. Open the Arduino IDE Serial Monitor at a baud rate of 115200
7. Press the ESP32 on-board EN (Enable) button and you will see the networks available near your ESP32 board:
Note: If you have a problem while uploading the sketch and you get this error message “A fatal error occurred: Failed to connect to ESP32: Timed out… Connecting…“. It means that your ESP32 is not in flashing/uploading mode.
The solution: Hold down the BOOT button in your hardware (ESP32 Board) and after you see the "Connecting..." message release the button.
Those are the steps for installing your ESP32 Board in Arduino IDE


Comments
Please log in or sign up to comment.