If you want people to think you're smart, you have to do a project about space. In my last project, I tracked space stations and astronauts on a small TFT screen. However, I can't just sit and watch it waiting for International Space Station (ISS) to come by. What if I'm busy doing whatever it is people working from home supposed to do?
Game PlanIn this project we will make a device that will alert us when ISS is within 1500 kilometers from our coordinates. The device will connect to Wi-Fi then find our GPS coordinates from our public IP address using a web API. Another web API will get the ISS coordinates and then we can calculate the distance. To keep this project simple, both web APIs can be accessed over http.
RT-Thread StudioSome tutorials, including my own, show that you have to download a zip file from GitHub to get the Board Support Package (BSP). RT-Thread SDK Manager does that automatically for us.
We need to import BSP to start our project.
The location for our board will be:
C:\RT-ThreadStudio\repo\Extract\RT-Thread_Source_Code\RT-Thread\latest\rt-thread\bsp\stm32\stm32u575-st-nucleo
Click on the blue gear icon.
Make sure you erase full chip when you download.
To avoid nondescriptive errors later, select a ToolChain Version.
We need to add three packages from RT-Thread Settings in the Project Explorer.
Once installed, we can configure the packages by hovering over each package and clicking configs.
We need the latest release for all of them.
We have to change some parameters for RW007 package. The README.md file in BSP folder does not explain very well why we need to do this so we can apply the same method to implement on a different board.
According to user manual UM2861, Arduino pin D10 AKA SPI_A_CS is PD14; however, we used number 62. To help demystifying the numbers used, we created the following spreadsheet.
In this example, we see that pin 14 of port D is actually pin 62. BTW, this is the same number we get from function GET_PIN(D, 14).
Finally, don't forget to enable spi1.
The default code will cause one of the onboard LEDs to blink.
We need to replace main.c and add Logo.h. We used http://javl.github.io/image2cpp to change RT-Thread logo image into byte array.
The code has been uploaded successfully.
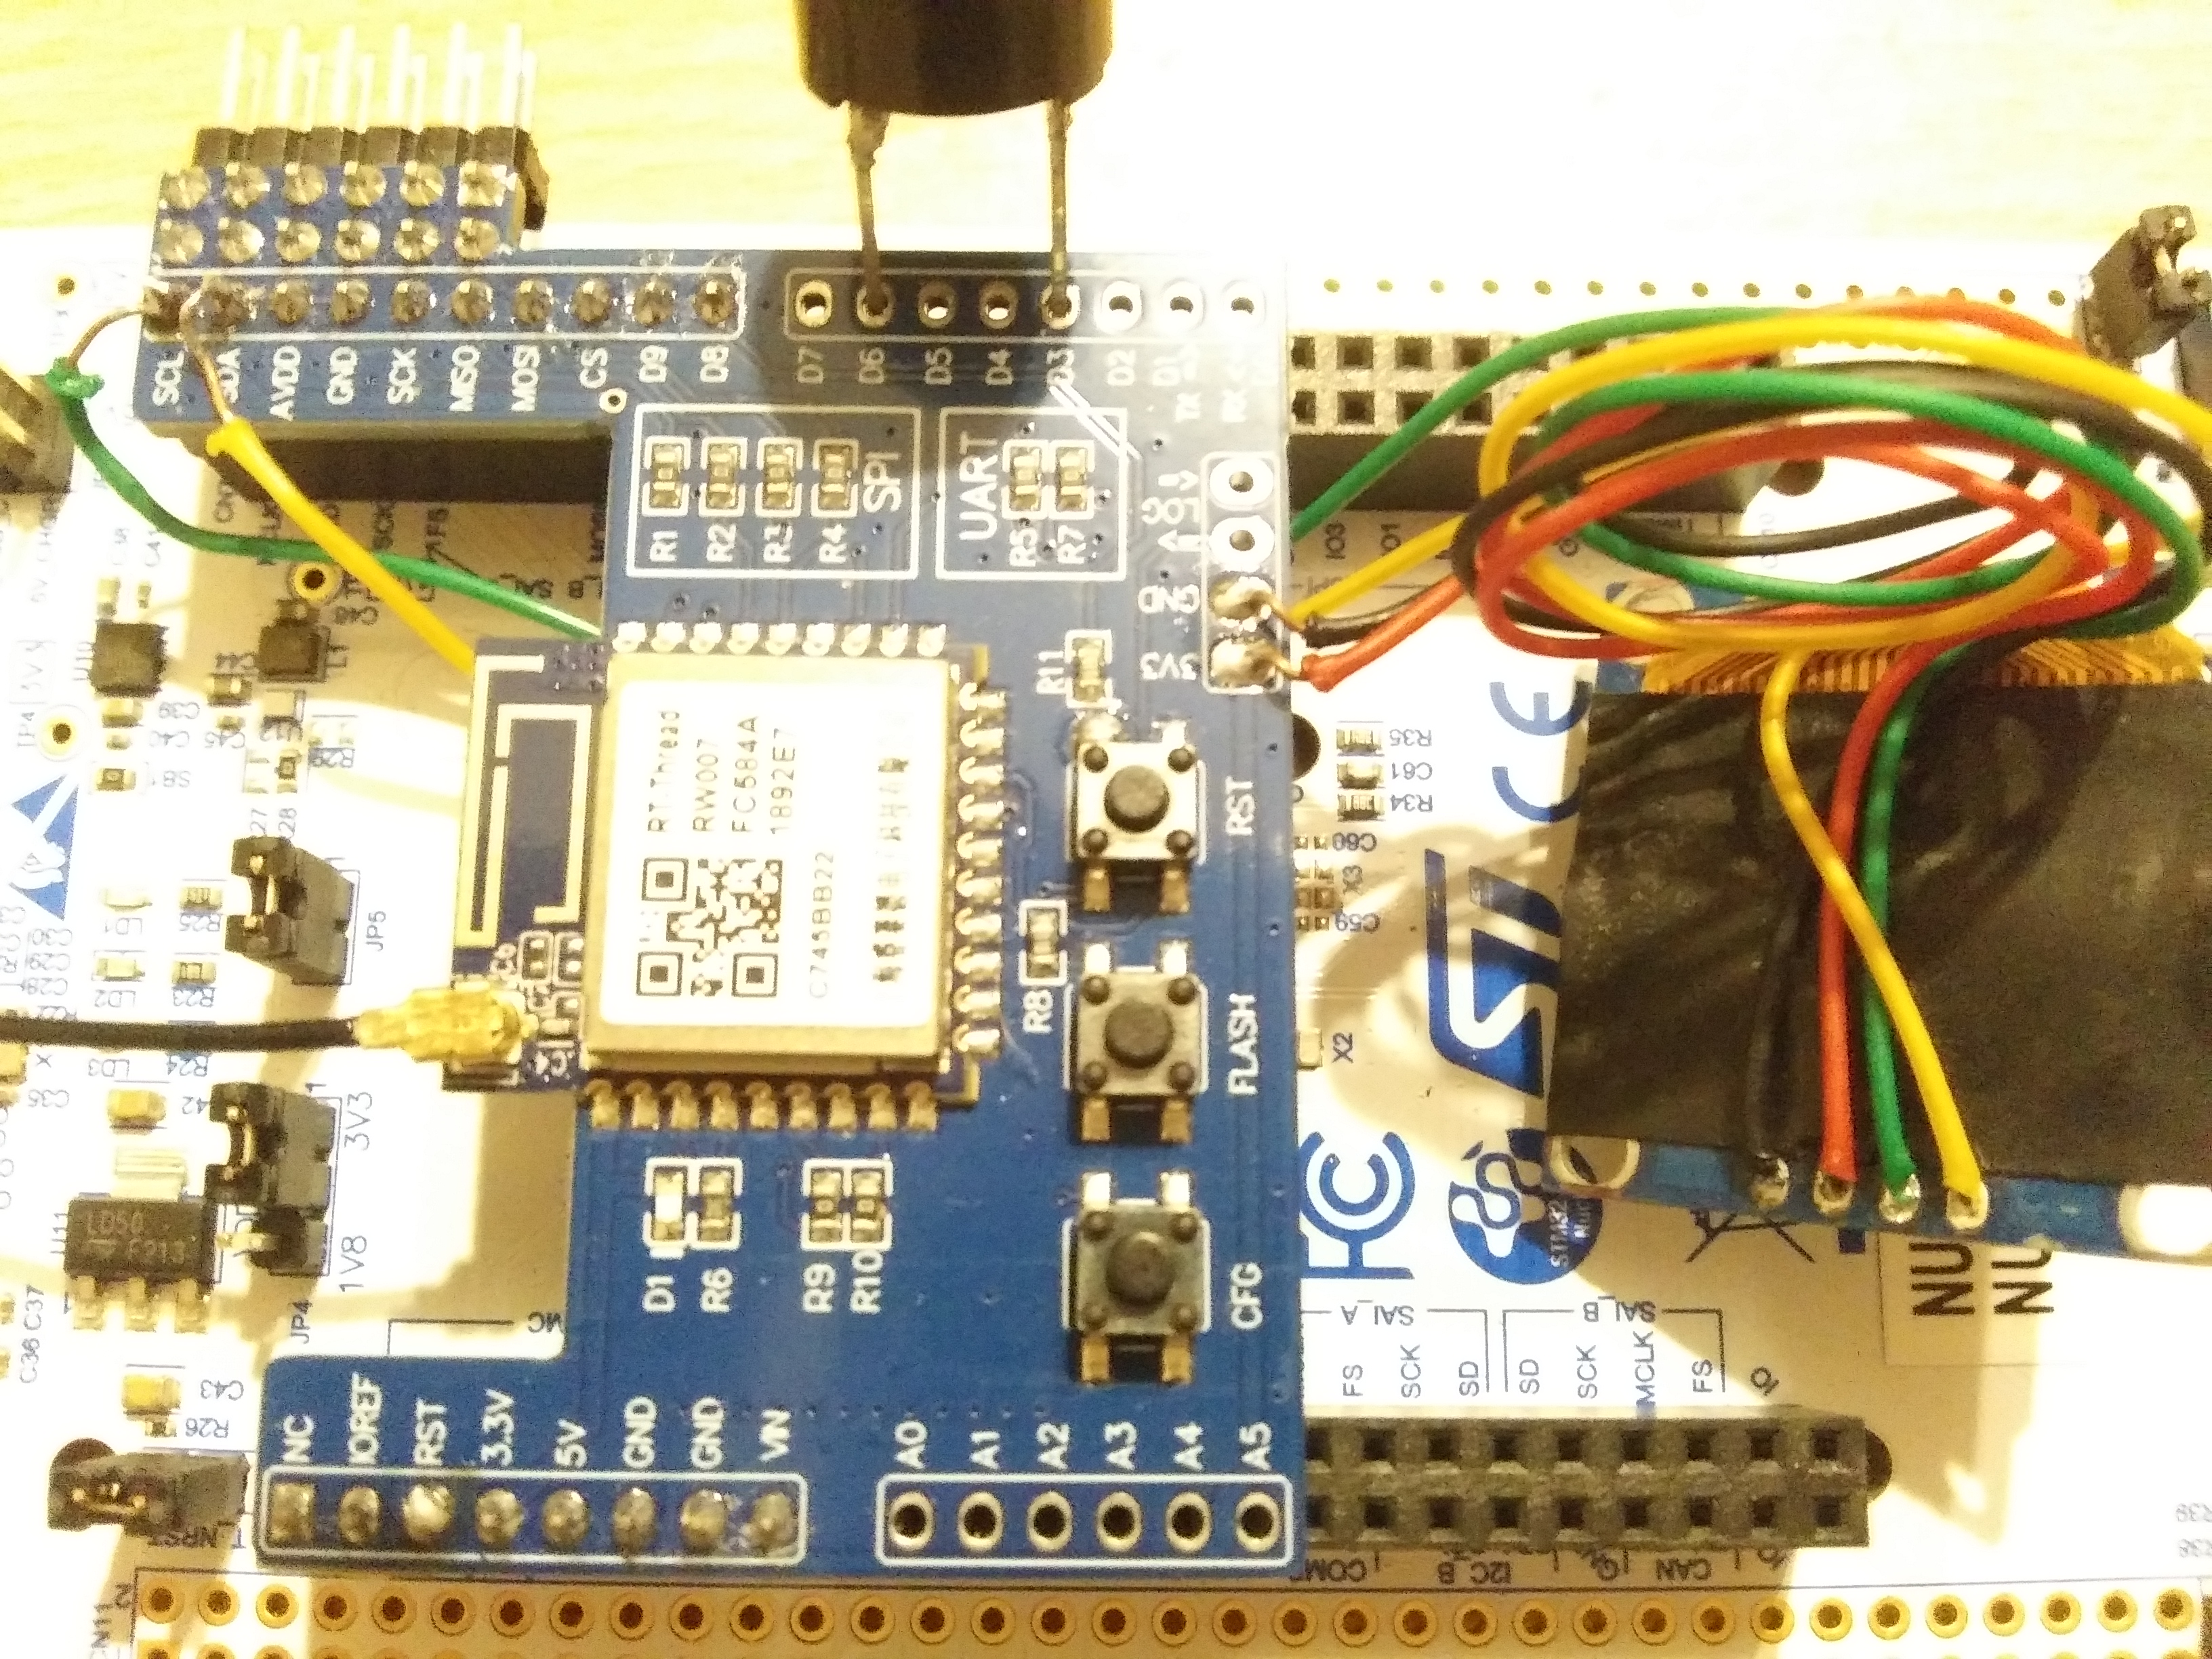
Arduino pins D3 and D6 have been selected for use with the buzzer because they are not used by any other functionality. We could use one pin only, but the buzzer will not be very loud.
We soldered OLED display to hardware I2C pins, but we are actually using SW I2C which is why we didn't enable I2C bus like we did with SPI.
Recording this demo took longer than I thought. Instead of video capturing this device, I run outside to look for ISS. The map on the laptop is for validation and it is from http://wsn.spaceflight.esa.int/iss/index_portal.php


Comments
Please log in or sign up to comment.