Hello, this is my first time doing wiring with Arduino Uno. I replicated a project called IoT Pet Feeder by Circuito.io. Here is the link to the original project by the circuito.io team: https://www.hackster.io/circuito-io-team/iot-pet-feeder-10a4f3
OverviewI had some problems when testing out this project since I'm not so good at this kind of stuff, so I'm actually struggling to make this work. If there are any tips to share and give, please do drop them in the comment section :)
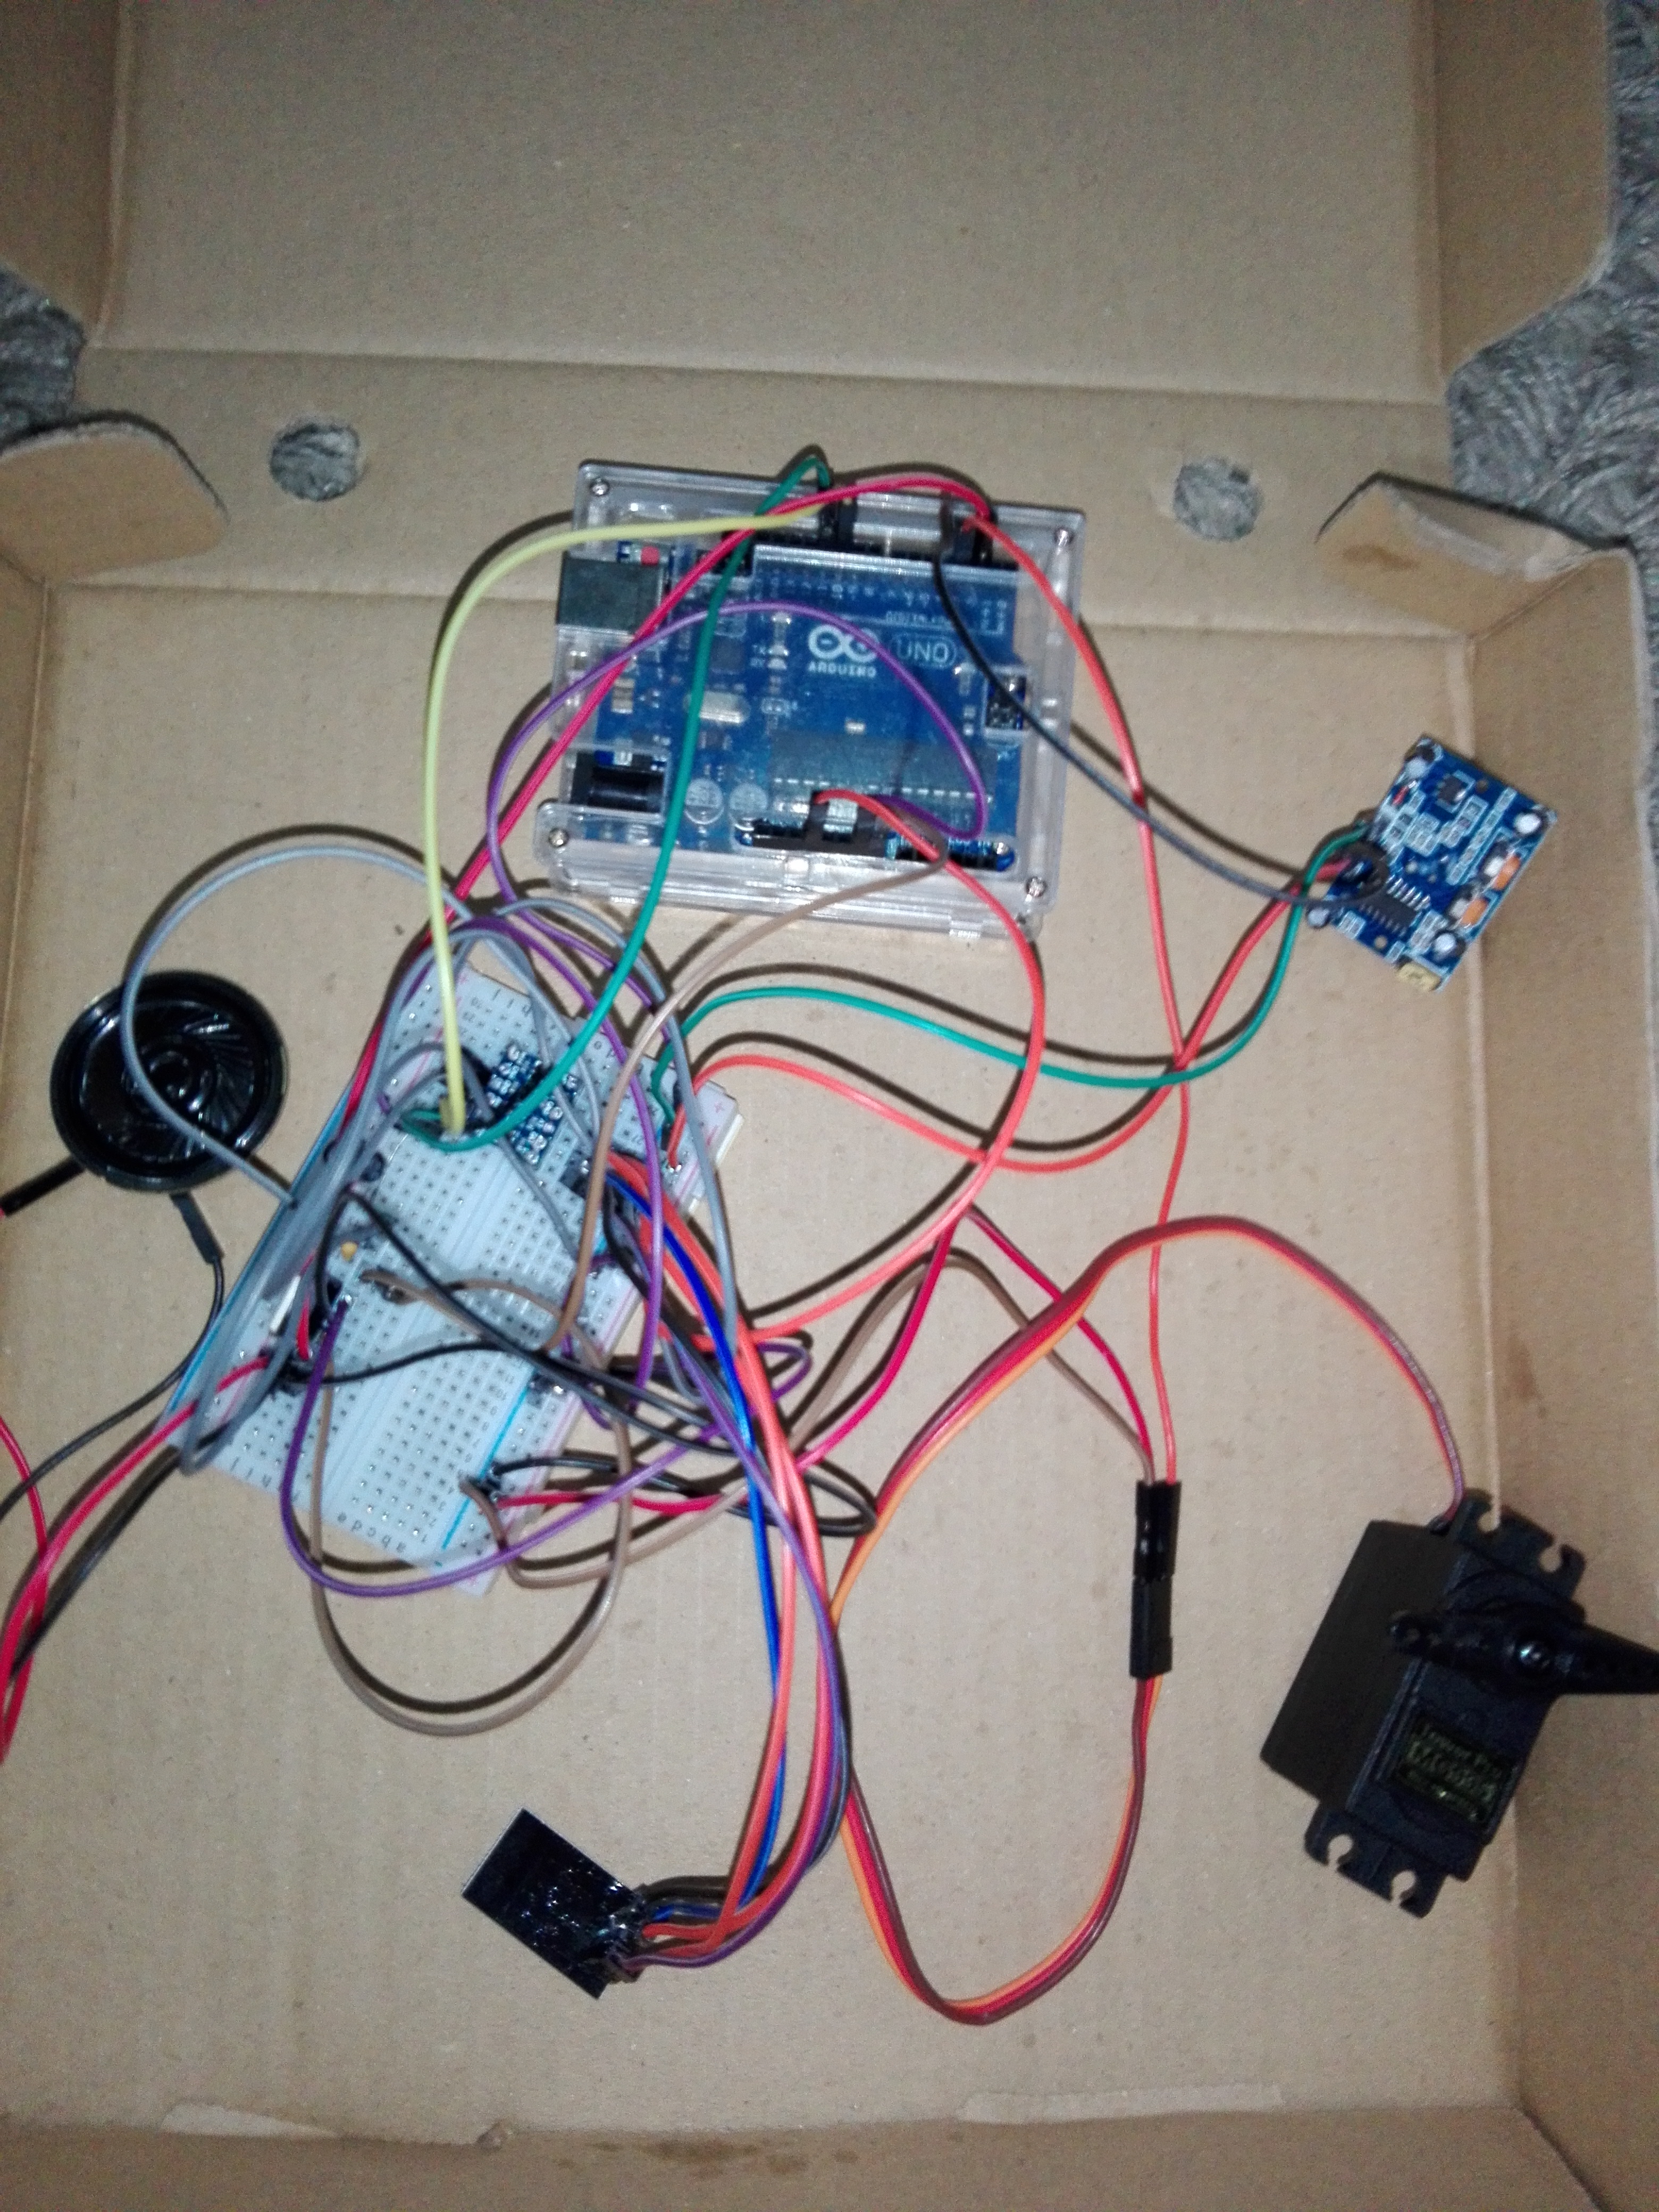
These are the pictures of the components I used to replicate the Pet Feeder:
1 / 7 • speaker, I've soldered
Not all the components I found were 100% accurate to the ones used in the original project, but I tried to make it work. Most of the components I bought were cheaper. All costed around RM 160+.
Some components may come with built-in wires, and that would be easier, so you won't have to solder. In my case some of my components need to be soldered, like the speaker.
I struggled with soldering, because I always got electrified at times, and my soldering is pretty messy.
For most of the components, I just used the wire jumpers, male to male or female to male (you can pluck it off if you want to use the components in another project).
How does it work?Based on circuito.io, there are many ways to implement a pet feeder: we can set it to fill up the bowl at a certain time, you can command it to fill up whenever it gets empty, or maybe to give your pet food after they follow a set of orders that you taught them.
In this specific project, we set the feeder to start beeping from time to time. Once the dog comes closer to the device, the PIR sensor recognizes it and the servo is triggered.
So in my project I would like to focus on setting the project to just to beep and pour food once our pet comes to the food bowl. When our pet comes close, the PIR sensor will sense it's presence, then beep and servo will pour food.
In addition, we also decided to add the option to control the pet feeder from our mobile phone, using a pre-defined dashboard made with Freeboard. We saw this as a great opportunity to introduce you to the option of connecting your circuito project to the internet with ESP8266-01 - the WiFi module currently available on circuito.io.
The WiFi Module was for this. But in my project I decided to cut down this part of the project (will).


_ztBMuBhMHo.jpg?auto=compress%2Cformat&w=48&h=48&fit=fill&bg=ffffff)


_3u05Tpwasz.png?auto=compress%2Cformat&w=40&h=40&fit=fillmax&bg=fff&dpr=2)
Comments
Please log in or sign up to comment.