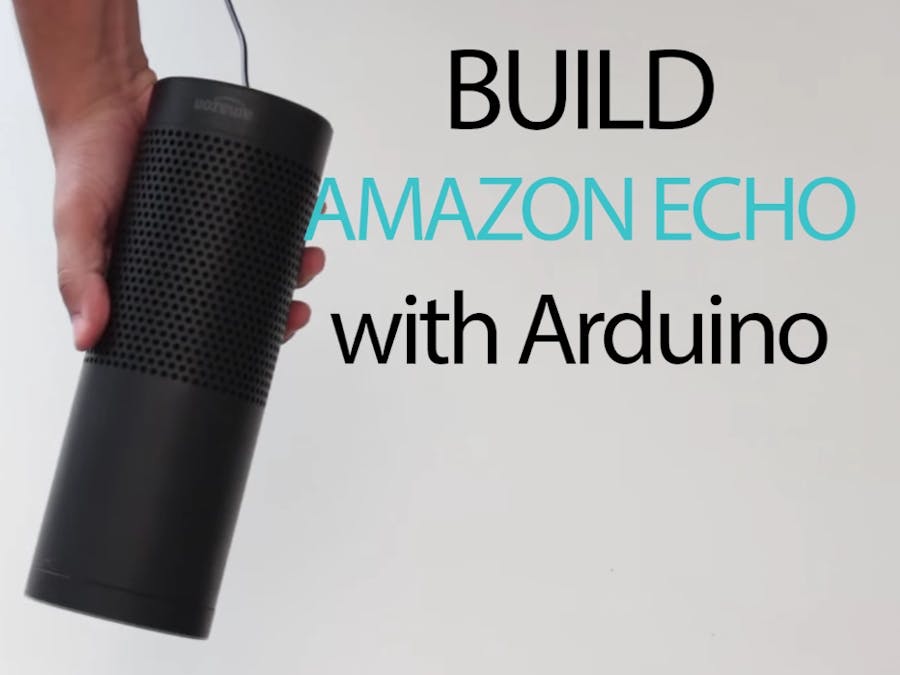
A few months ago I visited a friend of mine and I was amazed with the Amazon Echo he owned.
It can play music, control the house lights, tell me news and weather status, and even the date and time, all of that with just voice commands.
At that moment, the maker inside me shouted "why don't I make it myself!".
And since that day I started to search for components that could help me to make an arduino based Amazon Echo, until I found the amazing 1Sheeld.
1Sheeld is a platform for Arduino that allows you to tap into your smartphone's sensors and capabilities and let you use them in your Arduino projects.
Basically, it is a hardware shield that sits on top of your Arduino board and communicates over Bluetooth to this Android app, to transfer data between it and your smartphone.
You can check the getting started tutorial on 1Sheeld website which will take you step by step till you can operate the 1Sheeld very smoothly and it's an awesome reference for great Arduino projects.
I have used in this project five shields from the 40+ shields in the 1Sheeld.
The first one is the Voice Recognition Shield which I used to control the whole system with voice commands, it's very simple shield that I can activate it with only 1 line of code: VoiceRecognition.start();
Then I used the Music Player Shield which allows me to tap into the smartphone music player and choose the tracks i want to play very smoothly, actually it's very simple that i only used this line to play the music player shield: MusicPlayer.play();
The third shield i used is one of the most important shields in the project, it's the Text to Speech Shield which add to the project a humanoid interaction that someone is responding for what you are saying, it was so easy to make the system responsive: TextToSpeech.say("time in cairo is");
After activating the Text to Speech shield i have activated the Clock Shield which return the clock in real time and then the system can respond with the time once i asked for it, amazing! isn't it :), and i can easily get the current time in my phone using this function: Clock.queryDateAndTime();
The last shield i used is the Internet Shield which in my opinion is the most powerful shield in the 1Sheeld, i used that shield to get the current status of the weather in my home town using an API from "openweathermap" website where I can call the API with that line: HttpRequest request1("/*the API address */");
- Arduino 101 $30.99
- 1Sheeld+ board $54.94
- iPhone $155.5
- PVC pipe $2
- LED strip $5
- 12V Power supply $7
- Relay board $3
- Jumpers and wires $3
- 3 NPN transistors $1
Make holes in the pipe to allow the sound to go out
Step 3:Paint the PVC pipe with black spray
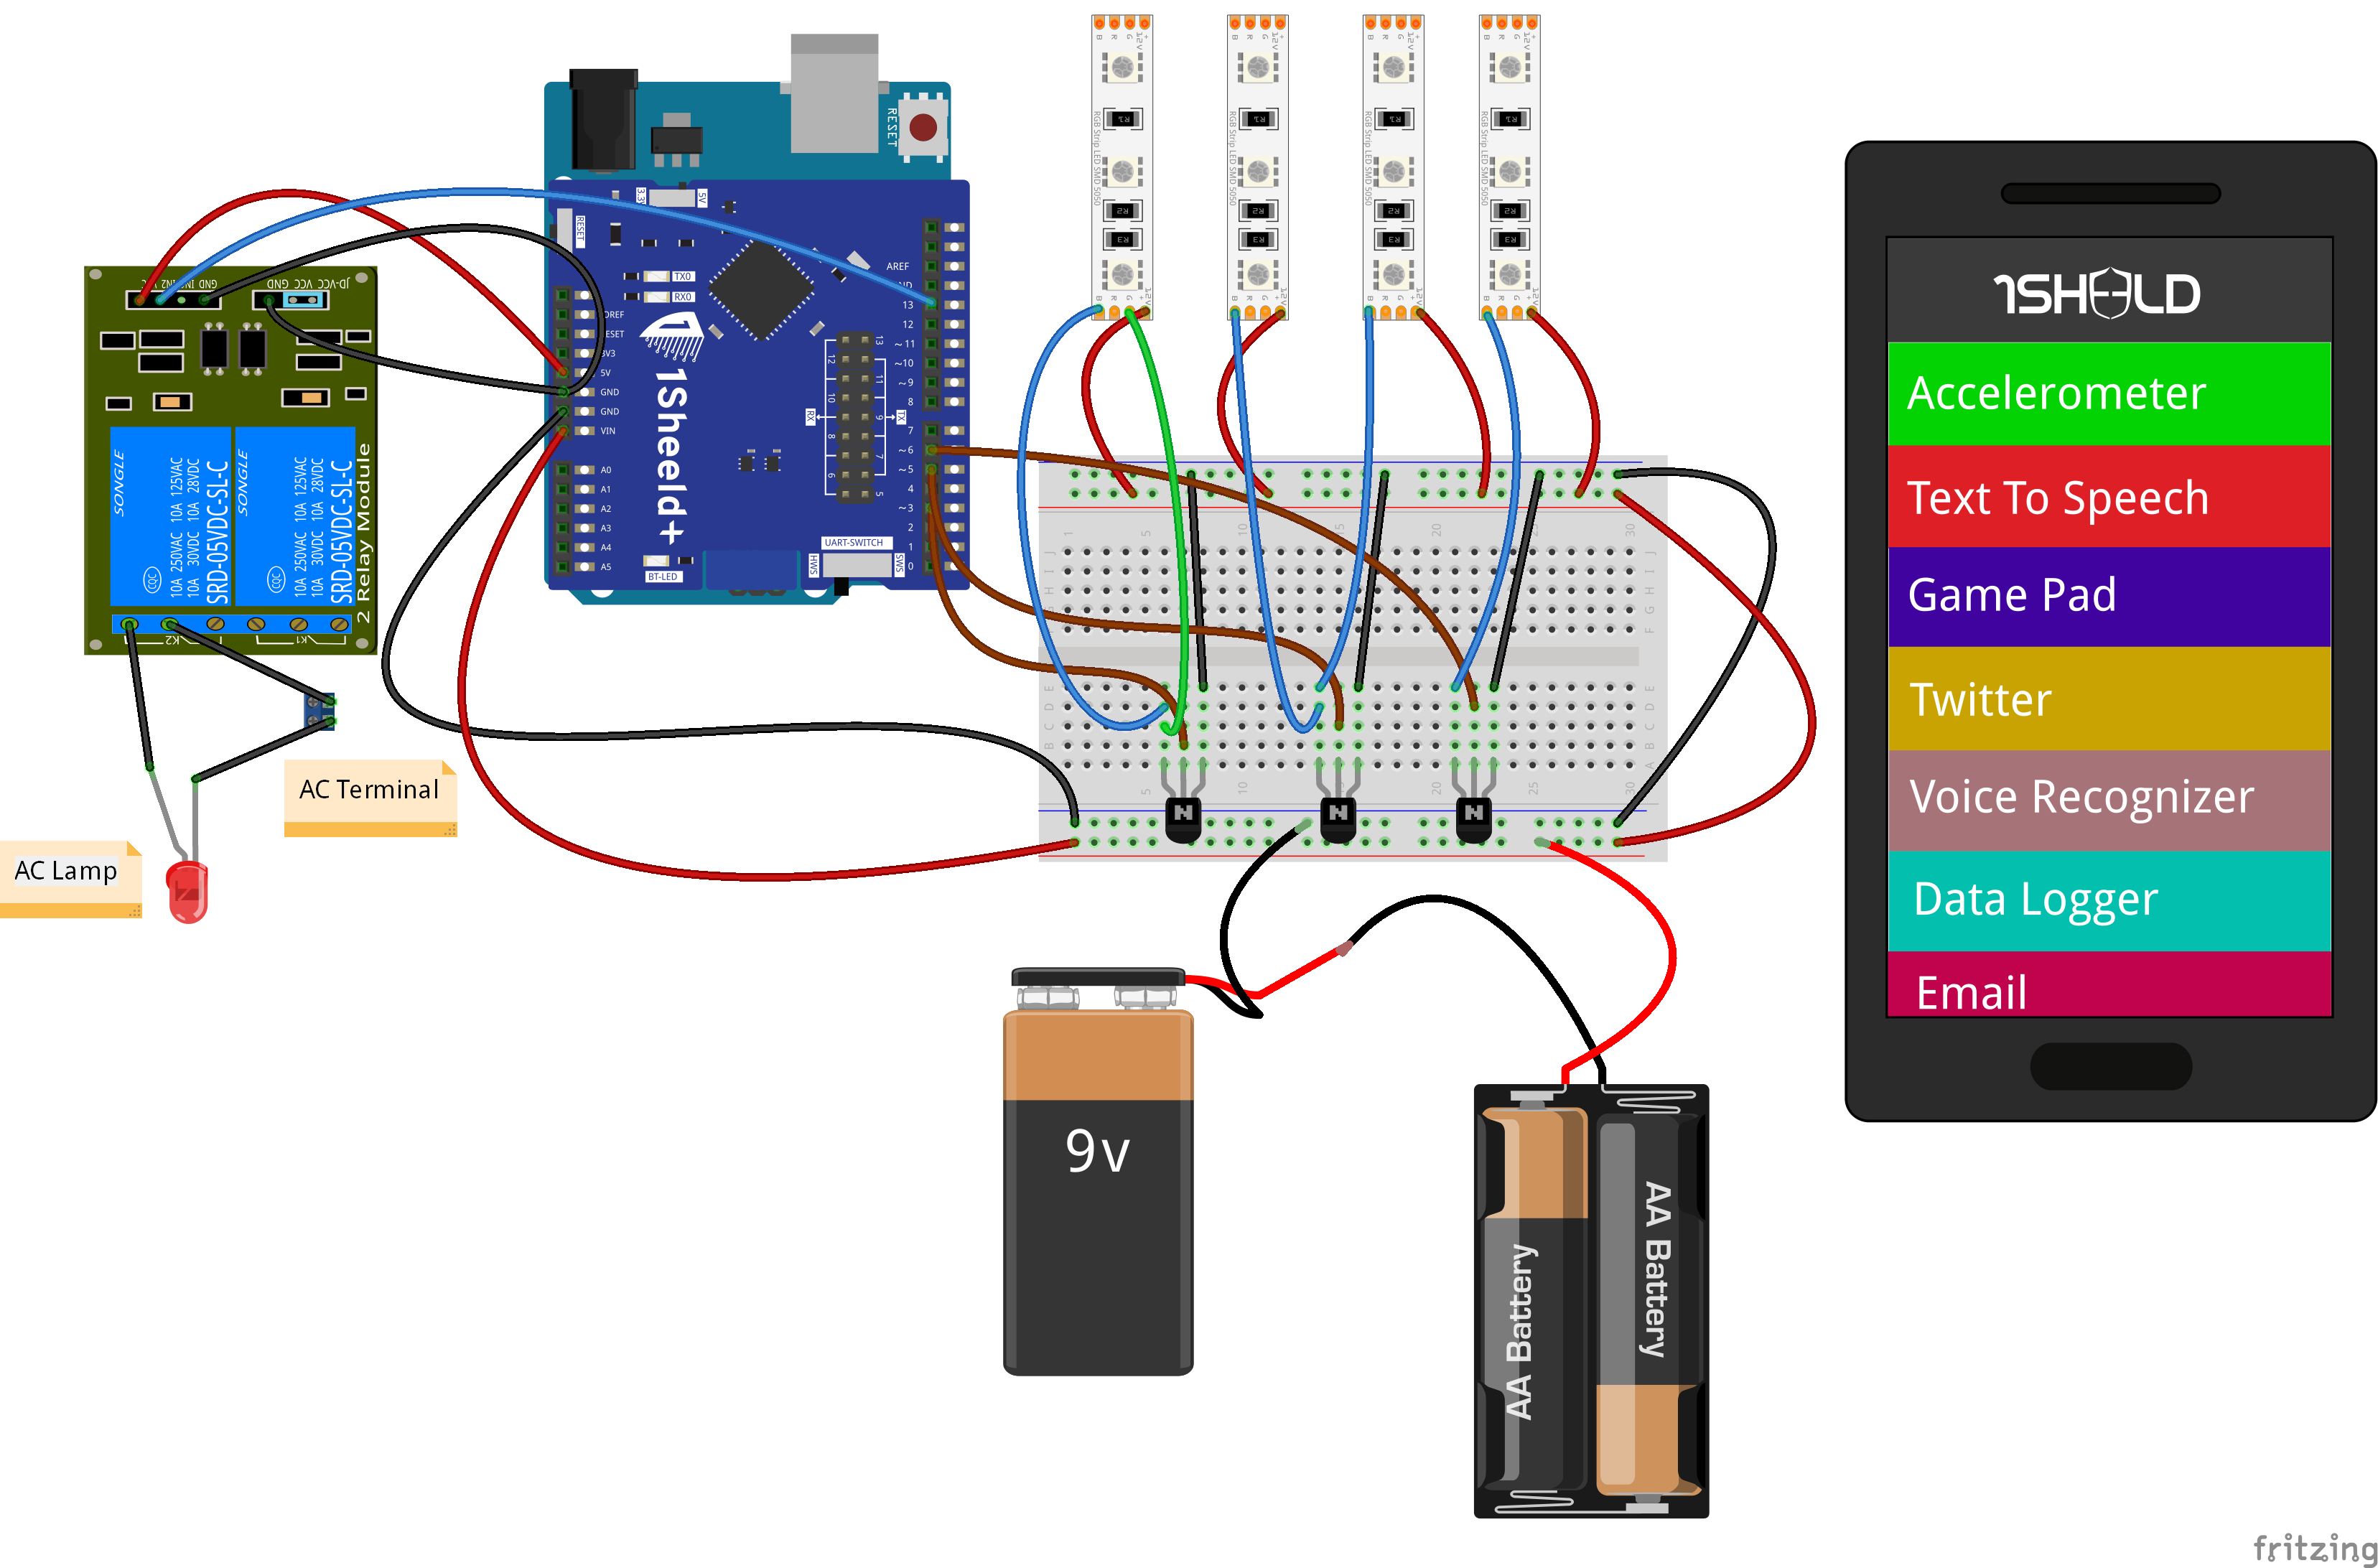
Step 4: Make the wiring- Connect the LED strips to the transistors and the power supply
- Connect the lamp to the relay board and AC terminals
- Connect the relay board and the LED strips to the Arduino 101 board as mentioned in the code below
- Mount all that with the iPhone inside the PVC pipe
You can manage any libraries from Arduino's IDE. Just click Sketch >> Include library >> Manage libraries >> type OneSheeld >> then click install and you are good to go. Or you can download the library from here: http://1sheeld.com/downloads/ Then open your Arduino IDE then chose sketch from the menu bar >> Include library >>add .zip file >> then chose the zip file yo just downloaded.
Step 6: Install 1Sheeld appDownload the 1Sheeld mobile app from the website or you can visit Apple play store or Google play store to get the app.
Step 7: Access the shieldsFollow 1Sheeld getting started tutorial and at the end of it chose the following shields
- Voice Recognition
- Text to Speech
- Clock
- Internet
- Music Player
Then press the multiple shield button.


_baVEVgguW1.jpg?auto=compress%2Cformat&w=48&h=48&fit=fill&bg=ffffff)


Comments
Please log in or sign up to comment.