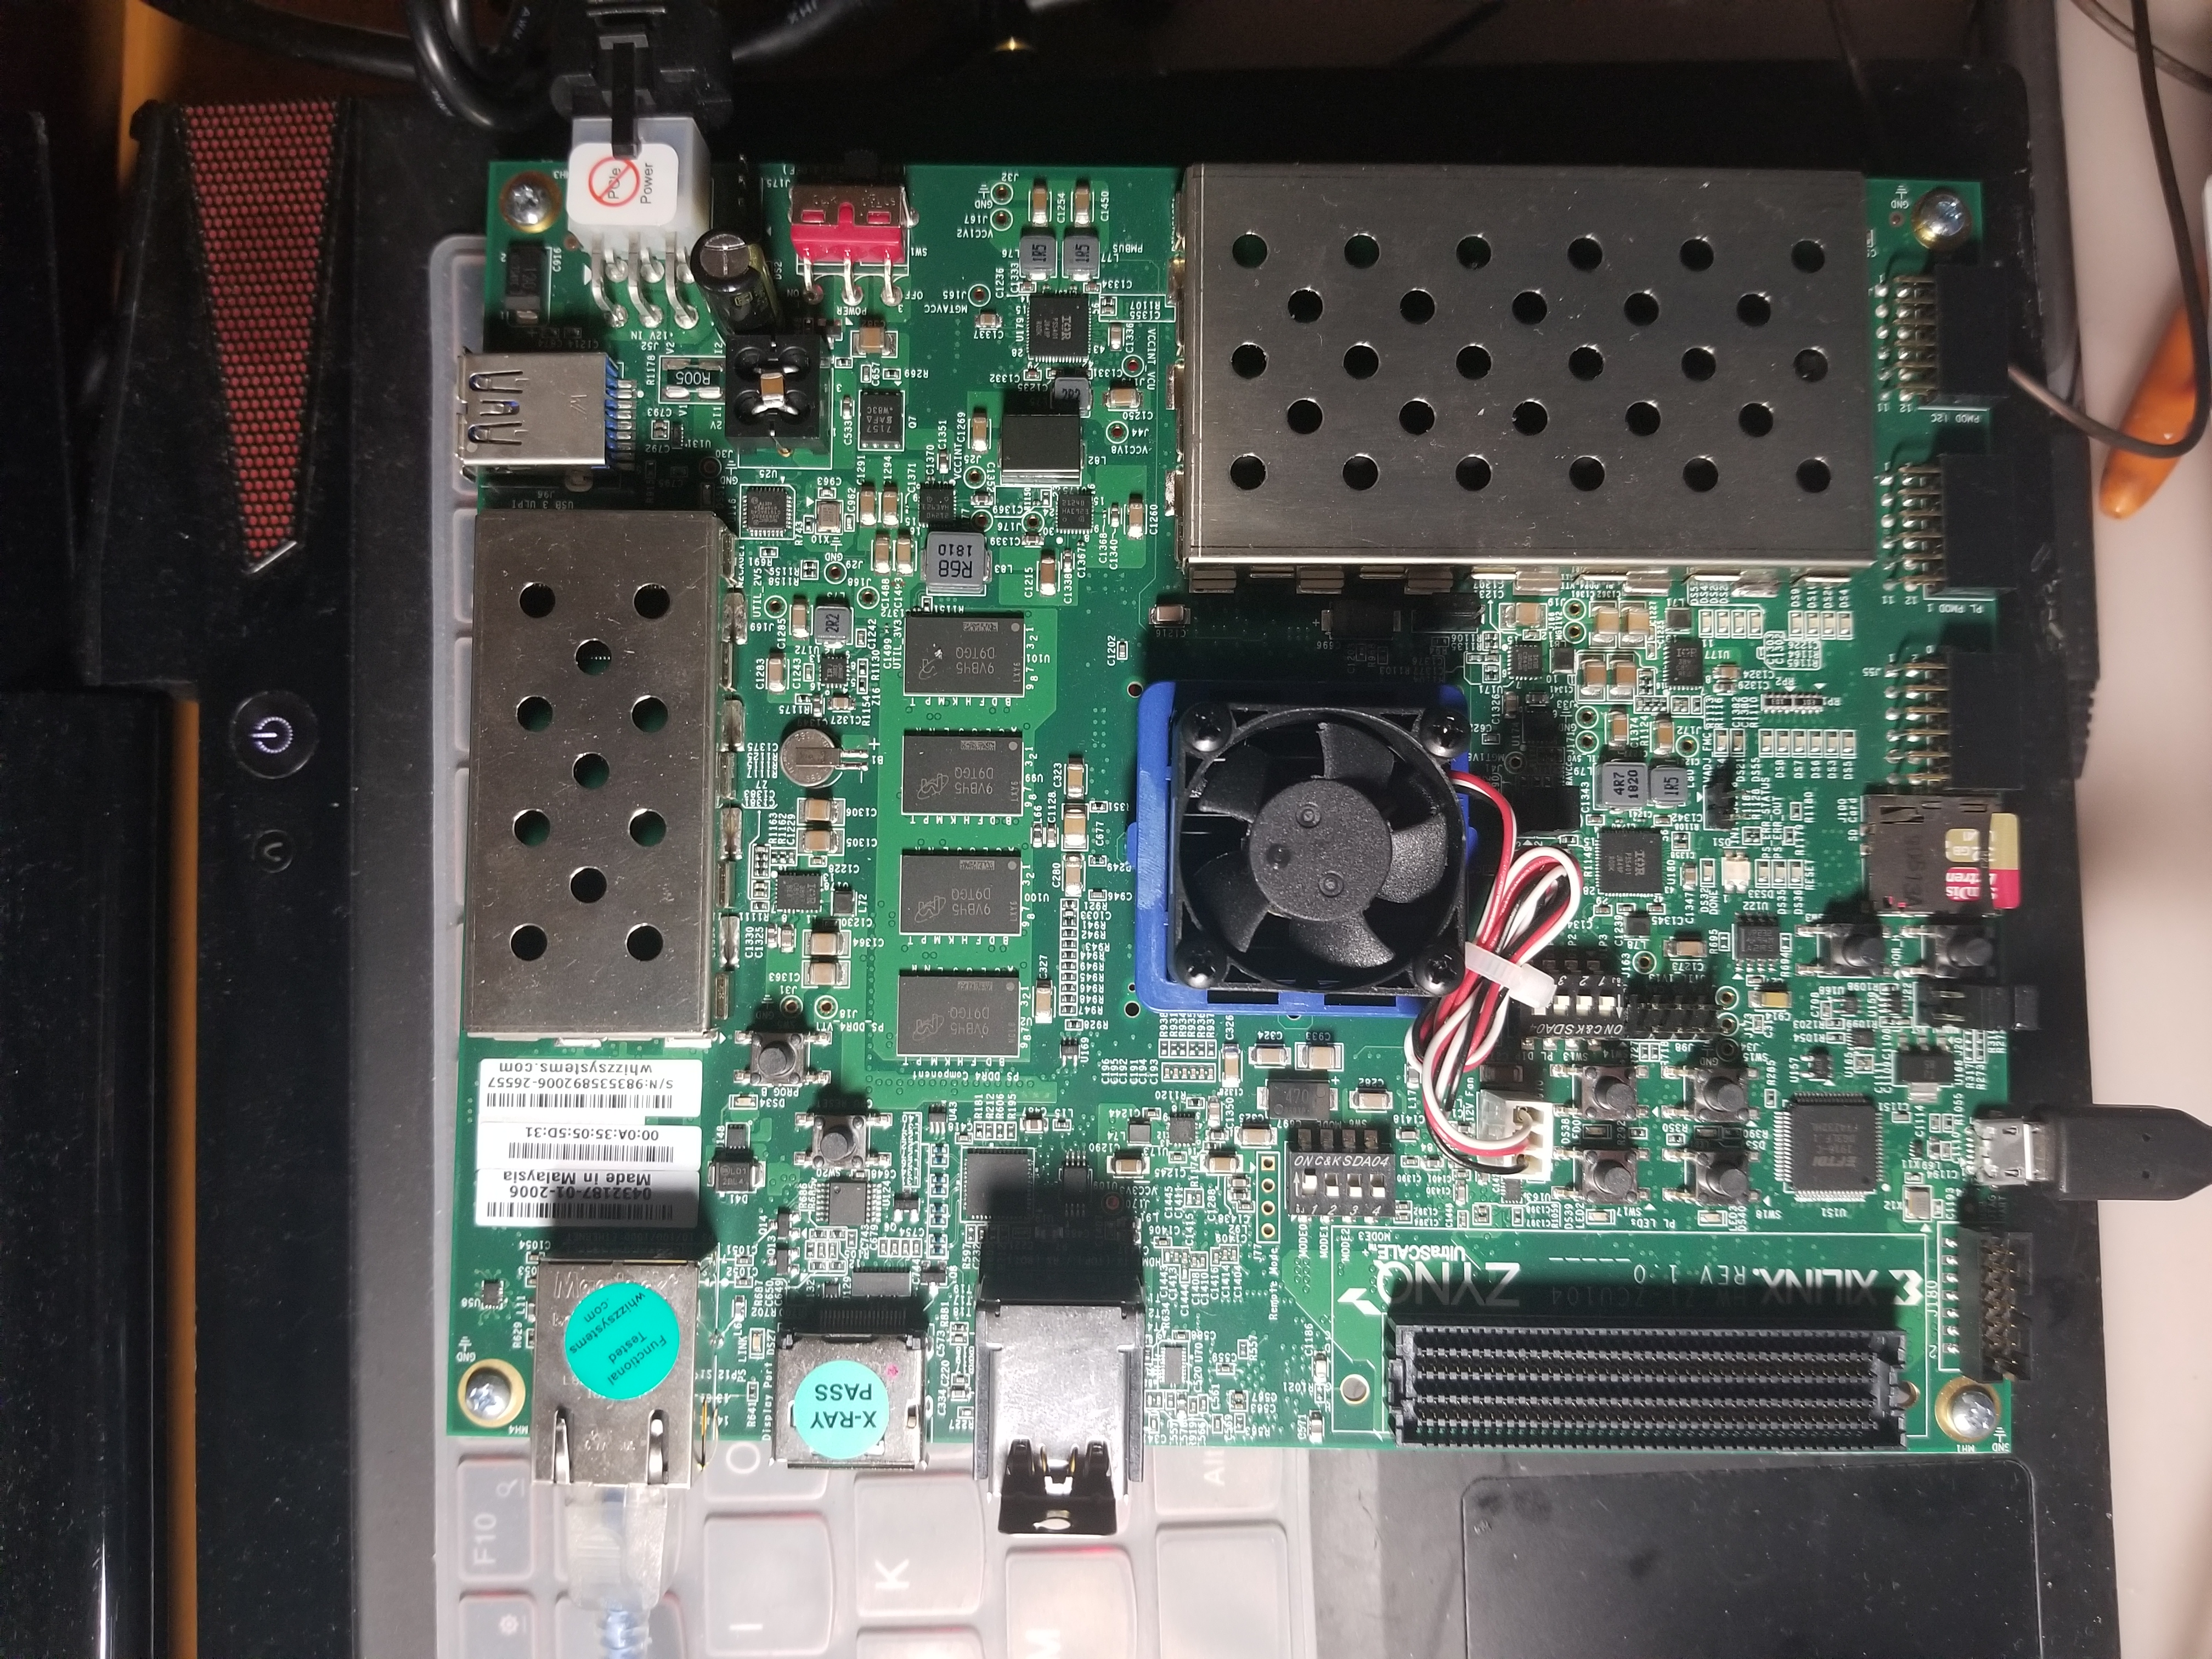
Hardware
- ZCU104 development board
- The design is based on zcu104.
- SD card (16GB or more)
- USB camera
- Micro USB to USB cable
- Network Cable
Software
- Vitis 2020.1
- Vivado 2020.1
- Petalinux 2020.1
- Vitis AI 2020.1
- BalenaEtcher
- MobaXterm
This project uses zcu104 to create a dpu image and demonstrate target detection and semantic segmentation.
The platform comes from the pre-built hardware configuration, you can use the hardware platform created by yourself
Setting Up the Target
To improve the user experience, the Vitis AI Runtime packages, VART samples, Vitis-AI-Library samples and models have been built into the board image. Therefore, user does not need to install Vitis AI Runtime packages and model package on the board separately. However, users can still install the model or Vitis AI Runtime on their own image or on the official image by following these steps.
Installing a Board Image.
Download the SD card system image files from the following links:
ZCU104
Note: The version of the board image should be 2020.1 or above.
Use Etcher software to burn the image file onto the SD card.
Insert the SD card with the image into the destination board.
Plug in the power and boot the board using the serial port to operate on the system.
Set up the IP information of the board using the serial port. You can now operate on the board using SSH.
(Optional) Running zynqmp_dpu_optimize.sh to optimize the board setting.
The script runs automatically after the board boots up with the official image. But you can also download the dpu_sw_optimize.tar.gz from here.
#cd ~/dpu_sw_optimize/zynqmp/
#./zynqmp_dpu_optimize.sh
(Optional) How to update Vitis AI Runtime and install them separately.
If you want to update the Vitis AI Runtime or install them to your custom board image, follow these steps.
Download the Vitis AI Runtime 1.2.1.
Untar the runtime packet and copy the following folder to the board using scp.
$tar -xzvf vitis-ai-runtime-1.2.1.tar.gz$scp -r vitis-ai-runtime-1.2.1/aarch64/centos root@IP_OF_BOARD:~/Log in to the board using ssh. You can also use the serial port to login.
Install the Vitis AI Runtime. Execute the following command in order.
#cd ~/centos#rpm -ivh --force libunilog-1.2.0-r<x>.aarch64.rpm#rpm -ivh --force libxir-1.2.0-r<x>.aarch64.rpm#rpm -ivh --force libtarget-factory-1.2.0-r<x>.aarch64.rpm#rpm -ivh --force libvart-1.2.0-r<x>.aarch64.rpm
Running Vitis AI Examples
Download the vitis_ai_runtime_r1.2.x_image_video.tar.gz from host to the target using scp with the following command.
[Host]$scp vitis_ai_runtime_r1.2.x_image_video.tar.gz root@[IP_OF_BOARD]:~/
Unzip the vitis_ai_runtime_r1.2.x_image_video.tar.gz package on the target.
#cd ~
#tar -xzvf vitis_ai_runtime_r*1.2*_image_video.tar.gz -C Vitis-AI/VART
Enter the directory of samples in the target board. Take resnet50 as an example.
#cd ~/Vitis-AI/VART/samples/
Run the example.
For segmentation, execute the following command.
#cd segmentation/
#./segmentation video/traffic.webm model_dir_for_zcu104/fpn.elf
For object detection, execute the following command.
# cd adas_detection/
#./adas_detection video/adas.avi model_dir_for_zcu104/yolov3_adas_pruned_0_9.elf
For examples with video input, only webm and raw format are supported by default with the official system image. If you want to support video data in other formats, you need to install the relevant packages on the system.


Comments
Please log in or sign up to comment.