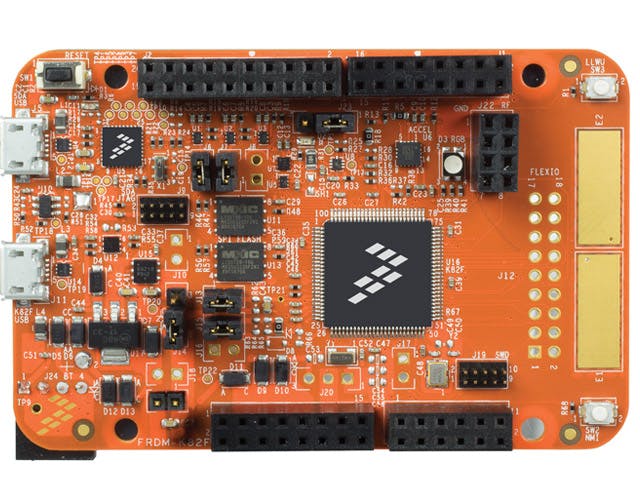
By this writeup I will show the steps involved in setting up the board and a kickstarter module where you can understand everything by just seven steps. I have browsed and learned from nuke and corner, found the simple steps to kickstart your learning. I have tried nearly 10 demo apps which were given in the SDK. Luckily I didn't face much problem with my implementation. My FRDM k82f came preloaded with 'Bubble' demo_app, so when i plugged in my board, the RGB didn't light up because the board was flat. When the board is flat, the RGB LED is turned off, and when the board is tilted, the green or blue LEDs illuminated based on the degree of tilt on the X- and Y-axis.
STEP ONE:
To download the IDE in which we are going to work. There are a lot, but my preference would be Kinetis Design studio.
- For KDS to be installed 'Sign In' to NXP.com and download the respective Kinetis Design Studio
- After downloading, install the IDE.
STEP TWO:
For the sdk to be downloaded, we have to first build the sdk. Click this to build your sdk.
The created zip file should then be downloaded and unzipped. This SDK will contain some demo apps.
STEP THREE:
Download the driver for Windows, by clicking this : DRIVER
Install the driver by plugging in the board.
STEP FOUR:
For the serial port communication, we use softwares like puTTy and teraterm. Make sure you keep the specified configuration to see the output while running the program.
Download the teraterm 4.90 .exe file from HERE.
STEP FIVE:
To make the serial port as 'Opensda CDC Serial Port', we have to download a binary file and bootload it to the FRDM K82F Dev Board. Converting it to Opensda has its own advantages, we can easily upload the code to the FRDM board.
Binary file OpenSDA V2.1 Bootloader can be downloaded from HERE at the bottom of the page.
STEPS TO BOOTLOAD THE BOARD TO OPENSDA:
- Plug in the board by pressing the reset button.
- Drag and drop the binary file in the BOOTLOADER(H): disk drive.
- Unplug the board.
STEP SIX:
Knowing the location of Demo apps.
Browse to the SDK 'examples' folder of your SDK installation and select your board, the FRDM-K82F (<SDK_Install_Directory>/examples/frdmk82f).
STEP SEVEN:
- Import any of the demo_app by using kinetis design studio (KDS).
- Build the project by clicking the hammer button.
- Then by clicking the 'debug' icon in the bar enter into the debug configuration and then select the "debug/helloworld-jlink" under GDB SEGGER JLINK DEBUGGING.
- Click the Debug button, it will upload the code to the FRDM board
- It shows a prompt message which is completely normal.
VIDEO LINK: Building and running the apps.


Comments
Please log in or sign up to comment.