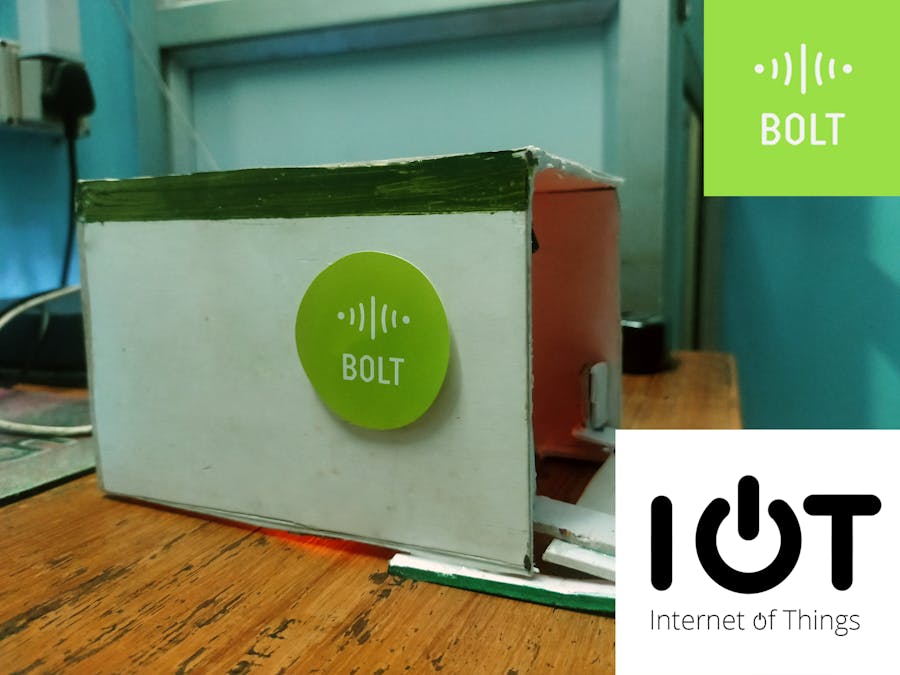
I live in an Apartment and the letter box are present in the ground floor. Postman are not allowed to enter the floor if they are here to post a letter. And each house (family) have their dedicated letter box present in their name.
Most of the time, its either us, who have to keep checking by opening the box, or we end up forgetting and missing few of the important letters. There was no routine or proper information on when and who receives a letter.
That's when it came to my mind, to use the technology we ALREADY have and use it for something that is possible. A notification for out physical letters.
Now the issue was, how to detect when a letter is been inserted in the box. That's when I remembered about the proximity sensors on our phones, it detects anomaly in front of it. So, I decided to use IR sensor to detect the mail and use internet as a means to notify me.
Bolt IoT is one of the easiest means to program and build a project, so I decided to use it to for my purpose.
Wanna know how to build it? Move Forward, you will surely have a good time !
STEPS TO BUILD -1. Get yourself a BOLT wifi module.The module comes with the hardware kit with a basic purchase with a course of Online Training on IoT and Machine Learning. I recommend buying the product and start building self-made projects. Setup the module and connect it to your wifi connection.
Since, we used Python language in this project, look at some basic knowledge for this project.
2. Setup the module with WifiDownload the BOLT app from app store and follow the steps accordingly to setup the module to connect with your wifi connection.
3. Linux Terminal - For ControlForAndroid-Install Termux
Download the termux app from PLAY STORE. Then when you first run the app, type
>apt updateThis will update your termux app in a few seconds. (Play store will no longer get termux updates)
Then run below commands to install python3 and boltiot package.
>apt-get update
.
.
>pkg install python
.
.
>apt-get install python-pip
.
.
>pip install boltiot
Now you're good to go !
ForWindows - WindowsPowershell
Even tho BOLT recommends Ubuntu for beginners, powershell does the same job. All you need is a terminal to run your program.
Prerequisite knowledge of Shell Scripting is necessary, like creating a file, editing the file, running a program, etc.
4. How to Receive Notifications? -For this project, we will use 3 platforms to send the notification to - SMS, EMAIL, TELEGRAM.
For SMS, we will use twillio.com. For EMAIL, we will use mailgun.com. And for TELEGRAM, the app itself.
Let us get all necessary keys and tokens required to build this project.
- For SMS, visit twilio.com and create an account. There, get a free trial number, SID, AUTH TOKEN, and most important verify the number you want to send the message to. It will send messages to authorized numbers only.
2. For EMAILs, visit mailgun.com and create an account. There, get the Sandbox URL, API key and authorize your email to where it will notify.
3. For telegram, download the app from app store. We create a channel. Then create a bot using BotFather (search on telegram 'Botfather' > Click on verified 'Botfather' > on the message below, type /start). Add the bot to the channel we created (with admin access). There, you will get the chat ID and bot ID.
Chat ID - @<channelusername> from t.me/<channelusername> for the created channel.
Bot ID - check below
4. For Bolt, we require its API key and Device ID, which you will find in cloud.boltiot.com. See the screenshot below.
The configuration file contains the information that works as a secured delivery system to avoid loss of data breach. This conf.py file will be imported later to the main file where the whole code is written, to send the notification to all services.
- For SMS, sms_conf.py will look something like this.
SID = 'XXXXXXXXXXXXXXXXXXXXXXXXXXXXXXX'
AUTH_TOKEN = 'XXXXXXXXXXXXXXXXXXXXXXXXXX'
FROM_NUMBER = '+1XXXXXXXXXXX'
TO_NUMBER = '+91XXXXXXXXXXXX'
2. For TELEGRAM, tele_conf.py will look something like this.
telegram_chat_id = "@XXXXXXXX"
telegram_bot_id = "botXXXXXXXXXXXXXXXXXXXXXXXXXXXX"
threshold = 500
3. For EMAIL, email_conf.py will look something like this.
MAILGUN_API_KEY = 'XXXXXXXXXXXXXXXXXXXXXXXXXXXXXXXXXXXXXXXXXXXXXXXXXXXX'
SANDBOX_URL = 'sandboxXXXXXXXXXXXXXXXXXXXXXXXXXXXXX.mailgun.org'
SENDER_EMAIL = 'test@'+'sandboxXXXXXXXXXXXXXXXXXXXXXXXXXXXXXXXX.mailgun.org'
RECIPIENT_EMAIL = 'XXXXXXXXXXXXXXXX@gmail.com'
4. For BOLT module, bolt_conf.py will look something like this
API_KEY = 'XXXXXXXXXXXXXXXXXXXXXXXXXXXXXXXX'
DEVICE_ID = 'BOLTXXXXXXX'
Now that you have everything READY, watch the below video to get an Idea, on how the Terminal, and the Code works -


_bb_j2mhqnMmhV.png)


Comments
Please log in or sign up to comment.