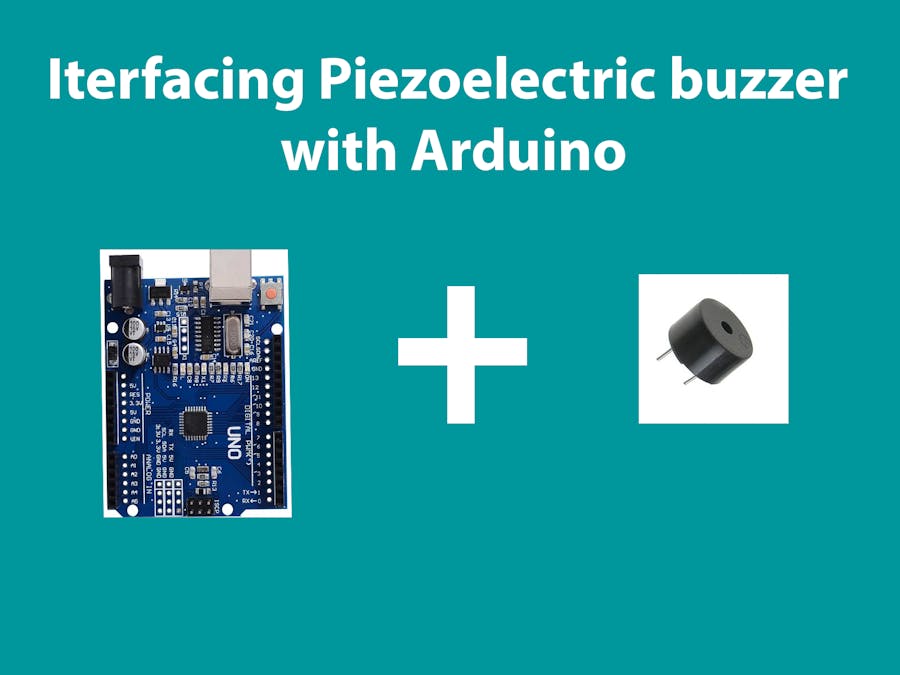
In most of the projects we need a buzzer. In this article we discussing about the interfacing of a piezoelectric buzzer with Arduino Uno. Most of the people only heard the high frequency sound from the buzzer. But alternatively we can make sound in different frequencies. This article will help you in your covid-19 project.
In this article,
- Piezoelectric buzzer explained.
- Operate buzzer with
digitalWrite() tone()function explained.noTone()function explained
Before proceeding we need to know about the working of piezoelectric buzzer.
Piezoelectric BuzzerIt is a simple device which can generate beeps and tones. Working principle of the device is piezoelectric effect. The main component of this device is a piezo crystal, A special material that change shape when a voltage applied to it.
KeypointSimply change the frequency of the voltage sent to the piezo and it will start generating sounds by changing shape very quickly.
This article is divided into two parts. One is Buzzer without tone() and second is Buzzer with tone().
Lets start.
1. Buzzer without tone()Step - 1
We can also done this with a Astable Multivibrator and without any microcontroller
I am going to create a sketch to make a beep sound without tone() function.
Open Arduino IDE. And open a new page.
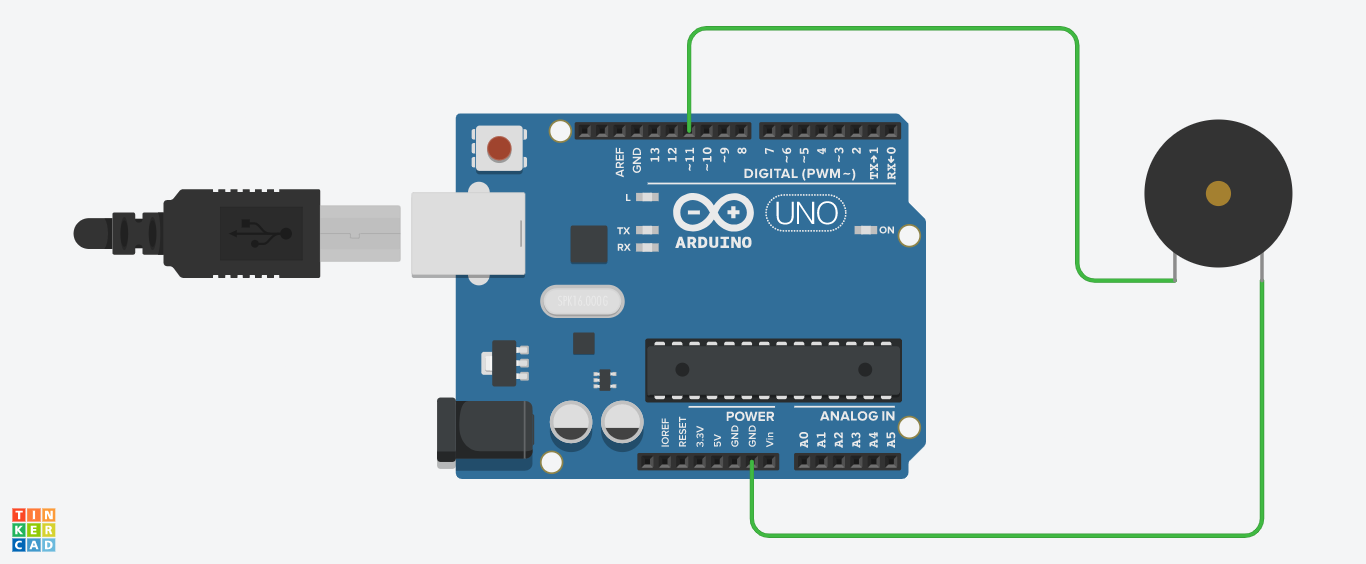
First program the setup() part. I decided to control the buzzer via the digital pin 11 of Arduino Uno. So first set the pin 11 as OUTPUT by the pinMode() function.
void setup(){
pinMode(11,OUTPUT);
}
Step - 2
Next we need to code the loop part. First set the pin 11 as HIGH by using the digitalWrite() function. Then add the 0.5 second delay. This two lines responsible for turn on (generate sound) the buzzer for 0.5 seconds.
digitalWrite(11,HIGH);
delay(500);
Step - 3
Next set the pin 11 as LOW for 0.5 seconds. This will turn off the buzzer for 0.5 seconds.
digitalWrite(11,LOW);
delay(500);
The code is completed. The complete code is given in Code part of this article. Then upload the code to Arduino Uno.
ConnectionArduino Uno - Buzzer
GND - GND (The short leg)
5V - Vcc (The long leg)
For prototyping purpose use the Male/Female Jumber wire.
Next I am going to interface the buzzer with tone() function
Before starting we need to know about tone() and noTone() function.
tone()
Generates a square wave of the specified frequency (and 50% duty cycle) on a pin. A duration can be specified, otherwise the wave continues until a call to noTone(). The pin can be connected to a piezo buzzer or other speaker to play tones.
Syntax : tone(pin_number, frequency)
noTone()
Stops the generation of a square wave triggered by tone(). Has no effect if no tone is being generated.
Syntax : noTone(pin_number)
It's time to start.
Step - 1
The setup part is same as the setup part of Buzzer without tone(). So refer the Step -1 of Buzzer without tone().
Step - 2
Next I am going to code the loop part. First I call the tone() function. It have two parameters. First one is the pin number which the buzzer is attached. Here it is 11. And second parameter is the frequency in Hertz. Here I set the frequency as 200 Hz. Alternatively you can try with different frequencies.
tone(11,200);Step -3
Then add a delay of 0.5 seconds.
delay(500);Step - 4
Then call the function noTone(). This will help release the pin from tone() function. This function have only one parameter. It is the pin number which the buzzer attached.
noTone(11)Step - 5
Again add a delay of 0.5 seconds.
delay(500);The programming part is completed. The complete code is given in code part of this article. Upload the code to Arduino Uno and observe the difference from the previous sound.
Change the frequency, you can get the different sounds.
Please don't copy paste my code. Understand each line of code and create a sketch byyourself.
Follow me on,
Instagram : five_volt_player
Contact : akshayjoseph666@gmail.com
Share your experience and suggestions on the comment box.
Previous articles :
Interface I2C 16x2 LCD with Arduino Uno (Just 4 wires) , Interface 16x2 LCD (parallel interface) with Arduino Uno, Touchless Doorbell,Interfacing Bluetooth Module (HC-05) with Arduino Uno,Automatic Water Tap, Automatic Hand Sanitizer, Interface Ultrasonic sensor with Arduino Uno, Control Servo motor with Arduino Uno and Pushbutton,Control Servo motor with Arduino Uno and POT,Servo Motor Interface with Arduino Uno, IR Controlled Home Appliances With Saving Previous State, Touchless Hand Wash Timer


_ztBMuBhMHo.jpg?auto=compress%2Cformat&w=48&h=48&fit=fill&bg=ffffff)


Comments
Please log in or sign up to comment.