


Hardware components | ||||||
 |
| × | 1 | |||
 |
| × | 1 | |||
 |
| × | 1 | |||
 |
| × | 1 | |||
 |
| × | 1 | |||
| × | 1 | ||||
Software apps and online services | ||||||
 |
| |||||
 |
| |||||
| ||||||
I have been brewing beer for the past two years and have continuously made small improvements to my brewing equipment in the hope of making my beer more consistently delicious.
I hadn't considered fermentation temperature until I experienced a stalled fermentation in a Westmalle Dubbel clone. After that, I wanted to know everything I could about the temperature of my fermentation, so I went about making a device.
Being a total novice to Arduino, I combined the projects below in order to get exactly the device I needed. Rather than duplicate these excellent resources, it's probably better to follow these and make a few adjustments along the way.
All it needed to do was:
Using the attached sketch, and hardware, the bulk of the project should work. The most complicated aspect was getting the data to Google Sheets through Pushingbox, but the guide above by Stephen Borsay worked perfectly. In the comments of his project, Amol P suggests that this is possible without Pushingbox, but I was unable to get this to work.
If you want to use my sketch, you must use my attached Google Script and use the following in Pushingbox.Here is a link to my Google Sheet to show the logged data, which I am over the moon with! I am currently testing different battery capacities, and sleep intervals so it is a little messy. https://docs.google.com/spreadsheets/d/1vhIw8N9_N7dHcB3fNVhj1E9cVRg9hRfgyqzK-10kAeI/
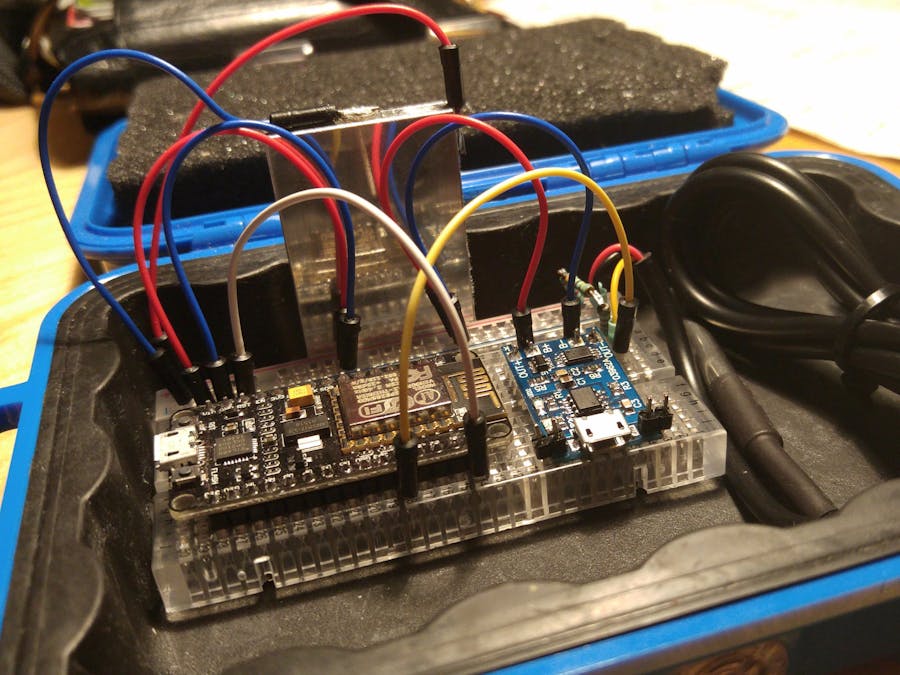
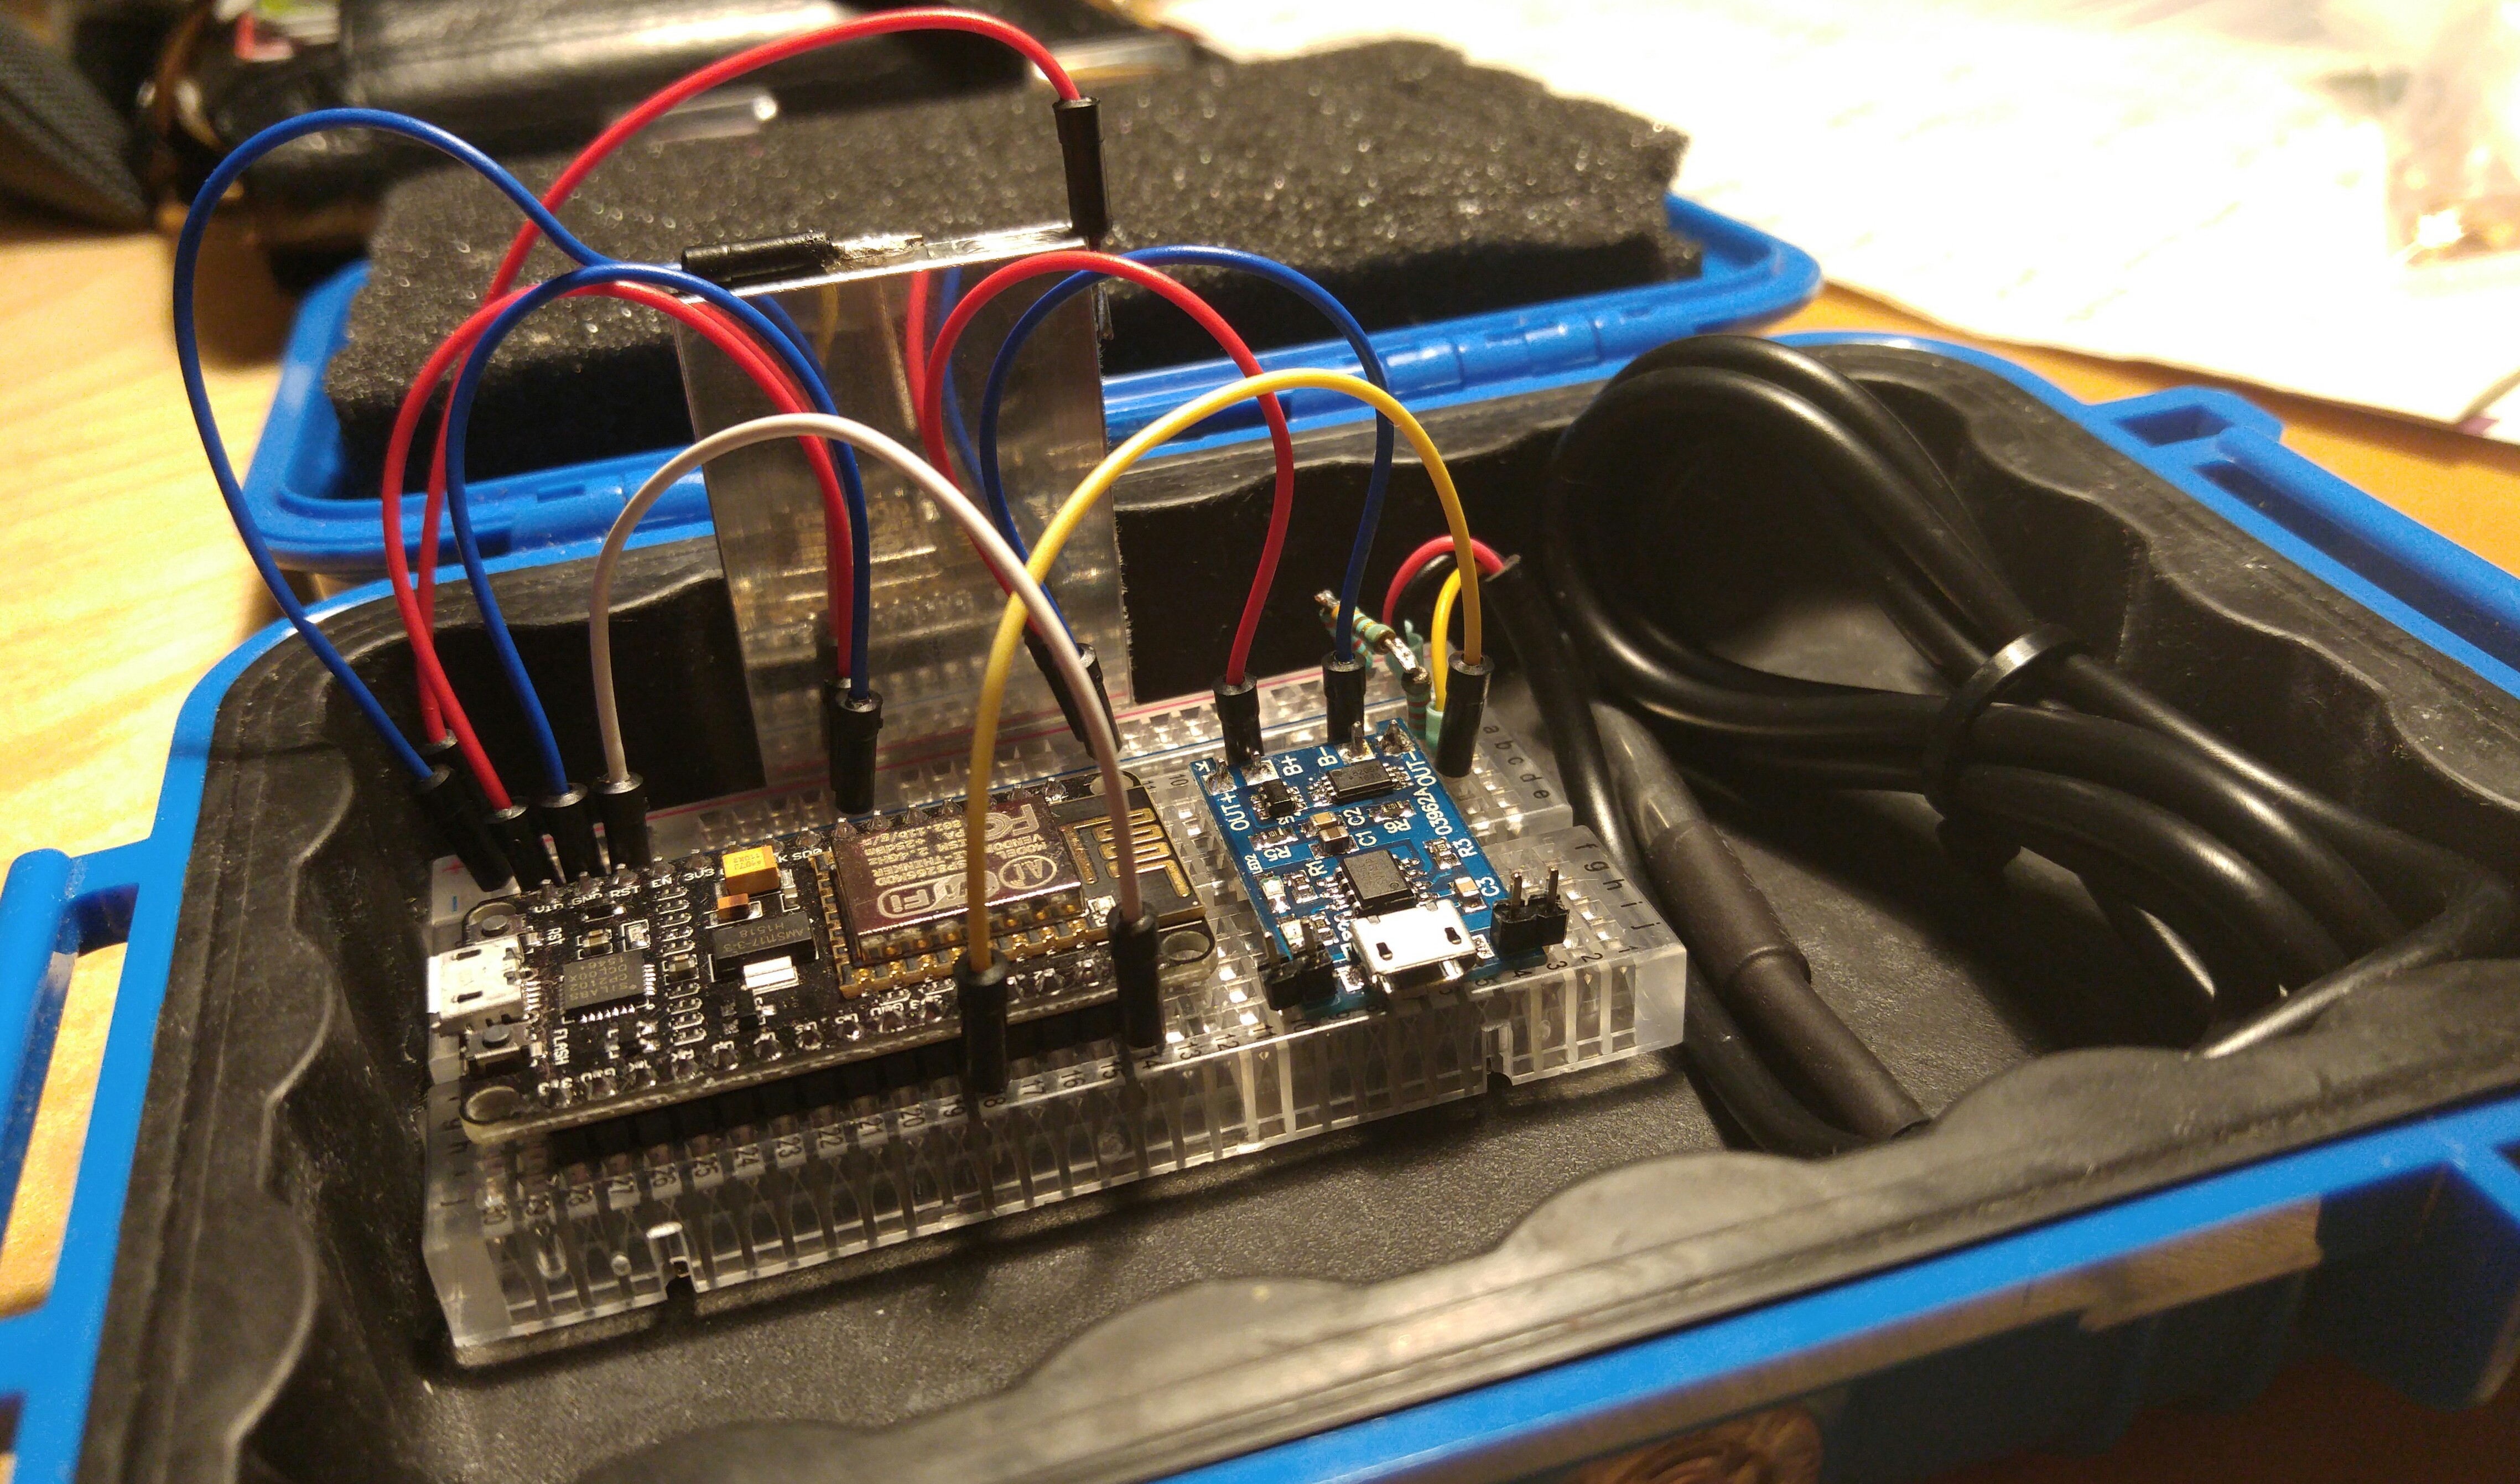
Here is a top-down image of the breadboard I have the hardware hooked up to.
After some testing, I have found that a 1200mAhr battery lasts approximately 5 days. Unexpectedly, changing logging frequency between 60 and 15 minutes has little affect on battery life. I do have a problem remembering to check on the battery voltage, so I may set up an email alarm when voltage drops to 3v on Google Sheets.
I am satisfied if I get a few days out of the device without having to recharge, but a few physical alterations on the NodeMCU could extend the battery life to months. I am a bit reluctant to make these changes, but please see https://tinker.yeoman.com.au/2016/05/29/running-nodemcu-on-a-battery-esp8266-low-power-consumption-revisited/ for a great discussion on doing this.
My ultimate goal is to find or make an enclosure that will contain the project, so that it can be dropped straight into the fermenter and active fermentation temperature can be observed directly.
It will need to be:
- food safe
- openable
- water tight
- fairly conductive to heat
But that's for the future - any suggestions are very much welcomed!
Project update - the future is here!I tried my best to find a submersible enclosure for the project above, but I quickly realised the project was far too bulky for the kind of containers I could find in my local supermarket. I looked for NodeMCU v2 equivalents, and was pleased to find a very compact alternative, the Wemos D1 Mini (mine is by Wavgat). I was sceptical that I could throw the same code onto it, but after a brief configuration on Arduino it was up and running. Sadly, the internal voltage readings were unreliable when compared to my multimeter. I looked for another method of providing battery voltage on the D1 Mini and found a helpful post:
After a good read, I added the following to my code:
// Read A0 and scale it to match multimeter (must have 100K resistor between A0 and positive terminal of cell).
float volData;
pinMode(A0, INPUT);
volData = analogRead(A0);
volData = (volData/1024)*4.52;
On a side note, after taking the 1200mAhr battery through a few charge cycles, it appears the D1 Mini consumes much less power. At the time of writing, 27 days after it's last charge, the battery has dropped from 4.12v to 3.96v (2449 readings at 15 minute intervals). I have been using a Poundshop LiPo AA sized battery that I have short-circuited more times than I can count. The NodeMCU v2 would rarely make it to 7 days before running a 1200mAhr battery flat.
I had a look at other projects that had enclosures suitable for the D1 Mini, and stumbled upon the marvellous iSpindel project: https://universam1.github.io/iSpindel/
It is a fascinating project that focuses on measuring the inclination angle of a heeling cylinder in order to relate this to density of the surrounding medium. I don't have a use for this, but the container was a perfect size. I eventually sourced one from uniquegeocaches on eBay. It was described as an XL PET preform soda bottle and came from Lithuania.
Once the enclosure arrived I started stuffing the various components in there, but realised I needed some sort of structure. I purchased a breadboard that would fit in the bottle and crossed my fingers that I could stick/tie/solder my components to it.
I tried a number of combinations, but settled on the following configuration. I wasn't brave enough to commit to soldering everything at this stage.
As you can see, there were some superficial additions to the project mainly due to the introduction of the enclosure. I added a generic QI compatible wireless charger, which can be used to receive power from a QI charging pad without having to disturb the components.
I also added small lead weights in the form of split-shot (more commonly used in angling). More lead weights can be added to ensure the project is submerged and measuring the actual fermentation temperature.
Here is the finished project, ready to hit the wort!


Comments
Please log in or sign up to comment.