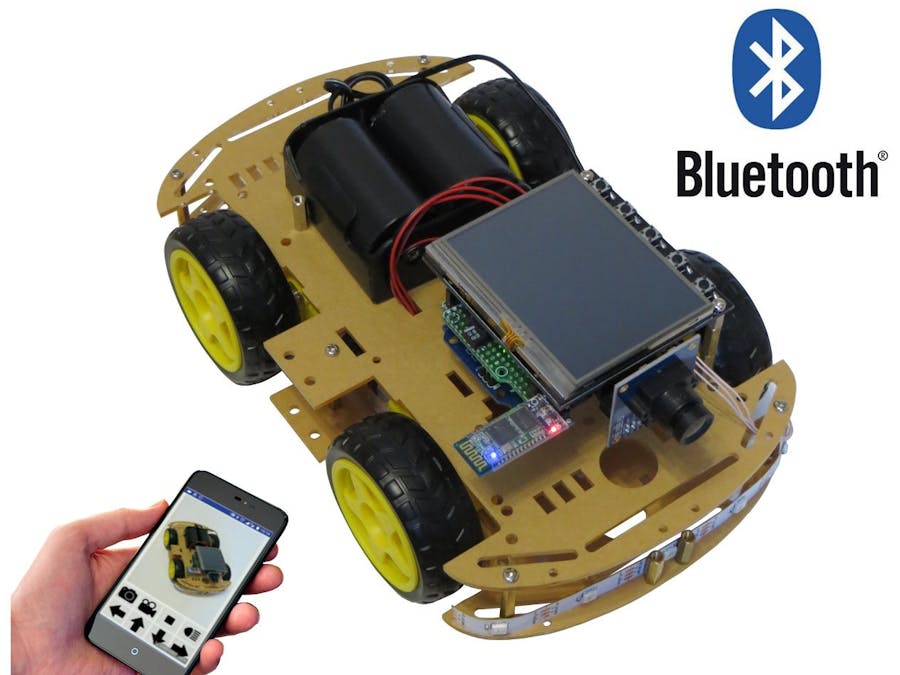
This article will be devoted to the development of a 4WD Robot that has "vision" using a common and inexpensive camera ОV7670, which will transmit images from the camera to a smartphone (in real time) over Bluetooth. The robot will also be controlled over Bluetooth from a smartphone.
This article will not describe in detail the process of programming Arduino UNO (only a sketch will be posted). The programming process is described in detail in another article.
Needed componentsOrdered in various online stores:
- 4WD Robot platform;
- L293D drivers (two pieces);
- Bluetooth module HС-05;
- Prototyping board (in the Arduino UNO format);
- Arduino UNO board.
Everything else (in stock):
- TFT shield;
- Batteries;
- Sockets;
- Wires;
- Connectors
- etc.
The first thing you need to do is build a 4WD Robot platform. The following is the assembly process as detailed as possible.
Due to the fact that there were not many free pins on the Arduino UNO board (most pins are used for the TFT screen), it was decided to solder the L293D driver control circuit taking into account the available pins. This layout is installed between the Arduino UNO board and the TFT screen. The scheme is as follows:
Program in Arduino UNO shield TFT_shield_Robot.ino (+ ov7670_regs.h). The process is described in detail in the article.
Connect the OV7670 camera and the Bluetooth module HC-05 to the TFT shield. Connect together the TFT shield, the breadboard of the motor driver, Arduino UNO. Install the assembly "TFT shield / Motor driver / Arduino UNO", 7.2 V battery on the chassis. Connect wires from 4 motors to the driver board (I experimentally connected one motor each :-)).
To work with 4WD Robot, you need to install the MyRobot.apk application on your phone, turn on Bluetooth, launch the application, select the identifier of the module detected by Bluetooth. In case of successful execution of all actions, the image of the Robot 4WD with the control buttons at the bottom of the screen should appear on the phone screen. Please note that the phone must be held upright. By clicking on the buttons you can make the 4WD Robot:
- take a single photo,
- start sequential image transfer,
- stop image transfer,
- turn on / off the backlight,
- turn left,
- move forward,
- move backward,
- turn right.
For a visual demonstration, I am attaching a video of working with 4WD Robot. If you liked (or did not like) my project, please evaluate my work. Thanks for your attention!
Add 22 May 2020: Link to Apk source code (rename to MyRobot_01.zip and unzip).


_ztBMuBhMHo.jpg?auto=compress%2Cformat&w=48&h=48&fit=fill&bg=ffffff)


Comments
Please log in or sign up to comment.