According NOAA -
Rip currents account for more than 80 percent of rescues performed by surf beach lifeguards. They are powerful, channeled currents of water flowing away from shore that quickly pull swimmers out to sea. Rip currents typically extend from the shoreline, through the surf zone, and past the line of breaking waves.
Knowing when it is safe to swim at the beach can be a difficult decision even when there are no lifeguards on duty. It could be extremely choppy waters or extremely cold but you may not know that until you get into the water itself. I think unguarded beaches is a very common problem not just in the US but around the world and if we can make an easily implementable device then it would help massively to curve accidental swimming related deaths.
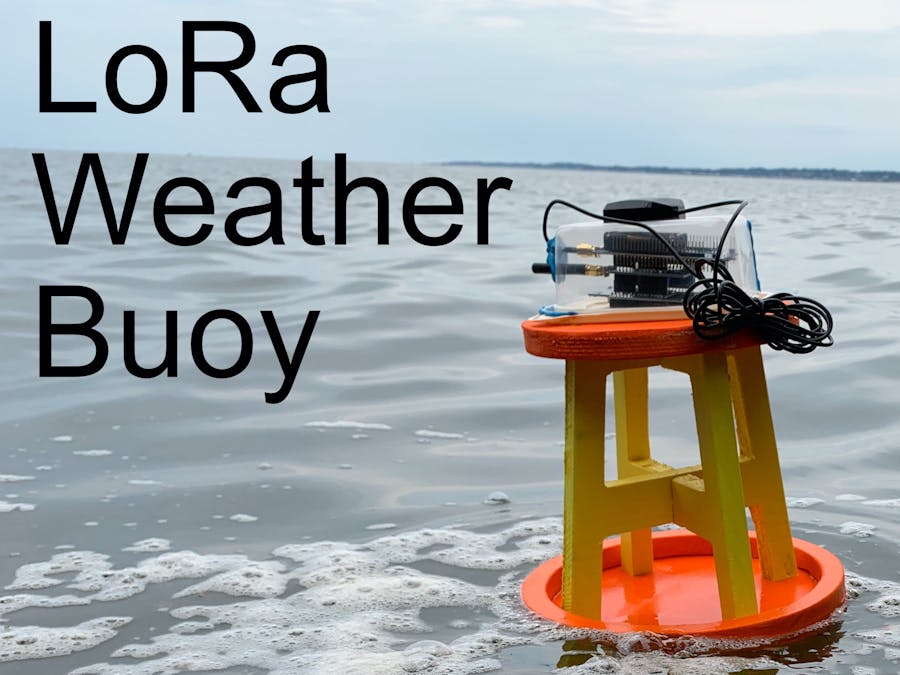
In this project, we are going to create a weather buoy that uses the Helium network. Because the Buoy will only be out a few hundred feet from the shore, using a LoRa network will be perfect - significantly cheaper than using cellular and within the couple miles from a Helium hotspot.
Building the BuoyThe Buoy has a weather station base and then a plastic housing to place the Helium Starter Kit inside.
The plastic housing is very straightforward. I took a tupperware that was in my cabinet, punched some holes in it and used sticky tack to seal the tupperware closed. The benefits of doing this are that the tupperware is readily available and it's designed to be waterproof.
For the weather buoy base, I used my Shapeoko along with some pine that I had lying around. I use the Carbide3d software, Carbide Create to design the base. See the attached files to download. I also include the Code files if you want to run it on whatever CNC that you have. You could make all the pieces by hand but it'll just take longer. Please see the following video for how to build it
I sanded and then painted it with a few coats of acrylic paint to attempt to waterproof it. In the couple of hours that I put it in the ocean, it seemed to hold up pretty well.
I used wood glue to attach the ring to the base and then sealed it with some caulk. For the case, I attached two screws into the top and then the Helium Starter Kit fits on.
What I care about on the water is how big the swells are on the waves and I think that the acceleration is the piece of information that I definitely want from the LoRa Weather Buoy. The acceleration data from the LoRa Weather Buoy will send that data to the Helium Network and then I will make a connection to have a view from myDevices inside Cayenne.
I mainly followed the instructions present in Helium’s documentation for setting up the portal view. I think their documentation should be followed for this portion - https://developer.helium.com/console/integrations/mydevices-cayenne-integration
Once you set this up, all you'll need to do is start manipulating the data.
ConclusionSo this LoRa Weather Buoy seems to float pretty well. The integration worked really intermittently because of where I'm located. I relied on the Helium Hotspots that were in my area and I think I'm just outside the range of them. myDevices Cayenne is a cool free integration with Helium and setting it up was very simple. I am excited for them to do some more integrations so I can send data from the buoy to myDevices Cayenne and then retransmit that to other LoRa devices and make weather alert displays.
To accelerate the development of IoT industry to the next level, Seeed is 100% sponsoring Wio-E5 projects with the
Seeed Fusion PCB Assembly custom board for all hardware enthusiasts, designers, makers, and engineers around the world!
Good ideas need to be discovered, and good projects deserve to be recognized, realized and widely disseminated! Each person is limited to two PCBA boards 100% completely FREE for one design, including PCB fabrication, the cost of parts, assembly and shipping. The design must include Wio-E5. To find out more about this events:
www.seeedstudio.com/blog/...types/


Comments
Please log in or sign up to comment.