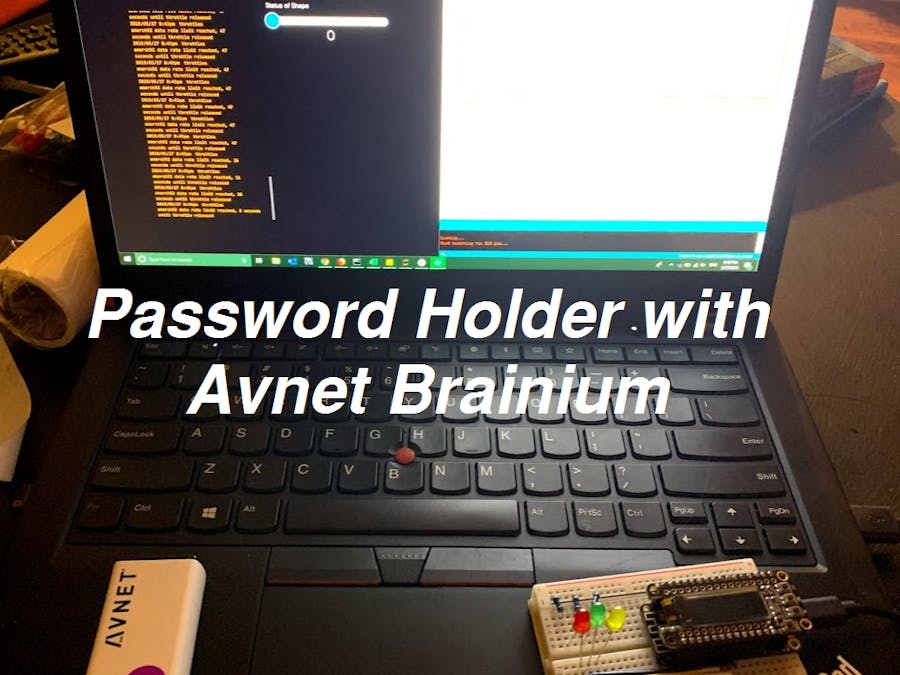
I wanted to create a device that would allow someone to see a hidden message but only if they could do a certain motion followed by pressing some buttons. I was thinking that this would be a cool thing that you could incorporate into an escape room or just a complicated way to make sure that only people who you want to show your WiFi password can see your WiFi password. If you want to make a cool complicated, escape room-esque device then this build will probably be for you!
Setting up Avnet BrainiumThe brainium device has a lot of sensors packed into it's very small frame including: pressure, temperature, light, motion, etc. The one that we are going to use is (in my opinion) the main reason why you will want to use this platform - the motion recognition. I won't go into too much detail but essentially you can train the device to recognize certain motions and you can set up actions for when the device recognizes those actions. It has IFTTT capability (which we will use) to create an action.
To start using the device, you can follow the Avnet Brainium quick start guide - https://brainium.blob.core.windows.net/public/docs/Quick%20Start%20Guide.pdf
https://iotosphere.com/2019/05/09/hands-on-with-the-smartedge-agile/
Once you have read through that and have gotten your device online, we'll start with motion training. I trained a star, a triangle and a square in mine. To start, you should create an AI Studio Workspace. Follow the directions in the pictures below:
Doing that will create a model that you can reference in your project. Follow the pictures below to add that rule to your project.
From here you should be all set with the Avnet Brainium. We will now set up the Adafruit IO section.
Adafruit IOWe need to get two things from the Adafruit IO, the first being the Access Key and the other is a feed that we can write to from IFTTT. Log in or sign up for an Adafruit IO account at io.adafruit.com and follow the pictures below to get the Access Key.
Follow the instructions to create your dashboard and get your feed name.
Now that the Adafruit IO is properly configured and you have the feed name, you can now connect the Avnet Brainium and Adafruit IO. Log into IFTTT and create a new widget Follow the pictures shown below.
So now that the Avnet Brainium, Adafruit IO and IFTTT is configured, the last thing to do is to create the board that we are going to display this information on. Follow the wiring diagram in the schematics. This is what it should look like when it is complete:
Open up Adafruit IDE and load the code shown down below.
ConclusionOnce you are done, you should be able to do the same thing shown in the video shown below:


Comments
Please log in or sign up to comment.