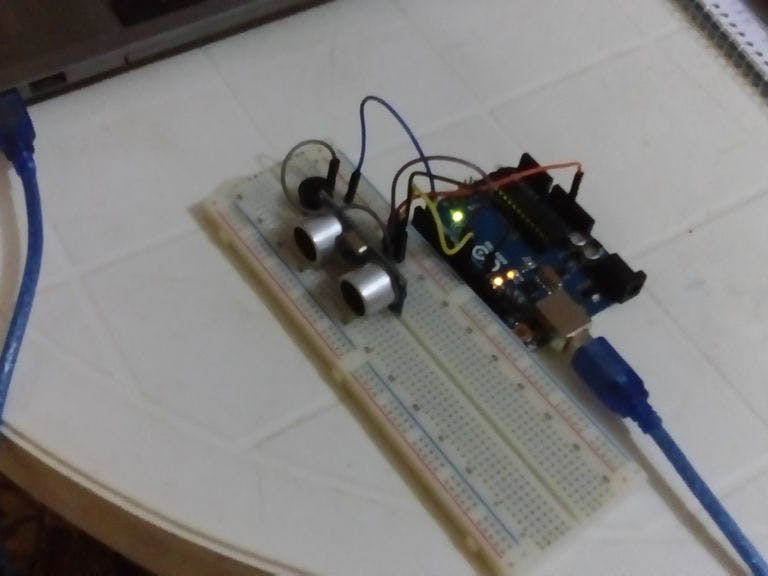
This is tutorial to help you understand ultrasonic and buzzer and go deeper into learning Arduino, follow these steps and give me feedback please.
I'm making it to help my cousin in his school project.
Step 1: Prepare your material and tools1. Test Board
2. Ultrasonic sensor
3. Arduino cable
4. +5V buzzer
5. Male to male pins
6. Arduino uno board
Tools and materials are shown in the pictures.
Step 2: Connect your circuitConnect the Buzzer positive terminal to the Arduino pin 2 and the negative terminal to the Gnd. Connect the VCC pin of ultrasonic to +5v pin and the Gnd to the ground.
Connect trig pin to pin 10 and echo pin to pin 9.
The pictures shows you the connection.
Step 3: Load the code to your ArduinoYou can find code in codebender.cc here, it is well described and commented. This is copy of the code any way.
/*
This code should work to get warning cross the buzzer when something be closer than 0.5 meter
Circuit is ultrasonic sensor and buzzer +5v and Arduino uno is used
a_atef45@yahoo.com
www.zerosnones.net
+201153300223
*/
// Define pins for ultrasonic and buzzer
int const trigPin = 10;
int const echoPin = 9;
int const buzzPin = 2;
void setup()
{
pinMode(trigPin, OUTPUT); // trig pin will have pulses output
pinMode(echoPin, INPUT); // echo pin should be input to get pulse width
pinMode(buzzPin, OUTPUT); // buzz pin is output to control buzzering
}
void loop()
{
// Duration will be the input pulse width and distance will be the distance to the obstacle in centimeters
int duration, distance;
// Output pulse with 1ms width on trigPin
digitalWrite(trigPin, HIGH);
delay(1);
digitalWrite(trigPin, LOW);
// Measure the pulse input in echo pin
duration = pulseIn(echoPin, HIGH);
// Distance is half the duration devided by 29.1 (from datasheet)
distance = (duration/2) / 29.1;
// if distance less than 0.5 meter and more than 0 (0 or less means over range)
if (distance <= 50 && distance >= 0) {
// Buzz
digitalWrite(buzzPin, HIGH);
} else {
// Don't buzz
digitalWrite(buzzPin, LOW);
}
// Waiting 60 ms won't hurt any one
delay(60);
}
Watch this video for it working, record you video and show me, give me your feedback and i love to answer your questions.


_ztBMuBhMHo.jpg?auto=compress%2Cformat&w=48&h=48&fit=fill&bg=ffffff)


Comments
Please log in or sign up to comment.