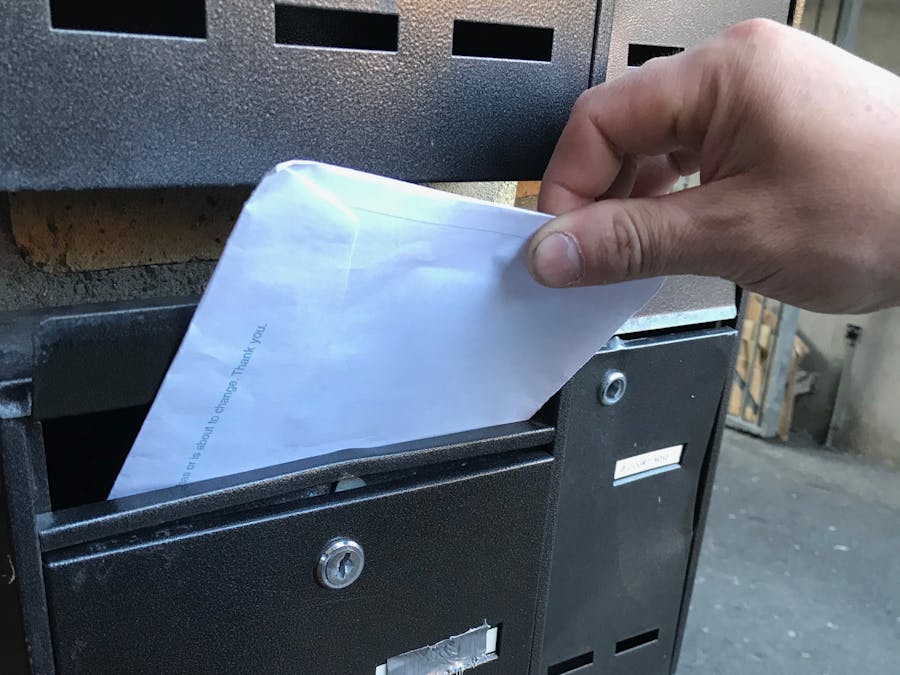
The post box, an old method for delivering information from one place to another. Post used to be everything in the past, everyone depended on it. But today, it is considered a boring and ineffective method of delivering data. It is much easier and fun to use a digital device, and with the invention of email, the mailbox slowly started to rust.
SmartPostBox aims to bring back the professionalism in receiving physical mail. Everyone knows that it is a pain to wait to receive a letter; walking out of the house every morning hoping against all odds, that your important appointment arrived. SmartPostBox makes that the past, this simple device sends you an email when you received mail, so you know if it is worth opening your post box.
Video
Image
SmartPostBox is designed for everyone, it is very simple to make and enlightens your old post box. The device uses Sigfox to communicate with the cloud and send the user an email if mail is detected in the box. The Arduino MKR 1200 Fox has a laser pointed at a photoresistor, they are placed at the ends of the post box, when mail is placed in the box, the micro-controller detects the letter and notifies Sigfox, which in turn sends the user an email, below is a diagram of the project's functionality overview.
Here is an image of the project's code overview, described below.
Read Light Intensitywill read the photoresistor's raw value and will store it to a variable, the laser will continuously project a beam of light at the photoresistor.
- The
if conditionchecks if the value of the photoresistor is below the normal value, the photoresistor will output on average 950 to the analog pin, if the value is lower by more than 50, it means that there is an envelope blocking the light, this triggers the function inside the loop.
Notify Sigfoxwill send a constant byte to Sigfox, Sigfox then sends the user an email when the message is received.
The device sends the space character to Sigfox " " when it detects mail as no data has to be sent to the backend, the email will just inform the user that there is mail in the box. Below is an image with the device.
The Device in Action
Below are a number of photos displaying the functionality of the project, for a better view of them, refer to the video above.
The user operating this project will benefit in:
- Being Notified when they received mail
- Not wasting energy checking if mail arrived
- Ease of Use, as the device runs continuously and can handle multiple letters
Step1: Required Apparatus
This project requires a small amount of electronics, the list of required apparatus is listed below.
- 1, Laser Module
- 1, resistor (1KΩ)
- 1, photoresistor
- 1, 2x AAA/AA battery box
- 2, AAA/AA Batteries
- Jumper Wires
Step2: Connecting the Circuit
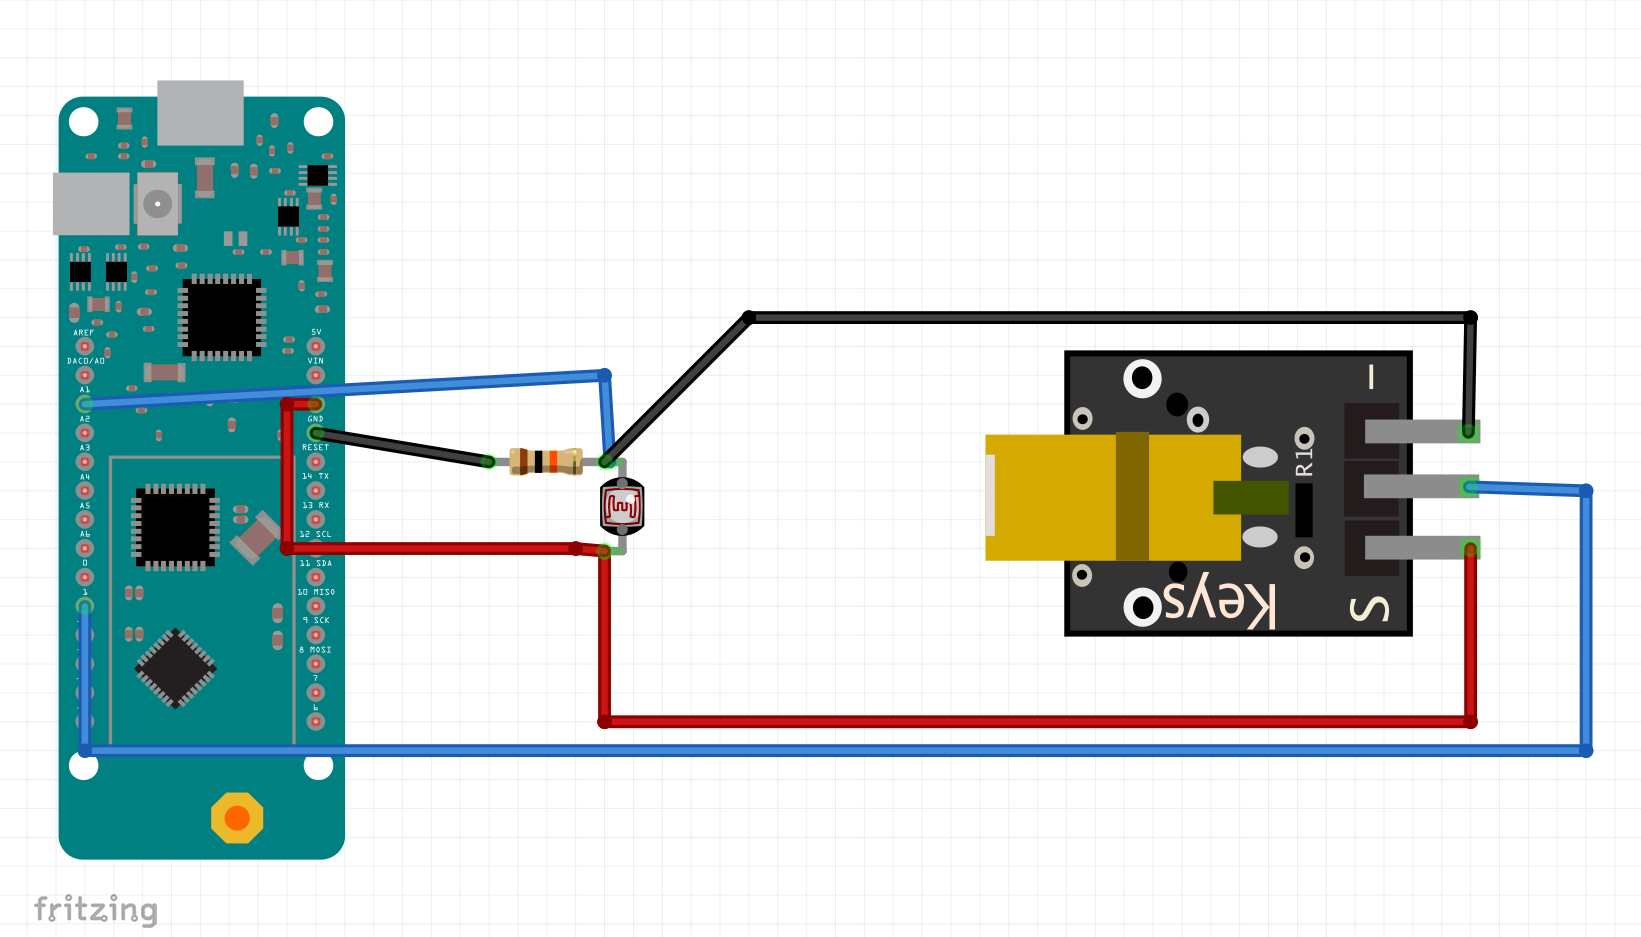
Here is the schematics for the project's circuit, there is no breadboard in the project so the schematics are a bit jumbled up, a step-by-step guide on preparing the MKR Fox is also included for the wiring below.
- Preparing the MKRFox
The images below will guide you through connecting the battery box and antenna to the MKR Fox, Note that the battery box must be connected after the laser and photoresists are connected. Other wiring and setup is found under constructing the project / Final.
The Arduino MKR Fox automatically regulates the power source, so when it is plugged in for programming, the Arduino will automatically switch to the USB power and switch back to the battery when it is disconnected from the computer.
Step3: Acknowledging the Code
There are two main functions in the project's code:
- Read and Analyse Light
- Send Packet
These sections are explained below.
- Read and Analyse Light
lightIntensity = analogRead(A1); // read the photoresistor value
 if(lightIntensity < 800)
 {
   if(pos == 0) // if not pending removal
   {
     pos = 1;
The first line of the section reads the photoresistor's light value which is connected to pin A1, if the value is smaller than 800, and if the value dropped now and was not previously below 800, it will run the Send Packet function. If the value is above 800, the Arduino will resets the variable pos (which notifies if the previous value was below 800), if the previous value was smaller than 800 (Indicates presence of letter), the Arduino will wait until the letter is removed.
- Send Packet
SigFox.beginPacket(); // start the sending protocol
     if(proDebug)
     {
       Serial.println("  Parsing Packet");
     }
     SigFox.print(" "); // print a constant character to send
     int ret = SigFox.endPacket(true); // wait for SigFox to receive the packet
This section of code will send the packet to Sigfox if mail is detected, the Arduino will start the parsing procedure and will print " " to Sigfox, it will then wait for confirmation that Sigfox received the message and will then wait for the letter to be removed. It will then start the algorithm again.
Step4: Setting Up Sigfox
This tutorial is designed with the though that the user has already configured their device and connected it to Sigfox, if you have not configured the MKR Fox, consider visiting this Arduino tutorial. Fallow the images below to guide you through setting up the Sigfox callback.
- Set the Type to
Data Uplink
- Set the Channel to
Email
- There is no need to fill in the Custom Payload Configuration
- Set the Recipient to your email address
- Set the Subject to
SmartPostBoxor a preferred Subject
- You can insert whatever you wish in the Message field, this is the body of the email, I decided to write the fallowing,
Hello There,
This is to let you know that you have received mail in your post box.
Be sure to check it out.
Device {device},
Over and Out.
- The
{device}keyword is a variable representing the device's ID, it is a built in variable, there are many more of these like{lat},{lng},{time}and others, you can insert them in the email's subject or body by just pasting them in from the menu above.
- And you are done
Setting Up the Variables
There is a single variable that the user has to set, proDebug, if it is enabled, the Arduino requires connection through USB to a computer and the Serial Monitor must be open, the Arduino prints to the Serial Monitor in this mode, it is ideal for troubleshooting. proDebug defaults to 0 for operating on the field.
Libraries
- Sigfox - copyright (c) 2016 Arduino LLC GNU Lesser General Public Licence this library is in the public domain
- ArduinoLowPower (c) 2016 Arduino LLC GNU Lesser General Public Licence this library is in the public domain
Final
The last step is to connect your Arduino to a PC/Mac and upload the sketch, make sure that the battery box is connected to the Arduino and the circuit is ok. Then you can insert your Arduino in the enclosure and place it in the post box.
An enclosure is required for the project, as the envelope(s) have to fall between the laser and photoresistor to be detected, there is no solid guide on creating the enclosure as all post boxes differ in height, depth and width, but I will give you some ideas onto the kind of enclosure required. Below I have a view of the enclosure.
The sketch above shows the idea of the enclosure, one side must be straight and the other can be straight or slightly bent, both sides must meet at a sharp angle towards the centre. One part is larger than the other, as illustrated above, this is because my post box is only 60mm in depth, and the laser is quite long, the photoresistor is really thin, so I made one side bigger than the other.
Measure your post box, and design, or 3d print, and enclosure for it. I made mine from some cardboard taped together, I will show you the steps I took below.
Once the enclosure is done, try the project out with proDebug on and connected to the computer, once it works, place it in the post box, and you are done!
BackgroundI started awaiting a lot of mail lately, random cause, and I was sick of getting up in the morning and checking the post box for the mail that was supposed to come, I designed SmartPostBox to stop this from happening, so instead of walking towards an empty postbox, I get notified when to go and pick up my mail.


Comments
Please log in or sign up to comment.