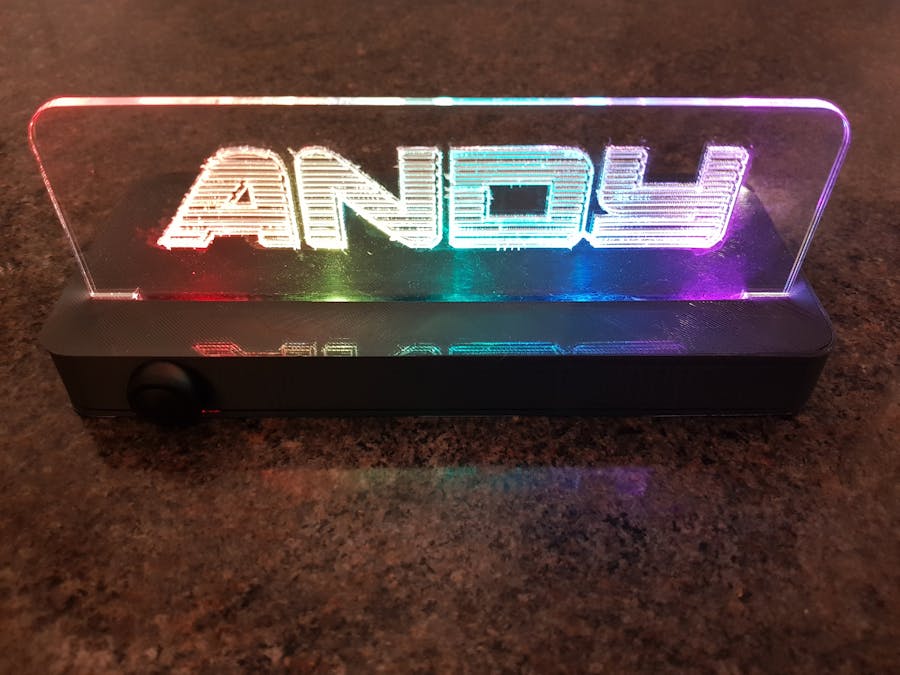
In [my previous light up sign project](https://www.hackster.io/andrew-burrows/light-up-sign-69d6c9) I set out to "create a simple project that would introduce my children and their friends to 3D printing, laser cutting and electronics plus a bit of science and also would end up making something fun that they would like to have". The previous project did do just that and we've made loads of them with different friends.
Following on from the success of that project I decided to add coding to the list of skills learned and tried to make something even more appealing to my kids and their friends. This new project expands on the previous one by adding a BBC Microbit, battery pack and some switches.
Here is all the stuff you need to make the sign (minus wire and solder):
The design of the laser cut/engraved acrylic is up to you and is an opportunity for artistic expression. I've been impressed by all the different designs the kids I've been working with have come up with. I'd recommend reversing the design before you cut it so you are effectively engraving in the back of the sign as this gives the best results.
The microbit is bolted into the case and the bolts make the electrical contacts required to hook up the microbit to the rest of the sign. I take a small piece of veroboard and drill it with holes that line up with the bolt holes on the microbit.
The battery holder is glued into the case and the wires soldered to the switch and the veroboard strip on the microbit.
The button on the front is held in place by the supplied nut and has 2 wires soldered to it, one goes to 3V the other to pin1.
The neopixel strip needs to be held in place with a bit of glue and needs to be soldered to 3V, 0V and pin0. It is important you solder on to the correct end of the strip. Data "flows" down the strip in the direction of the arrow.
Once all the components are wired in:
You can close up the case, fit the acrylic sign and flash the microbit bit with one of the [example programs from my github](https://github.com/burrowsa/microbit-projects/tree/master/Colour%20Sign) or a program of your own design. The usb port of the microbit is exposed to make it easy to flash.
I'm looking forward to trying this project with the kids and seeing what designs they come up with.


Comments
Please log in or sign up to comment.