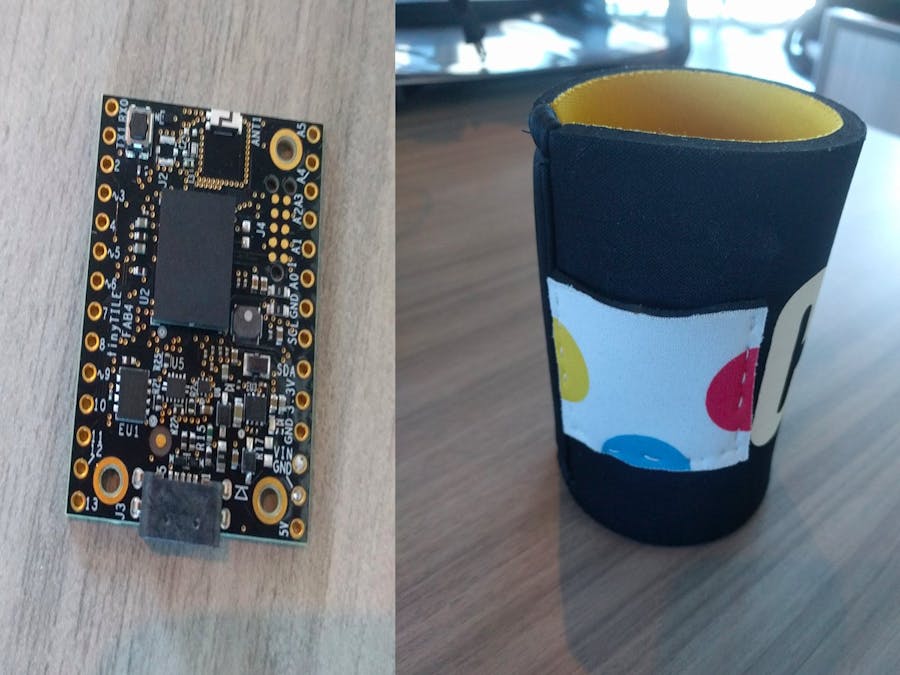
By utilizing the built-in accelerometer on Intel's new tinyTILE, I was able to detect when a sip was being taken from my koozie. I then sent that data to Meshblu so I could perform actions based on it. Thus, the Connected Koozie was born.
Potential applications are to create a drinking game that will prompt the Connected Koozie to buzz when it is your turn to drink, or it could help you drink proper amounts of water each day.
Check out my short write-up on Medium!
To create your own Connected Koozie, I recommend starting with cloning the repo I created: https://github.com/ASteinheiser/connected-koozie. This project consists of four main steps, burning Firmata to the tinyTILE, creating the prediction model, running the connector, and creating an Octoblu flow.
This project heavily uses Node.js, more information can be found here.
tinyTILE SetupThe tinyTILE will be communicating to my laptop via Bluetooth. The Firmata that I ended up burning to the board was a combination of a few examples. It includes the BLE, accelerometer data, and motion detection examples.
As for the actual setup of the tinyTILE, you simply need to paste this code in the Arduino IDE and upload it to the board.
NOTE: There are UUIDs that are used by the BLE service in the sketch, however these do not need to be changed from the ones I used. You can simply leave them be, or change them if you want to.
Once you have your tinyTILE broadcasting accelerometer information over BLE, we need to receive and interpret the data, then send it to Meshblu for further tinkering.
Creating a Prediction Model (Optional)To detect a sip, I had to utilize an NPM module that performed basic machine learning. It works on the basis of you sending it couples of data: the accelerometer values and a boolean, representing whether or not it was a sip. It then creates a prediction model based on the training. This model will be used by the connector to determine when to send a 'sip' message.
If you would like to create your own prediction model, it is very simple:
Assuming that you have already cloned my repository, you should open a terminal and:
cd connected-koozie
cd machine-learning
node createDataSet.js > newTrainingSet.json
So the createDataSet script will sit there waiting for messages from the training script, which we will run soon. It then writes the data to a trainingSet file, which will be used to create a prediction model.
Now we need to run the trainer script:
node trainer.js
With this trainer script running, you can press the [Enter] key to send the accelerometer values to your createDataSet script. If you press any keys before pressing [Enter], it will set the 'sip' boolean to true. So position the koozie like you are taking a sip, press some random keys, then [Enter]. Also make sure to position the koozie in random positions and press [Enter] without pressing other keys. It's important to train the model with a fair amount of positive and negative data points.
After you have created your trainingSet.json file, you will need to edit it slightly. At the beginning of the file, add an open bracked '[' and at the end, add a closing bracket ']'. Also make sure that after each set of data, you add a comma. You can see my trainingSet.json file for reference.
Once you have finished your trainingSet.json file by running the trainer and createDataSet scripts, we can turn that into a prediction model as such:
npm install node-svm
node-svm train trainingSet.json predictionModel.json
And with that, you have your very own prediction model! We can now use that in our connector...
Connector SetupThe machine learning portion was necessary to create a prediction model file. This file is used by the connector to determine when a sip is being taken. Luckily for you, I have already created a prediction model file that works well with the tinyTILE's USB port facing up.
To run your own Connected Koozie connector, you will need to:
Start by opening up a terminal, then:
npm install --global meshblu-util
git clone https://github.com/ASteinheiser/connected-koozie.git
cd connected-koozie
meshblu-util register > meshblu.json
npm install
node connector.js
And with that, you are running your very own Connected Koozie!
NOTE: The meshblu-util lines are used to create a meshblu.json file which is your connector's identity within Meshblu. This will be used to claim your device to your Octoblu account.
When you take a sip from your drink, it will send a message to Meshblu. Now let's create an Octoblu flow to use these messages...
Octoblu Flow SetupBefore we go any further, make sure that you sign up for a free Octoblu account.
Once you are in you account, you will need to claim your device. Do so by going to Things->All Things. At the top of the screen, you should see an option to 'claim your device manually'. Select this option, and enter your UUID and Token from the meshblu.json file that you generated in the Connector Setup section.
Now you can import my flow, which is the one I used in the demo video above:
NOTE: You will need to delete my custom device from the imported flow and add your claimed device. You may also choose to either connect a Blink1 to your account for the sake of this demo, or if you don't have one, you can choose to connect something else, such as Twitter, etc. Edit the flow as you see fit, it's just a demo.
Now that you have the flow configured, you can press the green play button in the top right, and your flow is deployed!
Run your connector, and watch as your flow pulses whenever you take a sip from the Connected Koozie!


Comments
Please log in or sign up to comment.