


Hardware components | ||||||
 |
| × | 1 | |||
Software apps and online services | ||||||
 |
| |||||
.png?auto=compress%2Cformat&w=48&h=48&fit=fill&bg=ffffff) |
| |||||
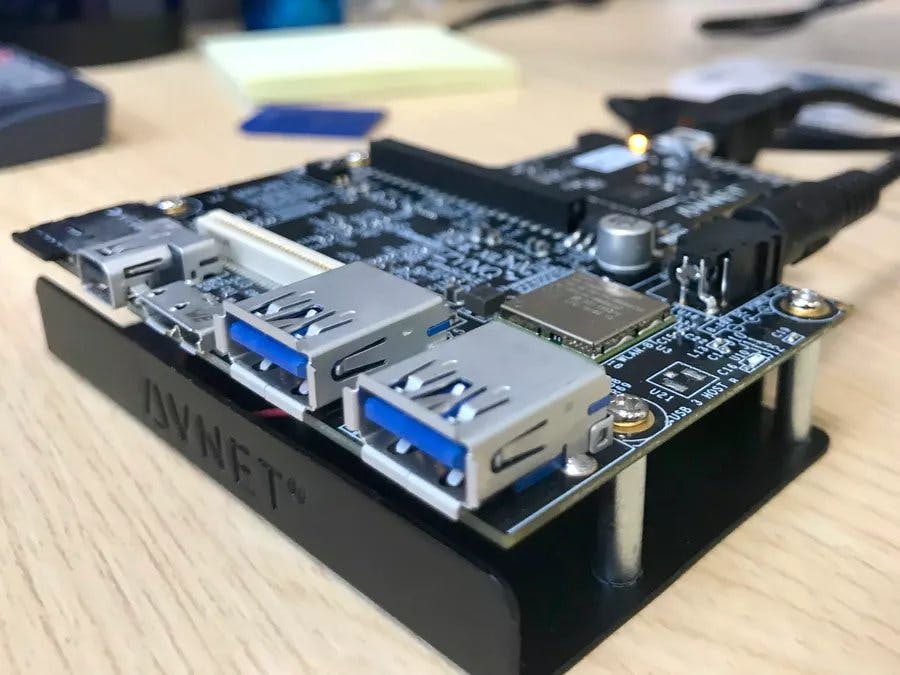
The standard PetaLinux setup comes with a limited set of tools and often in order to debug or modify applications, complete system build is required. Making the development process painstakingly slow and error-prone. So in this tutorial, we will learn how to build Ubuntu rootfs for Ultra-96 board such that all the standard Linux development tools are available. Allowing us to build applications on board as well as sophisticated driver and application set from Ubuntu for our FPGA.
Any suggestions or improvements for the tutorial are welcome!
A maintained version of this tutorial can be found here: https://docs.google.com/document/d/1-D4qhIvwy9ddrASNAyMciiHJ1qRhQD5hWVoA2Ku5eCw/edit?usp=sharing
Prebuilt Pynq/Ubuntu images for ZCU102 and Ultra-96-V1 (with Wifi and GUI support) are available with FOS framework on Github: https://github.com/khoapham/fos/tree/master/sd_card_images
Before starting, you should complete the following:1. Set up your shell environment with PetaLinux tools in your PATH environment variable.
2. Create and cd into a working directory.
3. Create a new PetaLinux project targeting a BSP that corresponds to the type of board you are targeting:
petalinux-create –t project -n <PROJECT_NAME> -s <path_to_base_BSP>4. Obtain a copy of the hardware handoff file (.hdf) from the Vivado project for your hardware platform.
5. Install Qemu for cross compiling
apt-get install qemu-user-static- Download Ubuntu rootfs:
For Ubuntu 16.04
wget http://cdimage.ubuntu.com/ubuntu-base/releases/16.04/release/ubuntu-base-16.04.3-base-arm64.tar.gz
OR For Ubuntu 18.04
wget http://cdimage.ubuntu.com/ubuntu-base/releases/18.04/release/ubuntu-base-18.04.1-base-arm64.tar.gz
- Copy ubuntu rootfs to SD Card:
sudo tar xfvp ./ubuntu-base-16.04.3-base-arm64.tar.gz -C /media/<USER>/rootfs/- Well use chroot to further setup our filesystem.
sudo cp -av /usr/bin/qemu-aarch64-static /media/<USER>/rootfs/usr/bin- Then we need to copy resolv.conf from our host machine for internet connection to /media/<USER>/rootfs/etc/:
# If your host is Ubuntu 17.10
sudo cp -av /run/systemd/resolve/stub-resolv.conf $HOME/rootfs/etc/resolv.conf
# For Ubuntu 16.04.3 below
sudo cp -av /run/resolvconf/resolv.conf $HOME/rootfs/etc/resolv.conf- Enter chroot environment:
sudo chroot /media/<USER>/rootfs/- Now that you’re in the chroot environment, we can now add an admin user with sudo permission.
useradd -G sudo -m -s /bin/bash u96
echo u96:u96 | chpasswd- Change root password with these command:
passwd root- Fetch the latest package lists from server then upgrade:
apt-get update
apt-get upgrade

apt-get -y install locales
apt-get -y install dialog perl
apt-get -y install sudo ifupdown net-tools ethtool udev wireless-tools iputils-ping resolvconf wget apt-utils wpasupplicant nano

apt-get -y install kmod
apt-get -y install openssh-client
apt-get -y install openssh-server- Fix the terminal endpoint difference between zynq and ubuntu:
ln -s /lib/systemd/system/getty@.service /etc/systemd/system/getty.target.wants/getty@ttyPS0.service- Exit Chroot:
exit- Configure PetaLinux with the HDF derived earlier for the associated platform:
petalinux-config -p <PETALINUX_PROJECT> --get-hw-description= <HDF path>- Set the Boot-args to be same as in device-tree (DTG Settings → Kernel Bootargs → Auto generated bootargs):
Turn off auto generation
console=ttyPS0,115200 earlyprintk uio_pdrv_genirq.of_id=generic-uio clk_ignore_unused root=/dev/mmcblk1p2 rw rootwait sdhci.debug_quirks=64 cpuidle.off=1- Set uboot to load from SD Card: Image Packaging Configuration > Root filesystem type > SD Card
- Exit and Save configuration
- Go into project directory and build the PetaLinux image:
petalinux-build- Create BOOT.BIN and Image:
cd images/linux
petalinux-package --boot --fsbl zynqmp_fsbl.elf --fpga system.bit --u-boot --force- Copy BOOT.BIN and Image to SD Card:
cp BOOT.BIN /media/<USER>/boot
cp image.ub /media/<USER>/boot
sync- Put SD Card on board and make sure the boot mode is set to sd_card (Ultra96: OFF ON) look at output on UART
sudo screen /dev/ttyUSB1 115200- login with user: “u96” password: “u96”
Graphics with X11:
sudo apt-get install xorg
sudo apt-get install openbox
Ubuntu with GUI:
sudo apt-get install ubuntu-desktopFor modprobe, insmod etc:
apt-get install kmodDrivers for NTFS (windows) drives:
sudo apt-get install ntfs-3gIf you encounter error “cannot create /dev/null: Permission denied”,
use the following command before chroot:
sudo mount --bind /proc /media/<USER>/rootfs/proc
sudo mount --bind /tmp /media/<USER>/rootfs/tmp
sudo mount --bind /sys /media/<USER>/rootfs/sys
sudo mount --bind /dev /media/<USER>/rootfs/dev
sudo mount --bind /home /media/<USER>/rootfs/home
sudo mount --bind /dev/pts /media/<USER>/rootfs/dev/pts
If the ubuntu-desktop package does work due to the special settings and lack of graphics drivers, use a Pynq rootfs instead. It is a Ubuntu derivative from Xilinx and has pre-set graphics settings.
LinksPetaLinux:
Ultra 96 (board files, BSP and tutorials):
http://zedboard.org/support/design/24166/156
Ubuntu:
http://cdimage.ubuntu.com/ubuntu-base/releases/
Prebuilt images:
https://github.com/khoapham/fos/tree/master/sd_card_images


Comments
Please log in or sign up to comment.