ard12sgf1960
Published © GPL3+

Control Output using Bluetooth on ESP32

Control outputs and receive inputs from an ESP32 via Bluetooth using an App

BeginnerProtip1,474
Control Output using Bluetooth on ESP32

Things used in this project

Hardware components

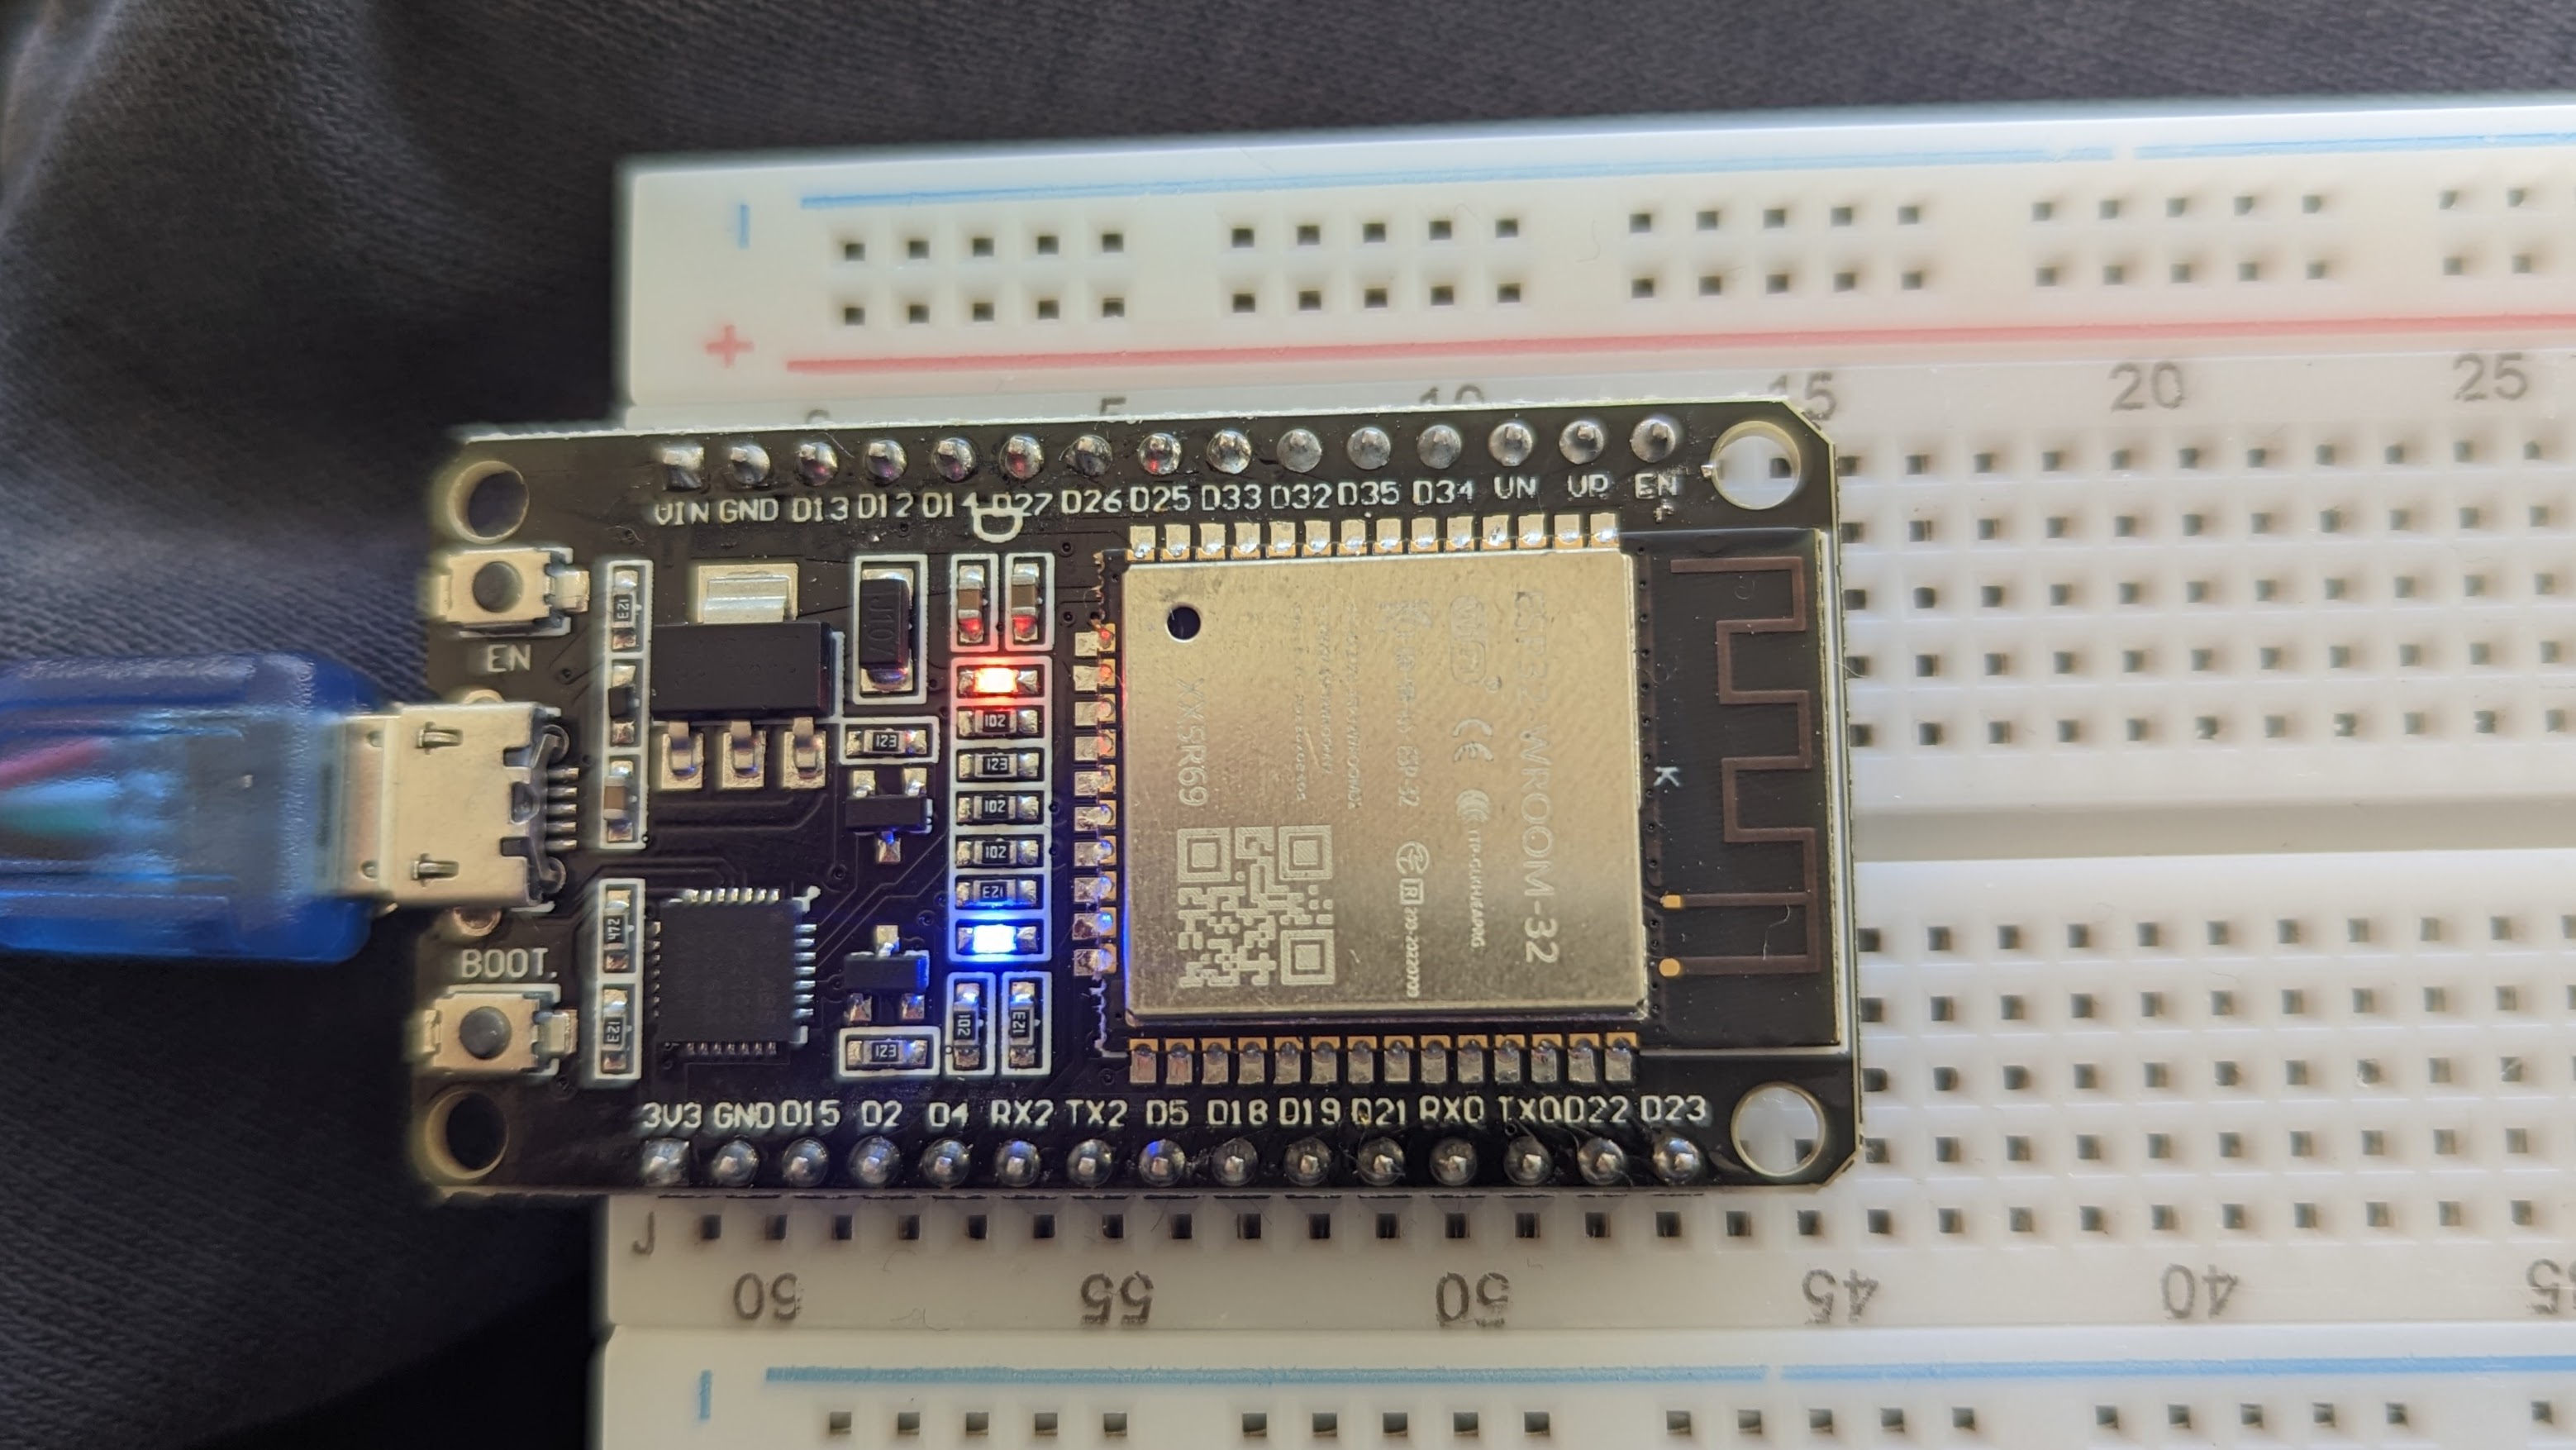
Espressif ESP32 WROOM DA Module
×1

Story

Read more

Schematics

No wiring needed

Code

Bluetooth Control of LED

Arduino
See comments in code
// This example code is in the Public Domain (or CC0 licensed, at your option.)
// By Evandro Copercini - 2018
//
// This example creates a bridge between Serial and Classical Bluetooth (SPP)
// and also demonstrate that SerialBT have the same functionalities of a normal Serial
//
// The code displays the received data and controls the on board LED
//
// Connect your device to ESP32test
// Use Serial Bluetooth Terminal app.

// this library forms part of the ESP32 Boards Manager file
#include "BluetoothSerial.h"

#if !defined(CONFIG_BT_ENABLED) || !defined(CONFIG_BLUEDROID_ENABLED)
#error Bluetooth is not enabled! Please run `make menuconfig` to and enable it
#endif

#if !defined(CONFIG_BT_SPP_ENABLED)
#error Serial Bluetooth not available or not enabled. It is only available for the ESP32 chip.
#endif

// set variables and constants
BluetoothSerial SerialBT;                   // set the Object SerialBT
String text = "";                           // define the text variable to receive BT input
int LED_BUILTIN = 2;                        // the pin number of the onboard LED
bool LED_STATE = false;                     // set the LED Status to False

// set up a number array called BT.
// The assigned values are LED_ON = 0, LED_OFF = 1, TOGGLE = 2, UNDEFINED = 3
enum BT {LED_ON, LED_OFF, TOGGLE, UNDEFINED };   
int BT = LED_OFF;                            // set the enum array to 1

void setup() {
  Serial.begin(115200);                      // Serial Monitor
  SerialBT.begin("ESP32test");               // Bluetooth device name
  Serial.println("The device started, now you can pair it with bluetooth!");
  pinMode(LED_BUILTIN, OUTPUT);              // set up the onboard LED pin as output
}

void loop() {
  // This line sets the output from the PC to the BT device
  if (Serial.available()) {SerialBT.write(Serial.read()); }

  // This line sets the input from the device to the PC
  if (SerialBT.available() > 0) {
    // stripping transfer characters to get the actual text
    text = SerialBT.readStringUntil('\n');     // get the BT input upto CRLF
    text.trim();                               // remove whitespace

    // set the value of BT enum array dependent on the input text received
    if (text == "Led On"){ BT = LED_ON; }       // set BT to 0
    else if (text == "Led Off"){ BT = LED_OFF; }// set BT to 1
    else if (text == "Toggle"){ BT = TOGGLE; }  // set BT to 2
    else { BT = UNDEFINED; }                    // input not recognised
    //Serial.println(text);                     // show the received text in the monitor

    // this switch case statement uses the value of BT to decide which code to run 
    switch (BT) {
      case 0 :                                  // LED_ON
        LED_STATE = true;                       // set the variable to true
        Serial.println("LED ON");               // print to the Monitor
        digitalWrite(LED_BUILTIN, LED_STATE);   // turn on the LED
        break;                                  // break out of the switch case statement

      case 1 :                                  // LED_OFF
        LED_STATE = false;                      // set the variable to false
        Serial.println("LED OFF");              // print to the Monitor
        digitalWrite(LED_BUILTIN, LED_STATE);   // turn off the LED
        break;                                  // break out of the switch case statement

      case 2 :                                  // LED_TOGGLE
        LED_STATE = !LED_STATE;                 // set the variable. Toggle the previous state
        Serial.println("TOGGLE LED");           // print to the Monitor
        digitalWrite(LED_BUILTIN, LED_STATE);   // toggle the LED
        break;                                  // break out of the switch case statement

      case 3:                                   // UNDEFINED
        LED_STATE = false;                      // set the variable to false
        Serial.println("UNDEFINED INPUT");      // print to the Monitor
        digitalWrite(LED_BUILTIN, LED_STATE);   // turn off the LED
        break;                                  // break out of the switch case statement

      default :                                 // if BT is not in the correct range then this code is executed
        Serial.println("Unrecognised input received");
    }
  }
  // slight 20ms delay
  delay(20);
}

Credits

ard12sgf1960
0 projects • 0 followers
Contact

Comments

Please log in or sign up to comment.