


Hardware components | ||||||
_wzec989qrF.jpg?auto=compress%2Cformat&w=48&h=48&fit=fill&bg=ffffff) |
| × | 1 | |||
 |
| × | 1 | |||
 |
| × | 1 | |||
 |
| × | 1 | |||
 |
| × | 1 | |||
 |
| × | 1 | |||
 |
| × | 1 | |||
 |
| × | 1 | |||
 |
| × | 1 | |||
Software apps and online services | ||||||
 |
| |||||
 |
| |||||
Hand tools and fabrication machines | ||||||
 |
| |||||
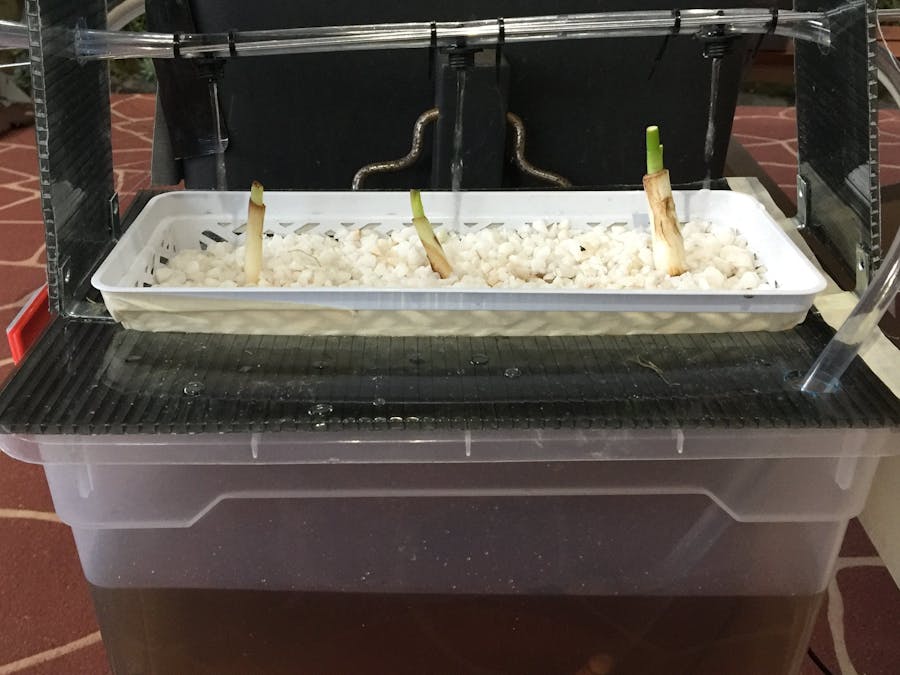
We're still in the midst of the COVID-19 lockdown here in Sydney, and in the process of self-education, I have started dabbling in hydroponics. My initial installation is very small (less than 30 litres, and it's purpose is mainly to see if I can make it work before I build a big installation.
This particular system uses the "Flood and Drain" or "Ebb and Flow" technique, where the nutrient-rich liquid is pumped into a tray holding the plants. Periodically, the pump is stopped to allow excess liquid to drain away. This process keeps the roots well fed, but should also avoid rotting because they get a chance to dry out a little.
The water is pumped around using a submersible pump intended for small water features. It is adequate for this task because of the size of the tank and low rise level, but for a big system, or spraying, a bigger pump would be required.
For safety, the pump is powered from 12V AC. I am apprehensive about switching mains voltage or running power cables into my tank.
Control and MonitoringThe secret of flood and drain is in starting and stopping the irrigation pump. The advice I received was "On for 2 hours, Off for 15 minutes, and repeat". Most mains timers don't have either the granularity, or the number of program slots we would need so I created my own.
Over WiFi...
All the tasks are performed using an Arduino Mega2560 with an ESP8266 WiFi shield installed. This shield necessitated use of the Arduino Mega because of multiple serial ports which makes debugging a lot easier.
If you use the same basic shield as I have (see photos), you should bend the serial pins (0, 1) out so they don't connect to the Arduino, and patch from TXD3/RXD3 directly to the RX/TX connectors on the ESP8266's "debug" pins.
With this small mod in place, the WiFiEsp library will be able to drive the board easily. However, there are a variety of firmware packages available. The one which worked for me was packaged as:
"Ai-Thinker_ESP8266_AT_Firmware_DOUT_v1.5.4.1-a_20171130"
This can be loaded onto the board using the esptool python script.
The code also runs fine on the Robotdyn Arduino Mega+WiFi board, but for whatever reason that board always suffered poor signal.
...or Ethernet
The code will also work with Ethernet shields or Freetronics EtherTen board. The challenge with the EtherTen is that it's a Uno board, so memory will be very tight.
The Data
I love data. No really, I really love data... And this little project generates plenty, and I send it to ThingSpeak where anyone can browse a public view of my garden. The URL is:
https://thingspeak.com/channels/1048682
User Interface
A 128x64 monochrome OLED display is used to show the current state of controls and sensors. You are not required to use this display, but unless you upload into ThingSpeak, you would not know what was happening. In any case, these little displays are cute, cheap and they make the project look more polished.
Power Supply
My system runs from a 12V car battery charged by a solar panel. A small inverter runs the pump. The controller reads the battery voltage using a resistor divider to protect the analogue input.
Interface Shield
While the previous perf-board interface connection setup worked well, it looks awful, so I created a simple interface shield using a prototype shield. This eliminated most of the rats nest of wiring and makes sure I have sufficient power and ground connectors for everything.
The latest code is located in my github repository (https://github.com/au-chrismor/hydro-mega). As this is an ongoing project, all the fun stuff is in the "Develop" branch, and code which has more time running is located in "Master". If you're just getting started with Arduino, I'd recommend using the Master branch.
Configuration
The project does appear rather convoluted because I have tried to support as many options as possible, and these options can be enabled or disabled via #define statements in sysconfig.h. The following is a list of options to get you started:
If you only want to control the pump:
#define _HAS_PUMP_RELAY
all sensors and networking can be commented out.
If you want to measure pH
#define _HAS_PH
For conductivity measurement
#define _HAS_DALLAS
#define _HAS_EC
...and so on.
You will need to alter "hydro.h" with your WiFi credentials and ThingSpeak API key as well
Calibration
It is necessary to calibrate the setup to suit your sensors for voltage, pH and Ec. As I am getting started in this business, I can't advise on what normal values look like. However, I believe that using ThingSpeak to plot the pH and Ec over time will give us an indication as to whether or not the nutrient solution needs attention, because as the nutrients are consumed, the pH and Ec values are expected to change.
You could then use this knowledge to set alarms.
Where to next?There is a lot more to do with this system. The next logical step is control growing lamps. I am already working on this, and I will update the project and source code as soon as this is done.
After that, I would like to add set-point registration for starting Ec and pH values (once we know what they are supposed to be), and allow for calibration of those sensors as well.
The code is all there on GitHub. Feel free to fork it and contribute!


Comments
Please log in or sign up to comment.