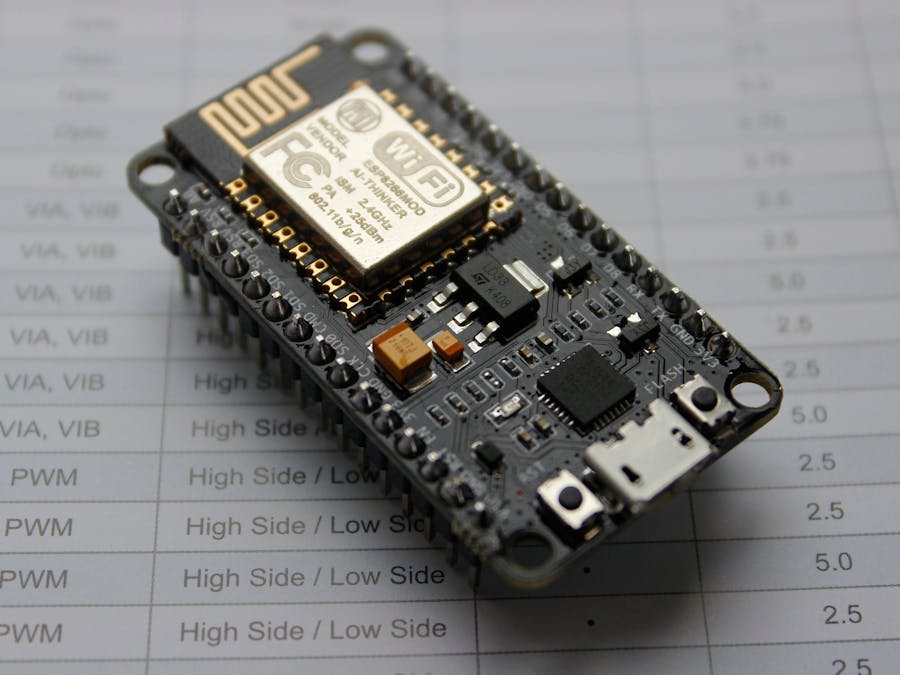
Many people asked me to programme NodeMCU with Arduino IDE so I decided to write this guide.
Installing the NodeMCU Support for the Arduino- First open the Arduino IDE
- Go to files and click on the preference in the Arduino IDE
- Paste below URL in the Additional boards Manager
http://arduino.esp8266.com/stable/package_esp8266com_index.json
- click OK, It will close the preference Tab.
- Now, Go to Tools and board, and then select board Manager
- Navigate to ESP8266 by ESP8266 community and install the software.
- Once all the above process is completed we are ready to program our NodeMCU with Arduino IDE.
- Now, go to Tools, board and select the type of NodeMCU you have
- Then select the correct COM port to upload the program on your NodeMCU
- Now Copy Paste the below programme and upload it.
- If you did everything correctly then, your led should blink continuously.
If you have any query or issue please comment below.
29 projects • 167 followers
I am an Electronics Hobbyist pursuing my BE in Electronics and communication


Comments
Please log in or sign up to comment.