


Hardware components | ||||||
 |
| × | 1 | |||
 |
| × | 1 | |||
| × | 1 | ||||
| × | 1 | ||||
| × | 1 | ||||
Software apps and online services | ||||||
| ||||||
| ||||||
Hand tools and fabrication machines | ||||||
 |
| |||||
 |
| |||||
 |
| |||||
Inkyshot was a project inspired by the first time I used balenaOS to deploy a container remotely. Having never known about the power of this technology before, it immediately cracked open an entire world of possibilities in my mind. For the next few days, my mind raced at what I had been missing out on all my life (well okay, since 2011).
The first inspiration I received was that it could change always long-distance relationships with my family - how over the years we always found ways to connect despite the distance, and how this would completely revolutionize the way I could connect with them.
While most balena software users were software engineers or scripting commercial IoT projects, I had never created a project before, so I came from a completely different starting point. It wasn't that balena made my project easier, it was that this project happened only after knowing about balena and deploying containers on Raspberry Pi's.
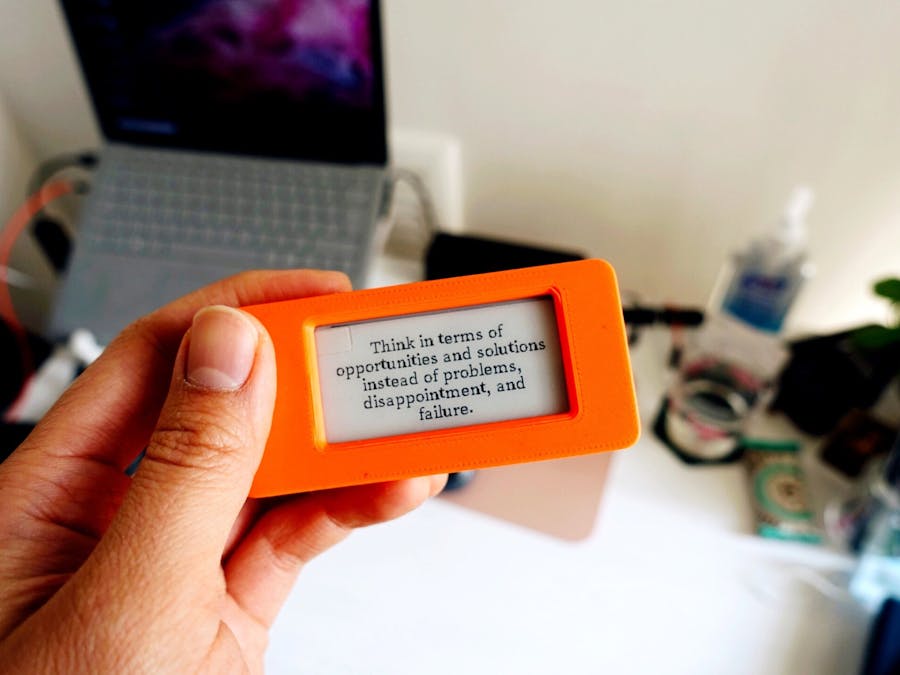
Finding the screen and realizing the dreamTwo months passed, and I came across the inkypHAT display while doing an order for a team member's Hack Friday project, totally falling in love with it the first time I saw it. I always loved how e-ink was so much more intimate than a typical backlit display. I had thought of the idea before, with the Sense HAT I got from balena where the LED screen could display moving messages, but the vibe of the LED screen felt incredibly annoying. E-ink was exactly the solution I was looking for.
With the help of Hardware Hacker Chris for basically everything - getting this project in its nitty gritty details, adding cool features like quote of the day, soldering the USB adpater, 3D printing a case design, python programming - we were realized this vision over the course of many hack sessions, and the endless pouring of more cool features we could add.
The 4-step buildThe build of this project is extremely simple, especially if you're already familiar with building projects. I'll leave it general here, but if you need more details, you can always check out the blogpost or the build video below.
Step 1: Set up your balenaCloud account
If you've not yet set up a free balenaCloud account, set it up here. If you already have an account, make sure you're logged in!
Step 2: Create the application
Once logged in, click this Deploy with balena link. From there it will take you to your balenaCloud account and create an application for you, pulling the code from GitHub. Select ‘Raspberry Pi (v1 / Zero / Zero W)’ as device type, and ‘Create and deploy’.
Step 3: Add device by flashing the SD card with balenaOS
Select 'Add new device' within the application, add your WiFi credentials - this injects the details into the downloaded OS so that the device will automatically link up to the WiFi when it starts up. Then take that downloaded image and flash it onto the SD card with balenaEtcher.
Step 4: Provision the device
Click the inkypHAT onto the Raspberry Pi Zero headers, put the SD card in, power up the Pi, and wait for the device to appear on the balenaCloud dashboard. You are done! Inkyshot will pull a quote of the day with the default settings.
Step 5Optional: Add customization as the device variables you'd like to play with (see in GitHub repository)
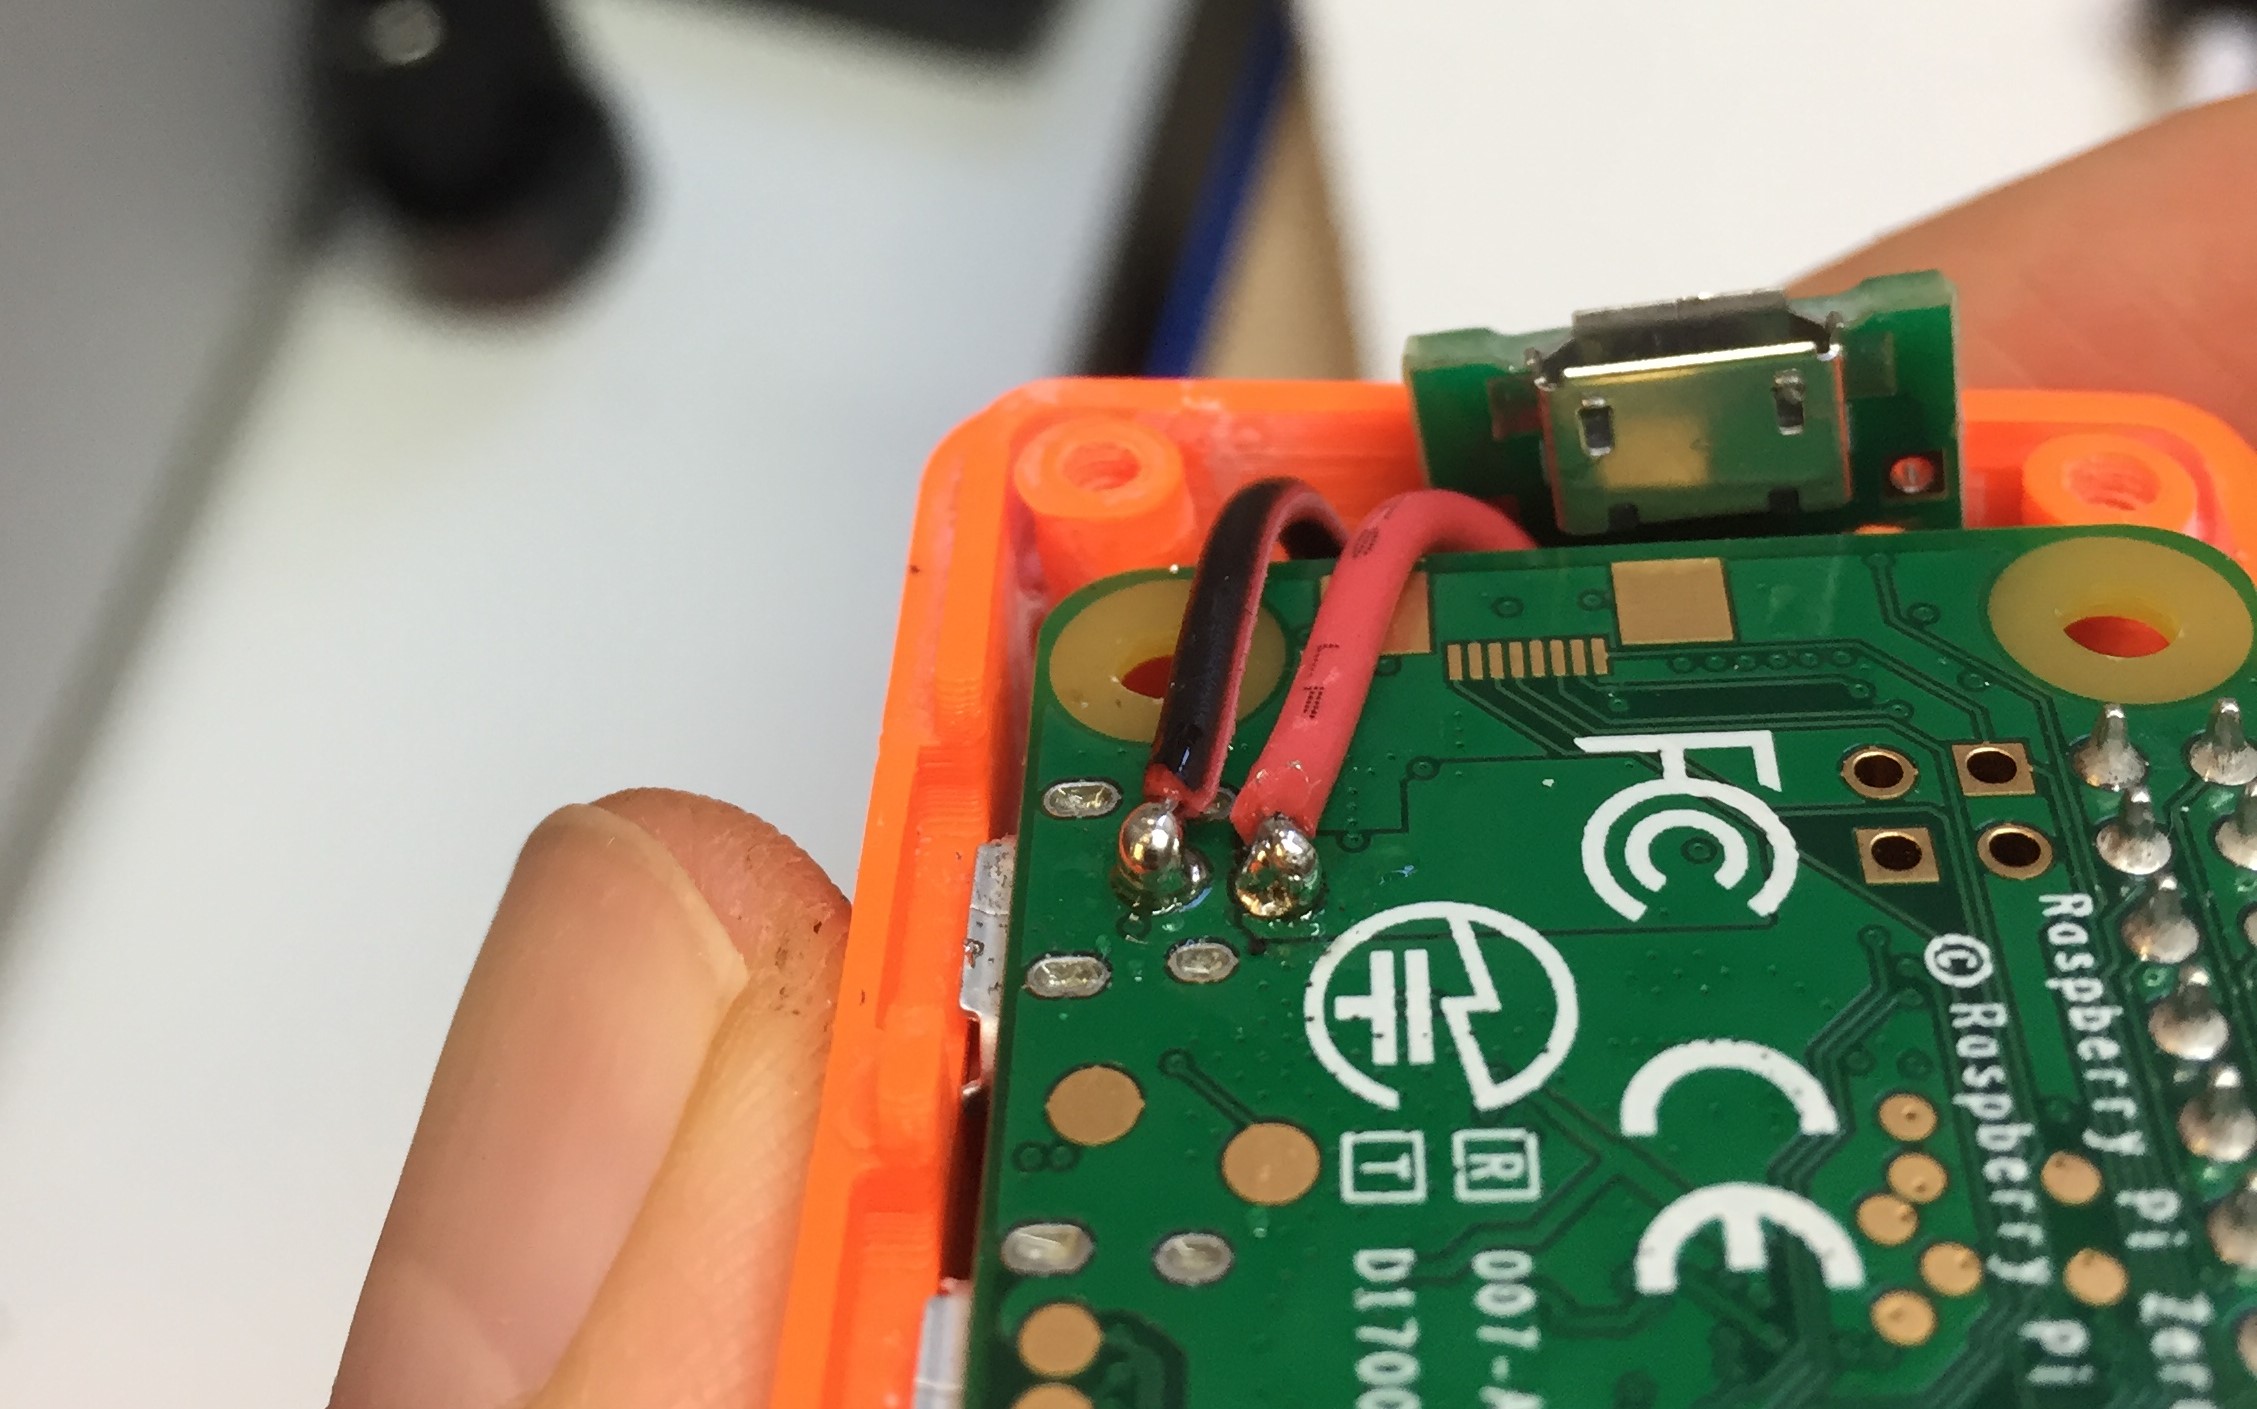
Step 6Optional: Build the 3D printed case and solder wire to the USB DIP Adapter for a nice finish!
Chris created an awesome build video that explains the workings of our software in more detail, as well as very detailed hardware build instructions based on his case design (the orange one a different design by our designer, Konstantinos).
And if you want to see the fonts we've included, here's a visual:
Thank you for letting me share this piece of inspiration with you - please do build it for your loved ones, or yourself! By the way, the first Inkyshot is now with my sister who is currently in Taipei with my mom and dad, who love it too! I send them (my parents) messages now and then as well with Inkyshot. We've got to get creative now that we're not traveling so often to see each other - so it's my intention that Inkyshot can bring that intimate level of connection to our loved ones abroad, as well as inspire new ways of using remote deployment of containers to IoT devices to make us all a little closer in heart.
Catt


Comments
Please log in or sign up to comment.