

Hardware components | ||||||
 |
| × | 1 | |||
You might have seen interactive projects on our blog, where someone touches a painting or artwork and it triggers a sound or light. These projects use sensors made with Electric Paint behind the artwork. In this tutorial, we are going to show you how to do this yourself, either using Electric Paint or our Printed Sensors.
Using Printed Sensors is a great way to save time, as they can be cut into any shape you like, are already sealed for you and don’t require drying time. Your interface can be a variety of things, such as paper, wood or plastic – whatever works for your project! In our tutorial below, we used a simple artwork on a piece of paper.
Step 1: Choose your sensor
You have two options when it comes to integrating your sensor. You can design one yourself using Electric Paint, or alternatively, you can simply use one of our Printed Sensors.
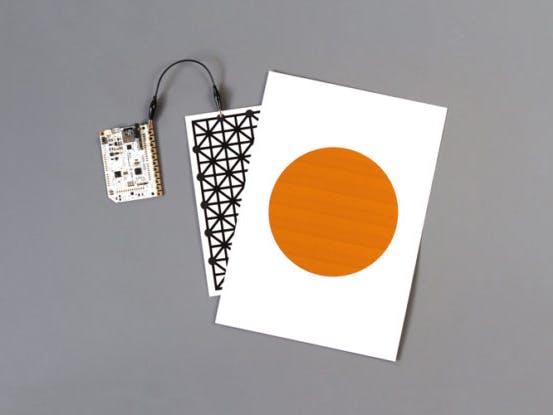
If you are designing your own sensor, be sure to check out our sensor design tutorial here. Since the sensor is going to be hidden behind the interface, it doesn’t matter whether you draw very precise lines or not! In this tutorial, we painted a black square as our sensor.
Links
Step 2: Connect your sensor to a board
Now, connect your sensor to a board and place it behind your interface or artwork. If you have used Printed Sensors, you can connect the board via any of the 16 exposed nodes. Then, connect your board to a power source.
This method works for all our boards – Touch Board, Pi Cap or Light Up Board.
Links
Step 3: Interact with your interface
Depending on your design, you can either now touch or approach your interface to trigger the sensor.
Note, the sensitivity of the board’s sensors will affect the performance, so make sure to adjust the sensors for the Touch Board here and for the Pi Cap here.


Comments
Please log in or sign up to comment.