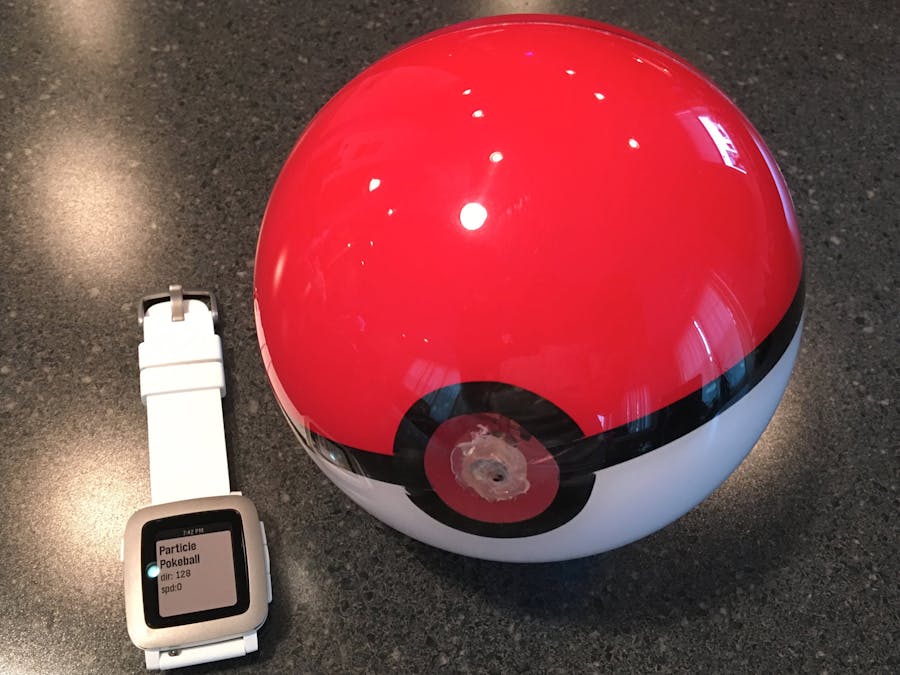
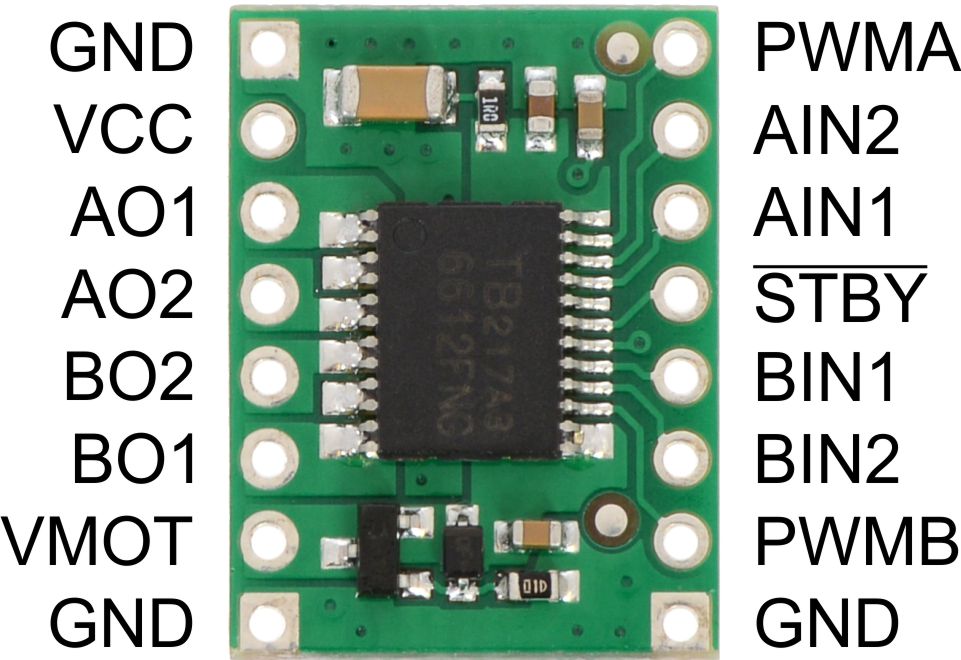
The Particle Pokéball is a totally rad Wi-Fi enabled Internet of Things spherical robotics platform! Whew. This is an advanced project that requires some custom made parts, metal-smithing, painting and coding. If you don't have a pebble watch, you'll want to wire up something else that has proportional control like an analog X/Y potentiometer. This project uses a Particle Photon as the brain and a Pololu motor controller as the brawn.
Below you can see Pebble and Particle.io make it super easy to control via your Pebble smartwatch.
When the world is full of Pokémon, you need a Particle connected Pokéball to Catch 'em all!
Ok, enough talk let's watch the video:
How I built it:
- The gearbox is one of two custom pieces that my friend built many years ago. It was used for a similar light following robotic ball back in the day. This second gearbox was waiting to be used for this very project. The gearbox itself is just a windup gearbox that has had the springs removed, and motor soldered onto it. This is one of the reasons this project is considered advanced. I'd love to find an easy to purchase gearbox to remake this project with, which would certainly drop the difficulty level.
- The shaft on the gearbox is a square brass tube, and couples into some metal pieces that have a square hole (which are hot glued to the inside of the ball)
- The micro servo is literally just taped to the gearbox with transformer tape. A custom bracket was 3D printed (linked in files section)
- I was short on space on the breadboard so I just soldered the JST extension cable directly to the VIN and GND pins on the top side of the Photon.
- The battery is double sided sticky taped to the gearbox.
- The two micro breadboards are stuck to the top of the gearbox using the foam tape that comes on most breadboards.
- This circuit is really simple, and the Pololu motor controller makes driving motors a snap.
- This lead weight is the other reason this project is advanced. The weight is required to steer and provide motion for the ball. Without the weight, the electronics would just spin around inside. As the gearbox drives in either direction, the weight is pulled up... but since the ball is light it falls forward (or backward or sideways). Steering is accomplished by driving forward with the weight tipped to one side or the other. I went to a tire shop and asked for the tire balancing weights they take off of tires. The re-balance them with new weights, so they always have a big box of these that they recycle. These melt very easily (622°F) in a pot on your stove (use good ventilation) and can be poured into an Altoids Small tin. I left the tin on the weight because it gives it character ;-)
- The shell of the ball is a clear 5" diameter ornament ball. You'll want to cut off the hanger loop, and sand/file it smooth. Then hotglue the gearbox mounts to the inside of the ball. After it's tested and nothing scrapes on the inside... you're ready to paint! Well, almost. First cut a length of black vinyl electrical tape in half lengthwise. Then apply around the inside circumference to visually divide the ball. Then cut out some arches for the button on the ball in the same tape, and bend those arches into more of a circle. Now you're ready for about 6 coats of lipstick red and white acrylic paint. Because you are painting on the inside, you naturally get that CANDY shell clearcoat look :) Super durable and wicked awexome.
- Once you have the hardware built, the hard part is over... drop on down to the Code section and program your Particle Photon with the firmware provided. Then get your Pebble watch setup with the Simply.js app provided and follow the directions for usage. It's a wonderfully magical feeling to control the ball with the motion from your watch.
Enjoy! Now go Catch 'em All!


Comments
Please log in or sign up to comment.