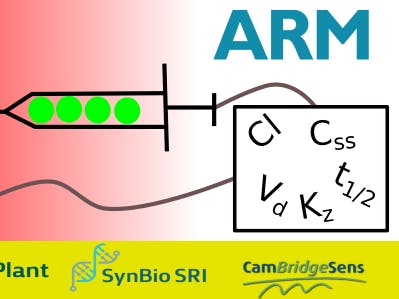
Our goal is to put together a sensor-pump system which would be able to adjust drug output of aminoglycosides based on real time sensing of drug in plasma. This would involve several stages, the first being the development of a functional sensor over the appropriate therapeutic range of concentrations. Similarly, a device will be designed which can attach to current hospital drip bags to control output and have configurable parameters for information such as normal drug clearance, volume of distribution, concentration of drug being delivered, and so on. The software to calculate the appropriate output will also be written.
SoftwareSoftware will be needed to control the arduino uno unit that is controlling the potentiostat circuit and the feedback circuit to control the pump. Several supporting software such as a desktop GUI to display data from the potentiostat and simulations will also be written.
HardwareElectronicsThe electronics part of this project includes the potentiostat and the DC Stepper Motor-Proximity Sensor component of the infusion pump.
Infusion PumpThe structure to hold the syringe and apply pressure on the handle.
Microfluidic ChipThe microfluidic chip houses the aptamers immobilised on gold electrodes to sense drug levels. Currently we have only printed the electrodes onto glass slides. The next step will be to seal the two slides to form a channel for fluid to flow through. The stencil design can be found here. Detailed instructions to be found here.
Integrated PartsPotentiostat attached to microfluidic chip. Potentiostat sweep using microfluidic chip with printed plain gold electrodes and Phosphate Buffered Saline. Potentiostat dry cell test with 10kOhm resistor.
Installation, Maintenance and Testing GuidePotentiostat Interface SoftwareThe interface uses the following software: python2, Tkinter, serial, io.
Potentiostat Dry Cell Test- Once you constructed the potentiostat circuit and connected it to the arduino according to the schematics, upload the potentiostat-controller sketch onto the arduino.
- Connect the Counter and Reference electrodes to one side of a 10kOhm resistor and the working electrode to the other side to complete the circuit.
- Run the potentiostat interface software and connect to the appropriate device and run a sweep with default settings. The result should be something similar to the Potentiostat dry cell test with 10kOhm resistor shown above.
The microfluidic chip and potentiostat probably do not work well together. Connect the device and software similar to the dry cell, but instead to the leads on the microfluidic chip.
Biomaker Challenge 2017: Team 14
 Jim Haseloff


_ztBMuBhMHo.jpg?auto=compress%2Cformat&w=48&h=48&fit=fill&bg=ffffff)


Comments
Please log in or sign up to comment.