I was always interested in LoRa, LoRaWAN, SigFox and other low-power and long range wireless technologies.
A couple of years ago, I build a single channel LoRaWAN Gateway. Although this was usable for custom projects, it is not a fully compliant LoRaWAN gateway. A fully compliant gateway requires a LoRa concentrator with 8 simultaneously working channels, mine has one channel.
At some point, I started looking fully compliant LoRaWAN gateways. As the off-the-shelf LoRaWAN gateways were a little bit expensive, I searched for DIY solutions.
One of the options was to use Raspberry Pi with a RAK2245 Pi Hat Edition. About two mounts ago I contacted RAK Wireless, and they were kind enough to send me over a RAK2245 Pi Hat Edition for free to build a gateway :)
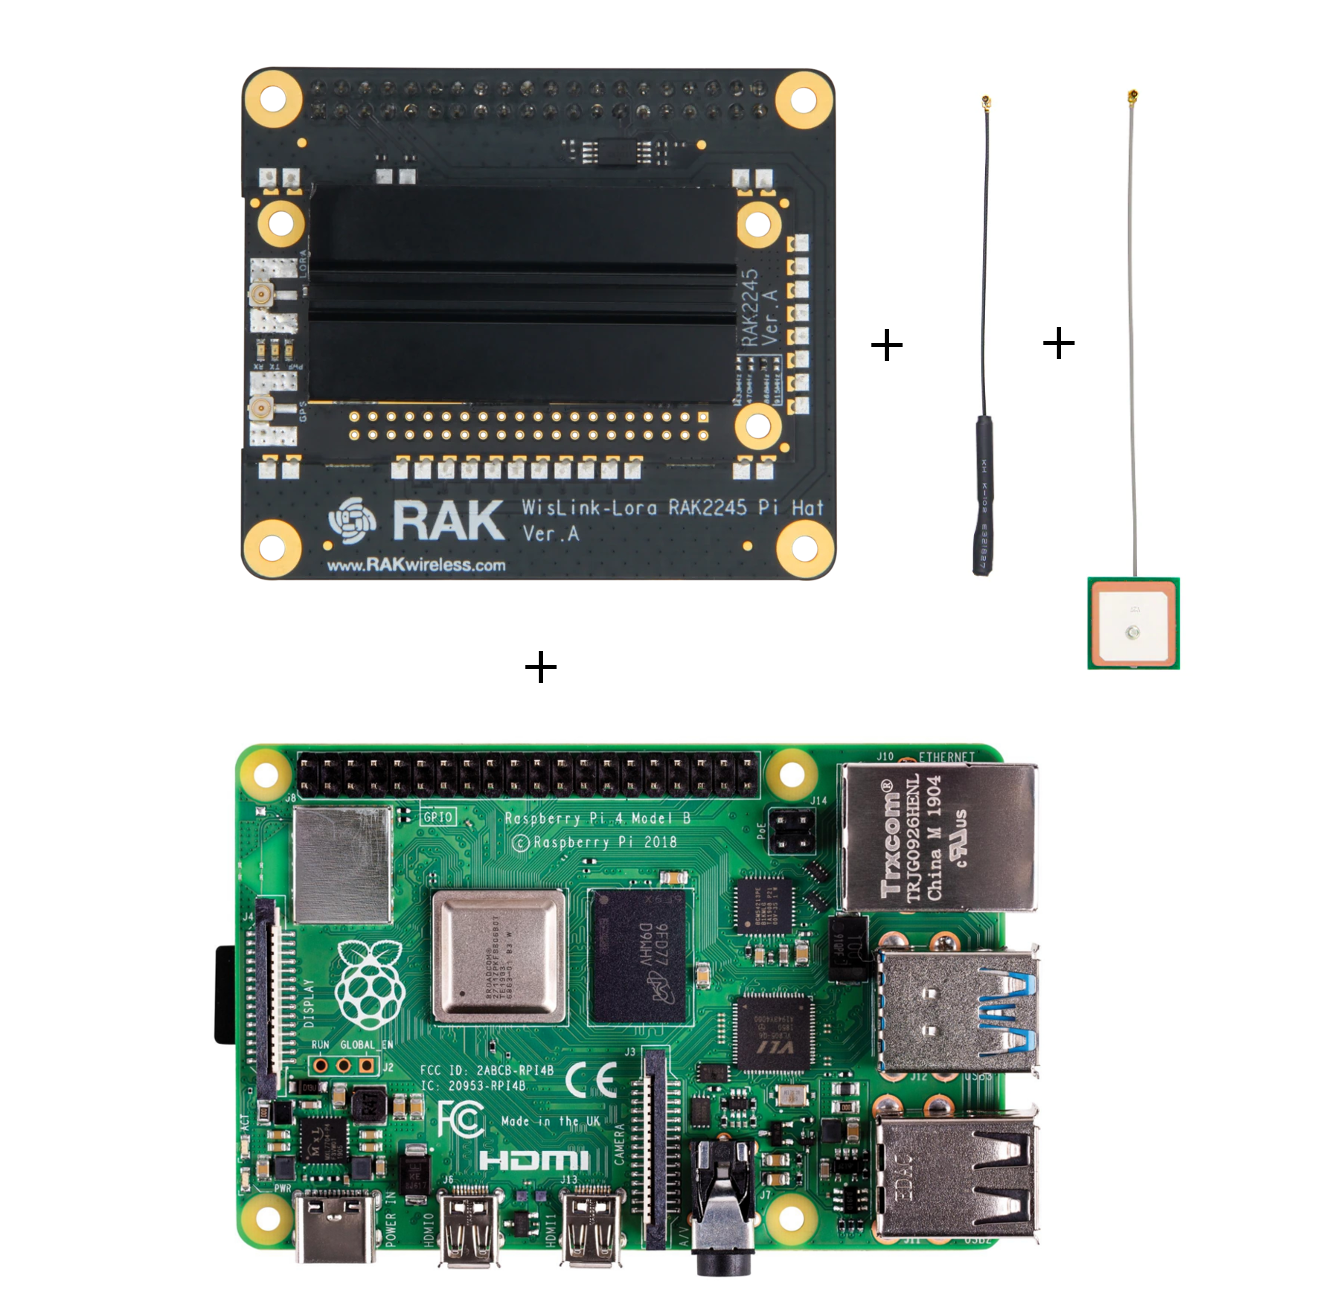
RAK2245 Pi Hat EditionSo, here it is the RAK Wireless RAK2245 Pi Hat Edition:
The RAK2245 is a Raspberry Pi HAT featuring a LoRaWAN multichannel concentrator module (SX1301) and a GPS module (Ublox MAX-7Q).
There multiple version with support for all the major frequency regions (EU433, CN470, IN865, EU868, AU915, US915, KR920, AS920 and AS923).
The RAK2245 cones with the following accessories:
- LoRA antenna
- GPS antenna
- mounting screws
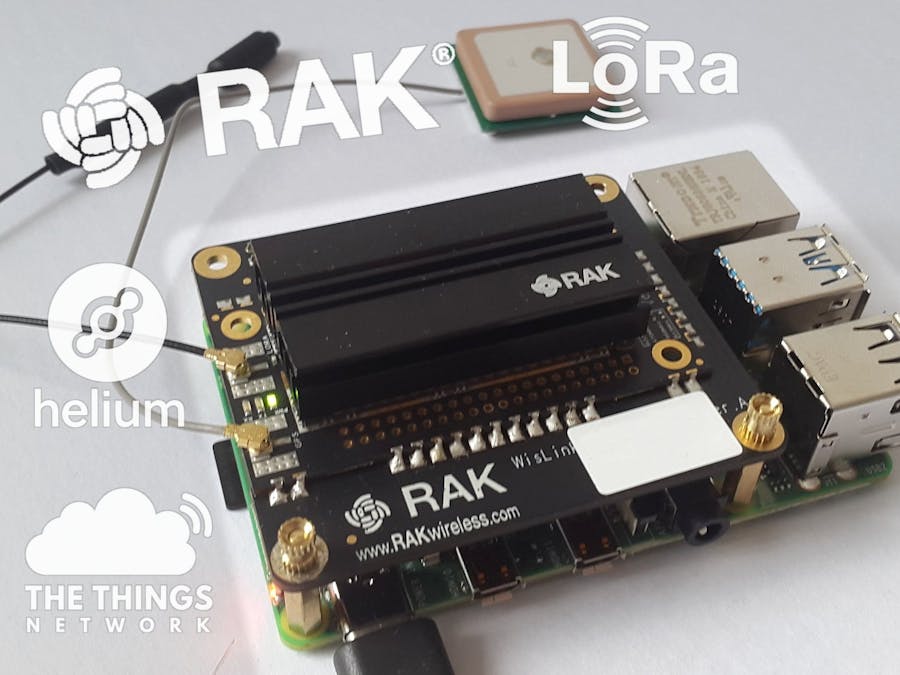
The RAK2245 can be used with Raspberry Pi 3, 3+ and Raspberry Pi 4. I'm using it with a Raspberry Pi 4:
The assembled gateway looks like this:
The are multiple LoRaWAN compatible networks available. The Things Network (TTN) is the biggest and most popular of these. First, we will connect to the TTN.
To be able to use the RAK2245 HAT we need a special OS / firmware installed on the Raspberry Pi. Then we need to do some configurations in The Things Network console.
> Preparing the SD cardWe can download the OS image from the RAK Wireless's website. There are two separate versions: one for Raspberry Pi 4 and one for Raspberry Pi 3/3+/
We need to etch the OS image to an SD card using Balena Etcher:
After booting, the device will create a Wifi access point named Rakwireless_XXX:
We can connect to this using the password rakwireless.
After connecting to the WiFi access point, the LoRa Gateway will be reachable via SSH under the IP address 192.168.230.1:
$ ssh pi@192.168.12.1Now, there are couple of things to configure via the gateway-config tool:
$ sudo gateway-configFirst, we need to configure the RAK Gateway LoRa concentrator:
- set the Server-plan to TTN
- select your region and frequency range:
- apply the configuration and restart the packet forwarder
Finally, we need to configure the WiFi, or wired LAN if you prefer:
- switch WiFi from Access Point mode to Client mode
- enter the SSID and password of your WiFi network:
After this you will be disconnected from the gateway's Wifi AP, and the device should became available on your Wifi network.
We should be able to access it with ssh pi@rak-gateway.local, or by looking up the gateway's IP address in our WiFi router's interface.
For the next steps we need to take a note of the Gateway's ID:
$ gateway-version
Gateway ID:DCA6xxxxxxxxxxxx
RAKWireless gateway RAK2245 version 4.1.0RNext, we need to do some configurations on the The Things Network console:
- login to the TTN console:(you can create an account if you doesn't have one)
- select Gateways and create a new entry:
- select the "I'm using the legacy packet forwarder" option, fill the the Gateway ID and the rest of the fields. Save the settings
- after a few moments, the gateway should become online :)
To check the gateway is working we need a LoRa compatible device. I used a TTGO T-Beam module:
To be able to connect to The Things Network, we first need to register an Application and a Device on the TTN Console:
- Application:
- Device:
Then we will use the Device EUI, Application EUI and App Key field in our Arduino sketch to connect to the TTN,
The Arduino sketch I used (see bellow) is a slightly modified version of the ttn-otaa-example that comes with the mcci-catena/arduino-lmic library.
After uploading the sketch to the device, we should see the broadcasted data in the TTN console, with the gtw_id field populated with our gateway:
The Helium Network is a blockchain powered peer-to-peer network for low power IoT devices.
Just like in the case of The Things Network, with Helium people can run their own gateways. With Helium, by providing coverage, you can also earn Helium tokens, the cryptocurrency of the blockchain.
To build a Helium Gateway, along the LoRa concentrator hardware, two software components needed:
- Semtech Packet Forwarder - is the same as the one used with TTN, but with a sightly changed config
- Helium Miner - a miner on the Helium blockchain, that received data from Packet Forwarder and published it on the Helium network
The simplest way to run a Helium Miner is use the one of the official Docker images, available for the amd64 and armf64 architectures.
We will run the Helium Miner in an AWS EC2 instance with Ubuntu 20.04 LTS.
We can quickly launch an EC2 instance from the Ubuntu Server 20.04 LTS Amazon Machine Image (AMI) available in AWS.
To do this, from the AWS EC2 Management Console, create a new instance, select desired AMI and follow the rest of the steps:
When the instance is up connect to it with SSH. The command should look something like:
ssh -i ~/.ssh/HeliumMiner.pem ubuntu@ec2-xx-xxx-xxx-xxx.us-east-2.compute.amazonaws.comNext:
- install Docker
$ sudo apt-get update && sudo apt-get install docker.io- reboot the EC2 instance
- pull and run the Helium Miner
$ mkdir miner_data
$ docker run -d \
 --restart always \
 --publish 1680:1680/udp \
 --publish 44158:44158/tcp \
 --name miner \
 --mount type=bind,source=/home/ubuntu/miner_data,target=/var/data \
 quay.io/team-helium/miner:miner-amd64_2020.06.19.0_GA
To check that the Helium Miner is running and connected to other peers we need to run the following commands:
$ docker exec -it miner /bin/sh

$ /opt/miner # ./bin/miner peer book -s
The output should look something like:
Finally make sure to backup the miner's private key located under ~/miner_data/miner/swarm_key
Notes:
- the initial sync with the Helium blockchain can take some time - use the
miner info heightcommand to check the progress (the block number should relative steady after the sync is complete) - a
t2.mediuminstance is recommended - to speed up the initial sync phase, setting the unlimited mode(! check cost first) can be used
In case we are located outside the United States, we will need to change the regional frequency configuration used by the Helium Miner.
The official Docker images come with US setting. To overwrite the config, we can use a simple overlay over the original image:
helium-miner-eu $ ls
Dockerfile  eu.sys.config

helium-miner-eu $ cat Dockerfile
FROM quay.io/team-helium/miner:miner-amd64_2020.06.19.0_GA
COPY eu.sys.config /opt/miner/releases/0.1.0/sys.config
Note: the file eu.sys.config is attached to the project
Next, we need to reconfigure the Semtech Packet Forwarder.
We can easily do this by cloning and following the instruction from following repository provided by RAK Wireless:https://github.com/RAKWireless/RAK2245_for_helium
Notes:
- as Helium Miner is not ran locally, we need to change localhost with the public IP of your EC2 instance in
global_conf.jsonfiles - if you plan using TTN in the future, taking backup of the
/opt/ttn-gatewayfolder would also be a good idea:
$ tar -zcvf /opt/ttn-gateway-backup.tar.gz /opt/ttn-gateway/- the above repository comes with configuration for the US868 region - if you plan to use it other places, before running
./install.sh, make sure to updated the frequencies in the twoglobal_conf.jsonfiles
To be able to connect to the Helium Network, we need to create an account and a Device in the Helium Console.
The process is pretty straight forward and similar one from TTN:
To connect to the Helium Network we can an LoRaWAN compatible device, with the same Arduino libraries used as above.
The Arduino sketch used to connect needs to be slightly adjusted. (see example attached to the project).
If the connection is successful we should be able to see the activation events in the Helium Console:
Hope you enjoyed this article! :)
Resources


_M6kErcYJ84.png?auto=compress%2Cformat&w=40&h=40&fit=fillmax&bg=fff&dpr=2)
Comments
Please log in or sign up to comment.