Download the BluPants image file available on this link and flash it to a micro SD card (8G minimum). We suggest the official Raspberry Pi documentation for that, or use this video for instructions on how to flash an SD card using Balena Etcher.Regardless the documentation you use, just make sure you flash the correct BluPants image file to your SD card.
Insert SD card with BluPants image to your Raspberry Pi before you connect it to the AlphaBot2.
Connect Raspberry Pi to WiFiPlease refer to the official Raspberry Pi documentation on how to connect your robot to WiFi. You can find a very well detailed documentation here. All you need to do, is to make sure you connect both the robot (running BluPants SD card image) and your browser (desktop, tablet or phone) to the same WiFi network, so you can program your robot with BluPants Studio.
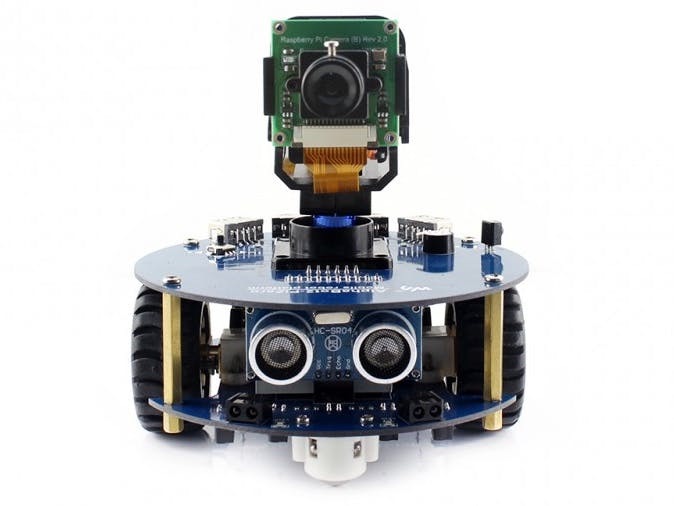
Assembling the AlphaBot2Follow the instructions from the vendor to assemble your AlphaBot2
The oficial documentation from the vendor can be found here.
Coding Time!Once you have your Raspberry Pi on and connected to the WiFi, open a browser and visit http://blupants.org. Make sure the computer you are using to browse is also connected to the same WiFi network you connected your Raspberry Pi.
On the "Robot" drop-down menu (bottom right), select the WiFi IP address of your Raspberry Pi and click "Play":
In this example the Raspberry Pi WiFi address is "10.0.0.119".
Now that you are connected, drag and drop one or two "move forward" command blocks, and click "Play" to execute it.
If everything works good, congratulations! You are ready to write some code with BluPants to program your robot!
To learn more on how to tune your robot and troubleshoot issues, please refer to general BluPants Raspberry Pi tutorial that can be found here.


Comments
Please log in or sign up to comment.