


Hardware components | ||||||
 |
| × | 1 | |||
 |
| × | 1 | |||
| × | 1 | ||||
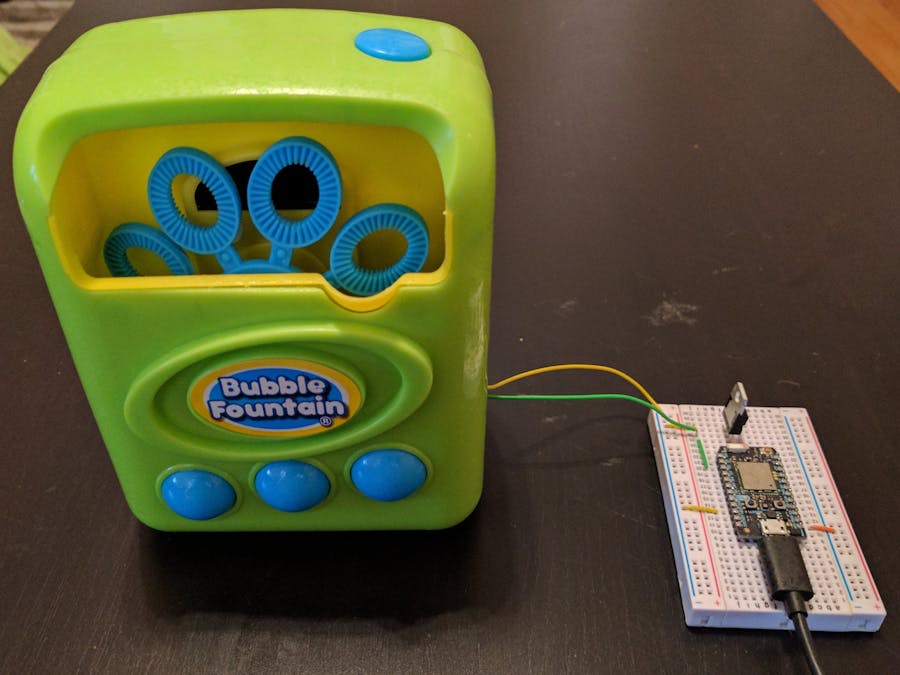
I have a dog who spends a lot of time home alone. He loves to play with bubbles, so I thought it would be nice to let anyone send bubbles to him while I was away. I kept an eye out for a cheap bubble machine, and when I found one that fit my needs I went for it. In my own setup, I include a webcam feed I made using MotionEye. For this project, I'll focus on making the bubble machine part only.
The HardwareI dug in and soldered some wires to where the original toggle switch was connected.
The way to controlling a battery powered device with a photon is with a transistor. To get up to speed on transistors, check out Alex Glow's project.
The SoftwareThere are two parts to the software: the Particle Photon firmware, and the front end web page. The firmware listens on a websocket channel for a command, then sets trigger D1 high for five seconds. The web page contains a button which will send that command to the websocket channel. You can modify this behavior however you like (queue commands, restart immediately, etc).
To set this up yourself, go to http://build.particle.io and flash the attached .ino code to one of your Photon devices. Replace the deviceId and token with your Photon's device ID and access token. Be aware that you might need to reimport the elapsedMillis library.
Host the web page HTML somewhere you can access it (I used Github Pages), and load the page. Pressing the button will disable the button until the Photon sends a message that it's finished blowing bubbles.
Demo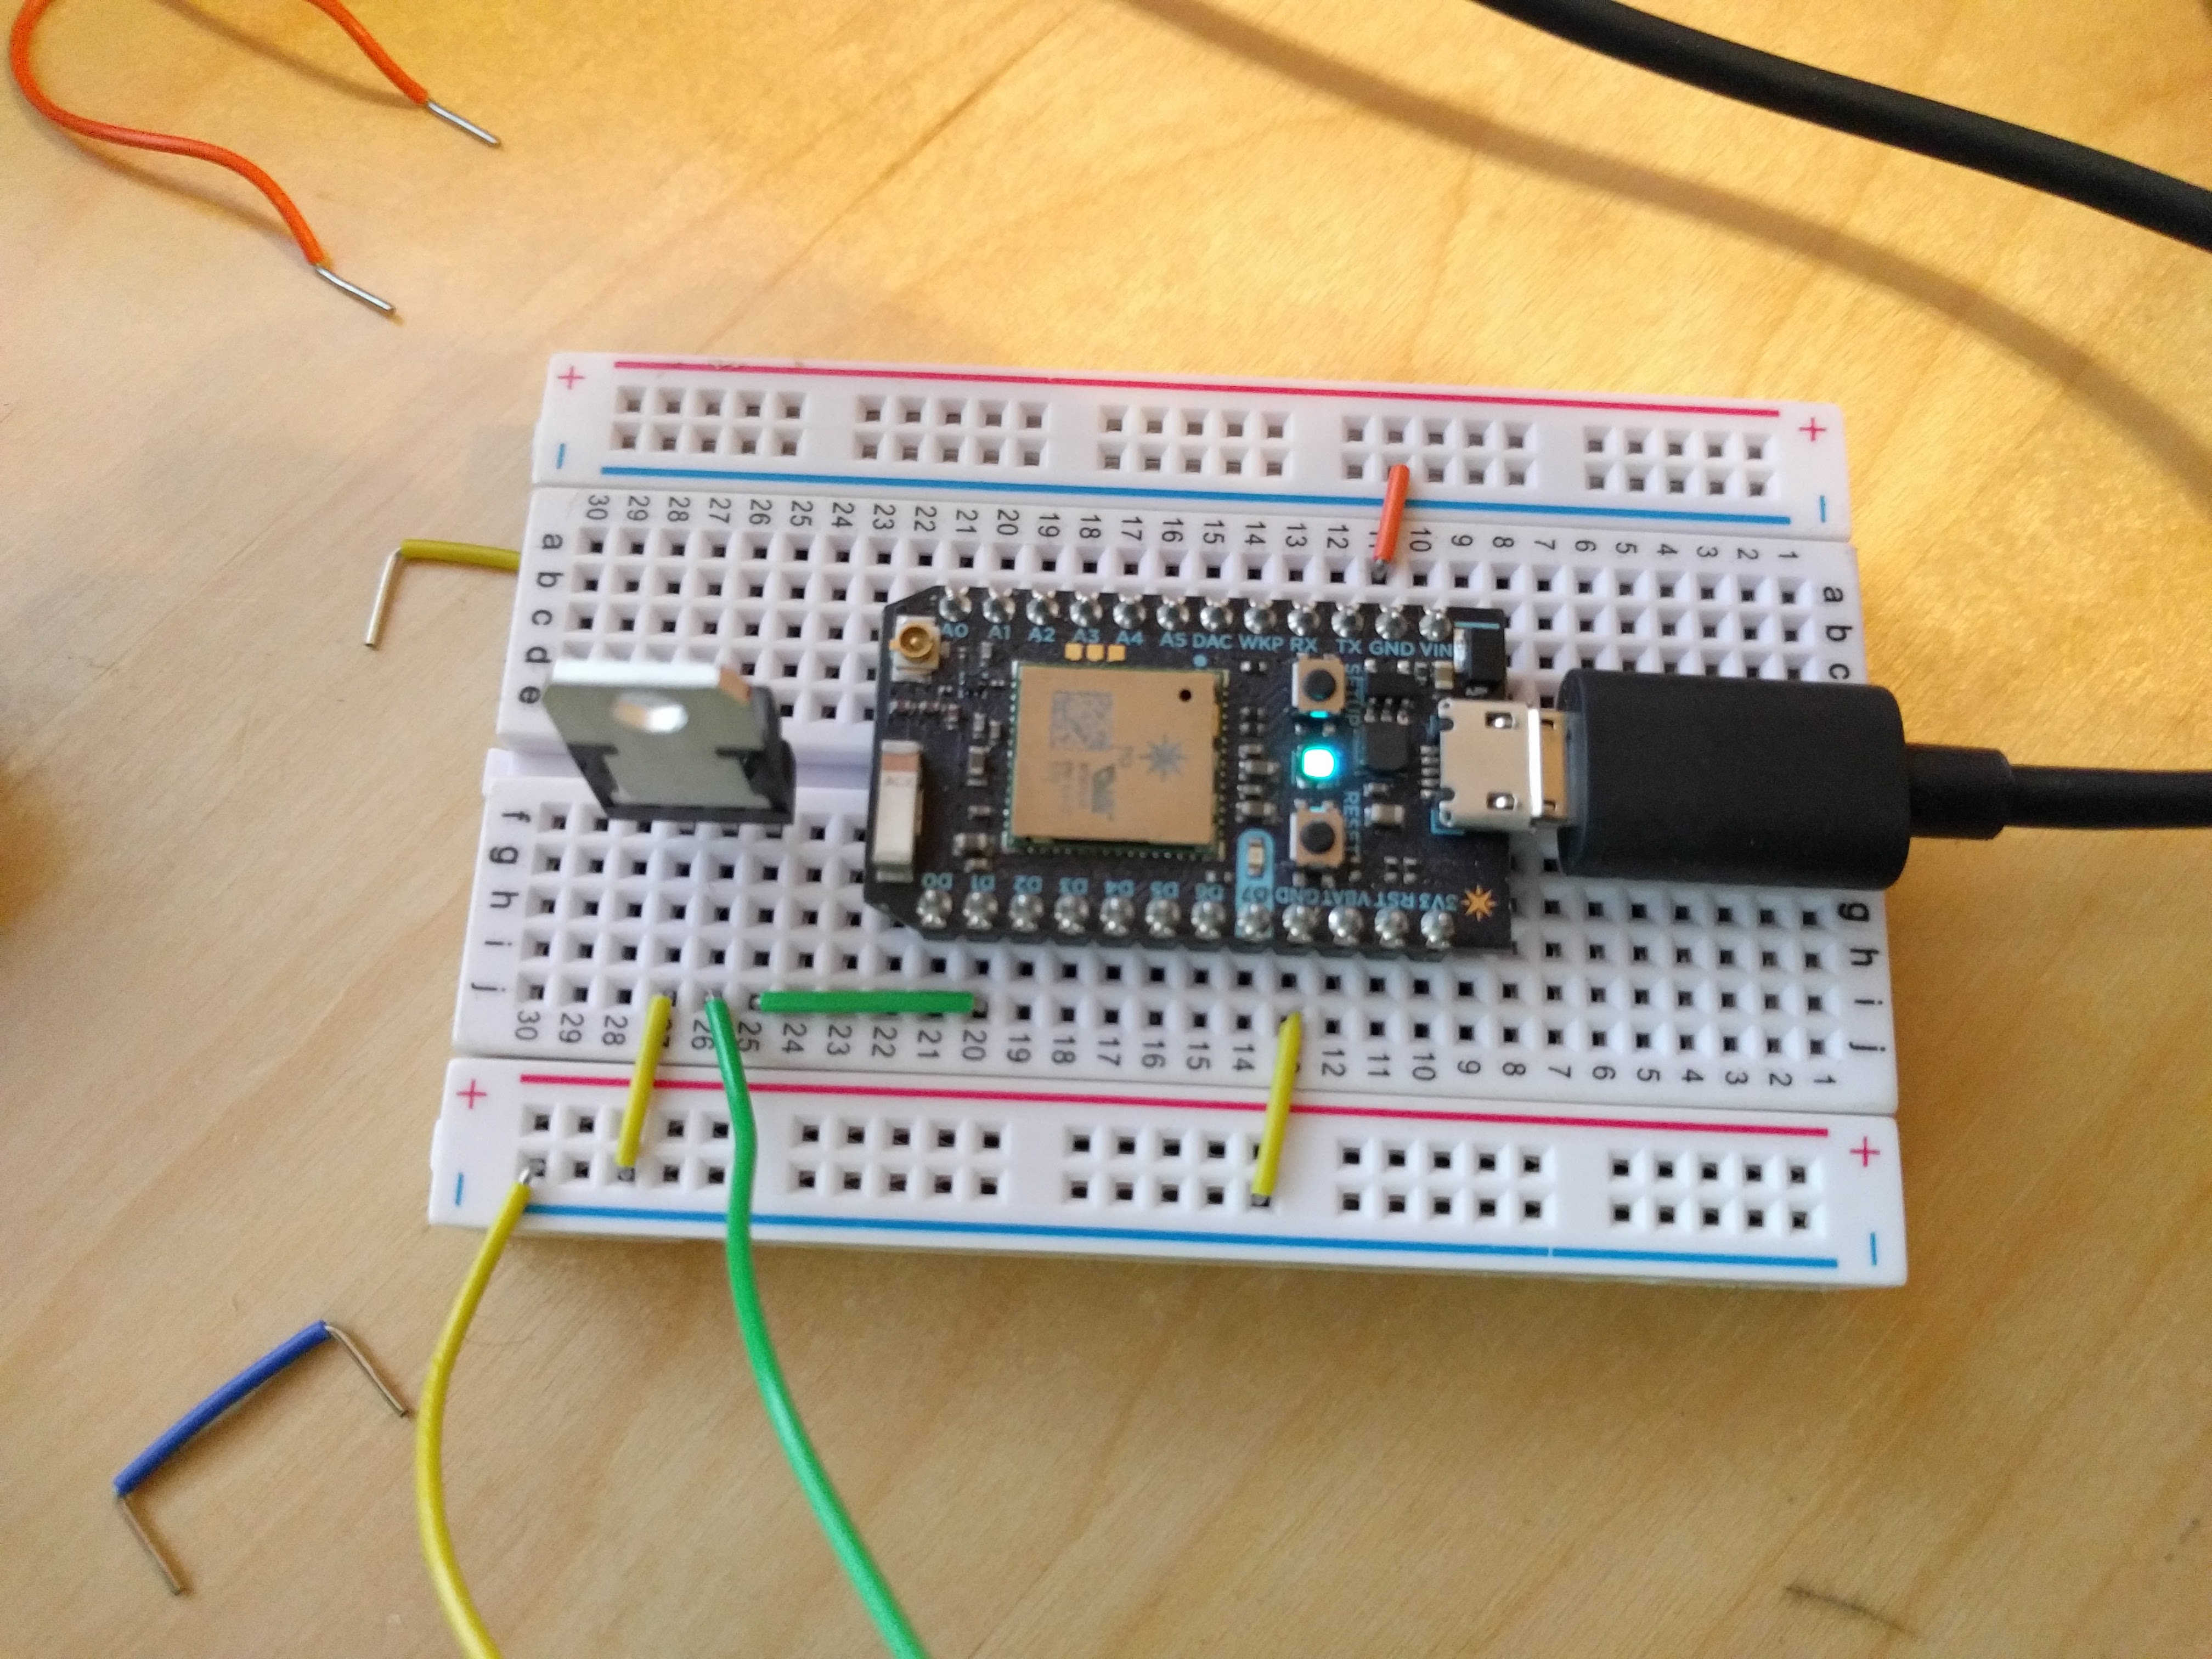


Comments
Please log in or sign up to comment.