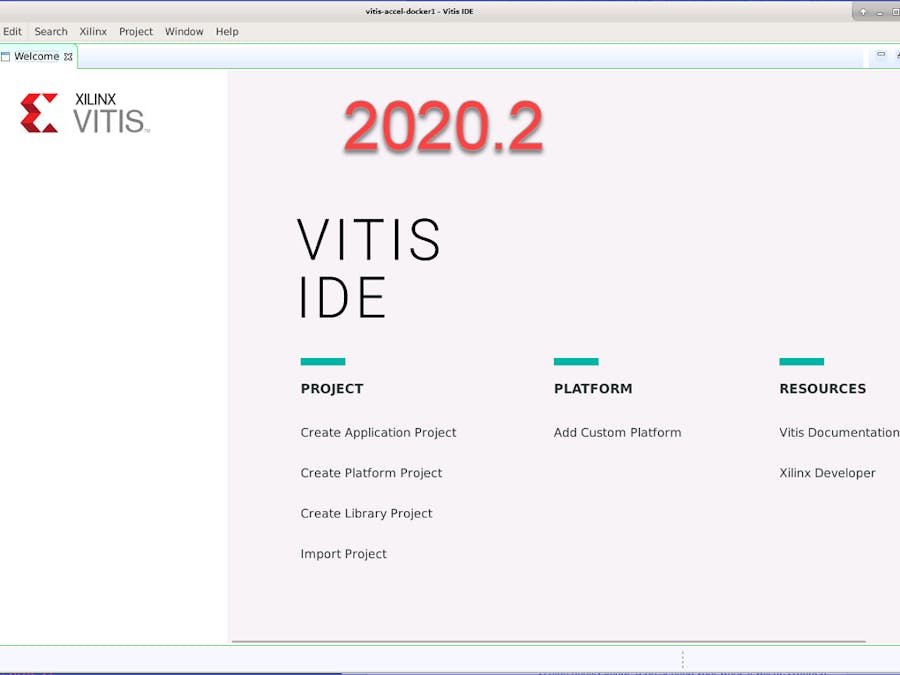
While developing accelerated applications using the Xilinx Vitis tools may be straightforward, the installation process can be daunting. This project aims to help new users clear the initial hurdle of getting the Vitis tools installed to target the Xilinx ZCU102 development board.
This story does not replace the steps nor does it cover every step listed in the official documentation so please consider this a supplement or initial exposure to the process only.
This project takes you to the point where you can run the Vitis Acceleration tools to target the ZCU102 and run a demo application on the board.
Get the DocsThe best resource available for documentation is Xilinx DocNav, which can be installed with the Vitis tool installer. But since DocNav is not yet installed, we will follow the online documentation.
The following document (UG1416) explains the overall installation flow and the document may be viewed at the link below:
Vitis Application Acceleration Development Flow Documentation
Update the System> sudo apt updateVitis uses the OpenCL Install-able Client Driver Loader. Following UG1416, install the dependencies.
> sudo apt install ocl-icd-libopencl1 opencl-headers ocl-icd-opencl-devThe container used here also needed a few other packages
> sudo apt install python-dev
> sudo apt install libswt-gtk-4-java libswt-gtk-4-jni
> sudo apt install partedFor this project, the 'All OS Installer Single-File Download' was used, but Xilinx recommends using the Web Installer.
Note that installing Vitis will also install Vivado.
After downloading and extracting the package of choice, invoke the installer:
> xsetupSelect Vitis.
Select the installation options and leave 'Install devices for Alveo and Xilinx edge acceleration platforms' selected. DocNav is also useful, but this project skips that because it is already installed on another host.
Accept the licensing terms and then select the final installation options.
Locate the installLibs.sh script at:
<install_dir>/Vitis/<release>/scripts/installLibs.sh
<install_dir>
is the location of your installation, and
<release>
is the installation version.
> sudo installLibs.shThis script installs other system dependencies and may instruct the user to install yet more dependencies manually, pay attention to any output from this script.
Download Base Platform and IntegrateThe quickest way to evaluate the Vitis acceleration tools is to leverage the Xilinx-generated 'Base Platform' which is basically a complete design that has the necessary components already instantiated in the FPGA fabric to support application acceleration.
This project uses the ZCU102 Base Platform:
After downloading the Zip archive, extract it and add the path to the following environment variable. This environment variable can be automatically set by placing the following line in your shell's startup script i.e. '.bashrc'
export PLATFORM_REPO_PATHS=<PATH_TO_BASE_PLATFORMS>Source the startup script to add the variable to the current environment:
> source ~/.bashrcThis project uses the 'ZynqMP Common Image'.
The ‘common image’ package contains a prebuilt Linux kernel and root file system that can be used with any* Zynq, ZynqMP or board for embedded Vitis platform developers.
There are specific instructions in the README.txt file within the package.
*Some board-specific features, such as WiFi, may not be available when using the Common Image on a third party board.
Extract the PetaLinux SDK from the Common ImageThe Common Image from the last section, contains a script 'sdk.sh' which is a compressed image of a development environment that the Vitis tools need in order to target an edge device.
> ./sdk.sh -y -dir . -pThe SDK will be extracted to directory named 'ir' in the current directory.
For more information on the sdk.sh script, refer to UG1144.
Install Vivado LicenseAlthough Vitis is free, in order to synthesize a design for the ZCU102 board, a license is required. Start the Vivado License Manager (vlm):
> vlm&Then point to your license:
Close vlm
Setup the EnvironmentBefore starting the Vitis tools, the environment must be configured and this can be done by sourcing the settings64.sh script that is included in the Vitis installation.
> source <INSTALL_PATH>/Vitis/2020.2/setting64.shAs you become more familiar with Vitis, you will need to become familiar with the command line interface and Makefile based flows. But for evaluation purposes, and to get some initial understanding of how the design flows work, we will begin by invoking the GUI.
> vitis &There is a built-in project which demonstrates the acceleration of vector addition and we will now built that project, targeting the ZCU102.
Choose a workspace:
Choose 'Create Application Project':
Review the information on the next page and click Next:
Since we setup the PLATFORM_REPO_PATHS earlier, the ZCU102 base platform is available in the GUI. Click Next:
Name the project and then click Next:
Configure the domain by providing the path to the various components. All of the components are contained in the Common Image which was downloaded earlier. The paths used for this project are:
1. <PATH_TO_COMMON_IMAGE>/xilinx-zynqmp-common-v2020.2/ir/sysroots/aarch64-xilinx-linux
2. <PATH_TO_COMMON_IMAGE>/xilinx-zynqmp-common-v2020.2/rootfs.ext4
3. <PATH_TO_COMMON_IMAGE>/xilinx-zynqmp-common-v2020.2/Image
Here is what the domain configuration should look like with all the paths configured. Click Next:
Choose the Vector Addition template, and click Finish:
Change the build configuration to target 'Hardware' and then click the hammer to build the project:
Once the build completes, copy the 'vadd' application and the boot collateral from the sd_card directory to an SD card and use this card to boot the board and run the application. The sd_card directory, for this project, was found at:
./vadd_system/Hardware/package/sd_cardThe rootfs from the Common Image, will also need to be copied to the SD card, to the proper partition, before booting the board.
For more information, please see UG1416 which is available both on the web and through DocNav.
Where to go from here?UG1416 is a great resource and contains links to tutorials which are hosted on GitHub. Another relevant guide is UG1393.
If you'd like to see more projects which showcase how to get started with Xilinx Vitis tools, please leave a comment.


Comments
Please log in or sign up to comment.