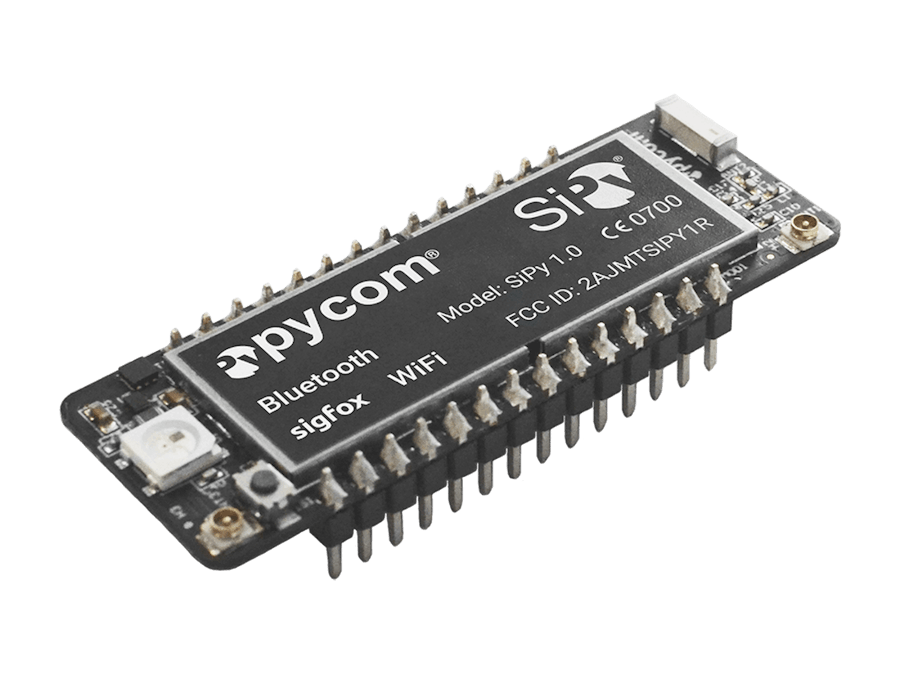
This tutorial will get you started with sending your first Sigfox message in MicroPython using the SiPy Dev Kit! It will walk you through registering your device, provisioning it's Device ID and PAC number.
Installing the Firmware Upgrade ToolFirst thing you need to do is head to the Pycom Firmware Upgrade page and download the upgrade tool. This will bring your SiPy up to the latest software version and provision it with it's Sigfox ID and PAC number. Install the tool and ensure that it runs correctly.
Placing the SiPy into Upgrade ModeNow you will need to put your SiPy into upgrade mode. You can do this by shorting the pins G23 and GND with a jumper wire as seen in the diagram below.
Now that the device is ready, connect it to your computer via USB cable and run the Firmware Upgrade Tool.
You will be guided through what you need to do in order to set up the device. Follow these instructions and you'll have an up to date device in no time!
Upon completing the upgrade, the tool will provide you with your device's ID and PAC number. Make note of the ID and PAC number as you will need them in a minute!
Registering with SigfoxNow you have the right firmware and ID/PAC that you need to register your device, head to https://backend.sigfox.com/activate. You will be greeted by a page of Sigfox-enabled development kits; select Pycom for activating the SiPy. Enter the Device ID and PAC number that the Firmware Tool generated for you earlier and fill in the required information. When completed you'll receive an email from Sigfox confirming your account.
Sending Your First Sigfox MessageFantastic, your account is setup and you device is registered! Lets start sending some messages!
Connect your SiPy to your computer and launch your method of choice for programming your board; this tutorial will assume you're using the Pymakr IDE.
From the console, enter the following commands to put your device into Sigfox mode.
NOTE - Ensure your external antenna is connected before attempting to send Sigfox messages. If you do not do this, you can risk damaging your device!
from network import Sigfox
import socket

# init Sigfox for RCZ1 (Europe)
sigfox = Sigfox(mode=Sigfox.SIGFOX, rcz=Sigfox.RCZ1)

# create a Sigfox socket
s = socket.socket(socket.AF_SIGFOX, socket.SOCK_RAW)

# make the socket blocking
s.setblocking(True)

# configure it as uplink only
s.setsockopt(socket.SOL_SIGFOX, socket.SO_RX, False)

# send some bytes
s.send("Hello World")
Note - Upon calling the send() function, it will return the number of bytes that have been sent.
Checking Your Message PayloadIf everything worked correctly, you should now be able to see your message on the Sigfox Backend! Head over to https://backend.sigfox.com, login and click on the 'Device' tab. You should see your SiPy in the list below; click on it's ID and then select the 'Messages' tab at the side.
Don't worry if you see a string of hexadecimal numbers! This is correct! Sigfox automatically decodes your message as raw hexadecimal so your message "Hello World" should look something like "48656C6C6F20576F726C64".
We can fix this! Head to the "Device Type" tab and choose the "Pycom Kit". You'll be presented with an information screen and in the top right corner, you'll find an "Edit" button. Under "Display", you can choose to set the type as String; this will turn your messy hexadecimal message into a more readable ASCII message!
Congratulations! You've sent your first Sigfox message! Check back under the hackster.io/pycom community for more tutorials using the SiPy and MicroPython!


Comments
Please log in or sign up to comment.