


As with my first project of the digital cribbage board, my parents asked for another gadget which they have always wanted, a digital weather station, and to be frank, so have I.
Yes, I could just look at my mobile phone, but where's the fun in that?
I decided that I would like to see a decent forecast, one which shows multiple days and if possible switch to the next few hours and then I discovered OpenWeather.org...
Using their free subscription service, and their OneCall API, I had access to all of the data I needed, but what about a display? There were plenty of single screen weather stations but I had in mind what I wanted to build.
Here are some short videos, for those of you who wish to quickly see the finished project.
First PrototypeAt the start, I needed to learn about multiple displays before I could do anything else, as if I didn't crack that, then the rest of the project would stall.
Once I had cracked how to drive multiple displays, I switched to an ESP32 and built a fully working unit on strip board.
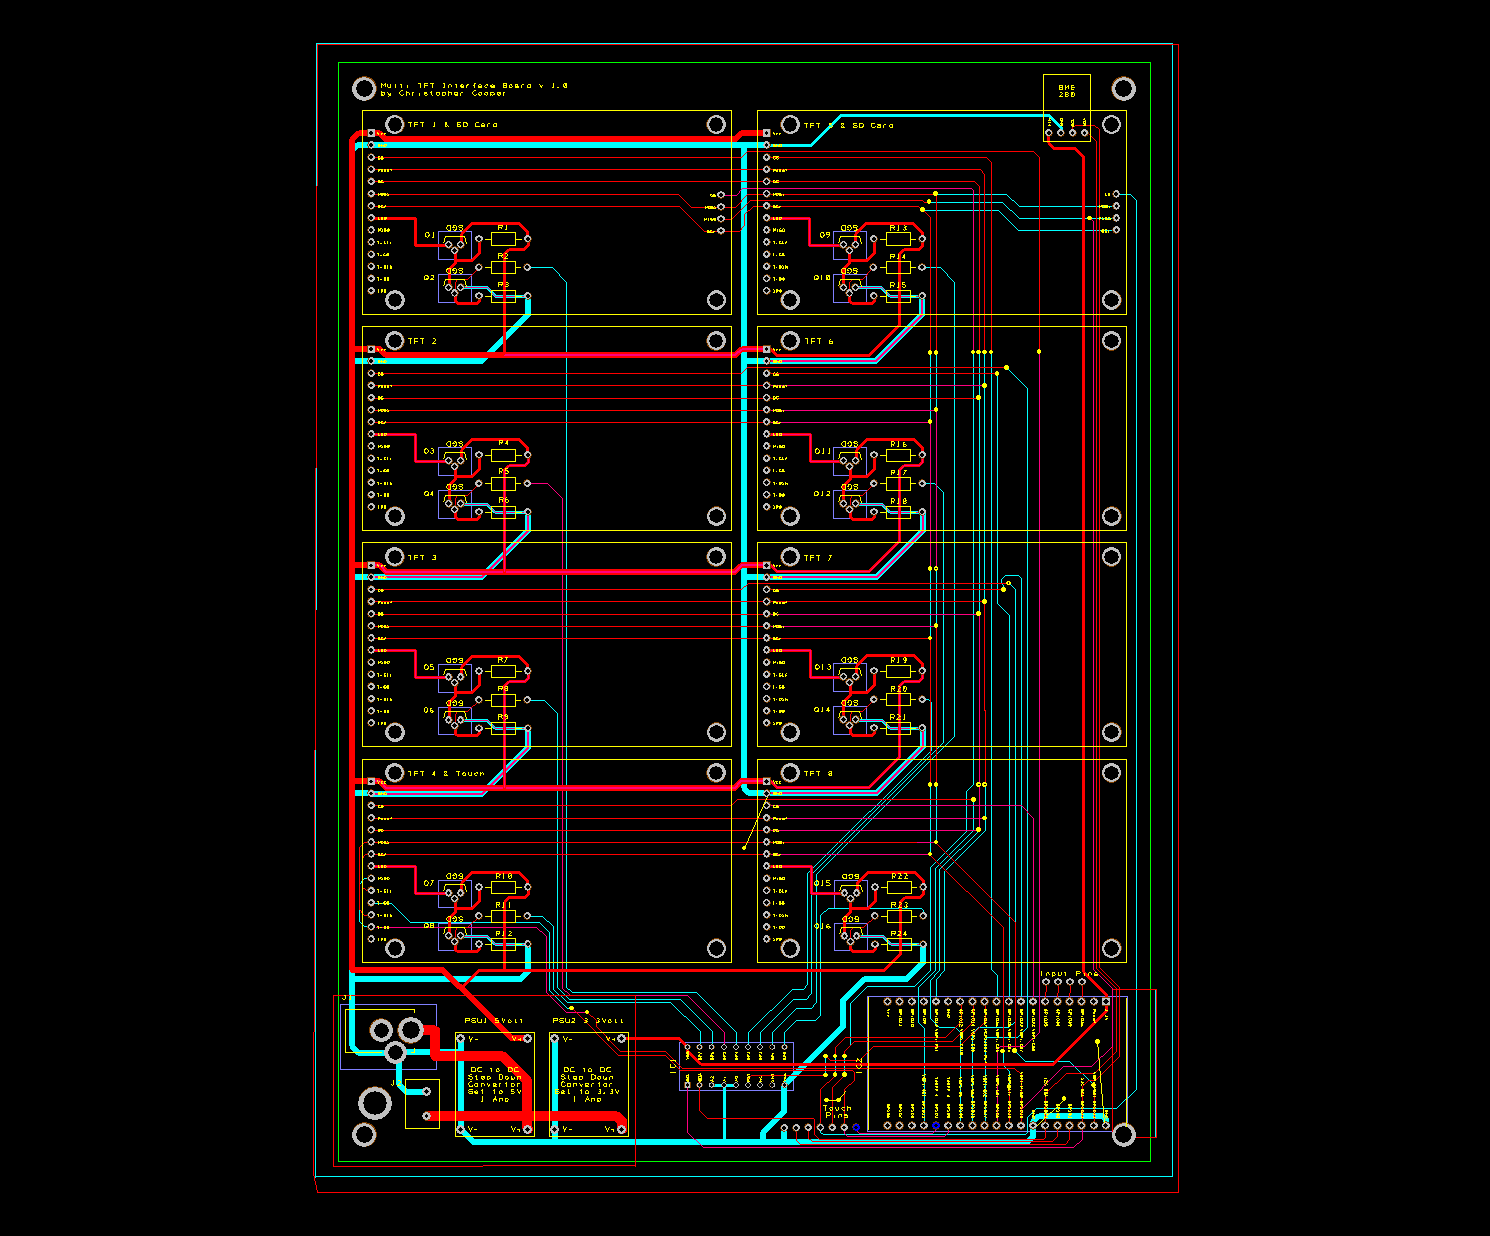
This is where I expanded the design, such as learning about extending the I/O outputs, so I could control each TFT backlight, using an I2C I/O expander, the Microchip MCP23008 and a dual MOSFET design.
Along with expanding the available I/Os, I made use of the inbuilt capacitive touch functions of the ESP32 as well as ensuring in future designs I could expand what this display panel could be used for.
For example, the bottom left TFT could be switched to the 2.4” touch version, instead of using the capacitive touch buttons, plus the two upper most displays could have their SD card slots enabled as all of the connections are in place.
Finally I have also included a secondary I2C, the BME280 Barometric Air Pressure Temperature and Humidity Sensor Module. So should you need internal environmental monitoring in your project, the connections are once again all built in.
These features mean that the display panel could be re-purposed to a home automation panel, hydroponics control panel or multiple sensor display panel.
There were a few challenges to say the least. Ensuring all 8 TFT displays could work at 40Mhz using strip board wasn't easy. In fact, at one point I thought I would have to give up and use both SPI bus options on the ESP32, the VSPI as well as the HSPI, but luckily I ironed out all of the issues (well I thought I had).
What was a lot of fun was using the MCP23008 to control a dual MOSFET switch design which I learnt from Ralph S Bacon.
Custom Design PCBAfter ensuring all of my electronics worked, I felt confident to design my own PCB which I had manufactured in China.
And then I got to work building it...
And some more...
The Finished UnitAfter about 4 hours, the unit was built and it came together well. I am really chuffed with the look and feel of it and it is really solid.
That said, whatever planning you do, there is always a last minute design problem and this project was no exception. Do you remember earlier where I said I thought I had solved the SPI bus problems, well I hadn't. The bottom left display kept corrupting at 40Mhz and would only stabilise at 20Mhz which for me wasn't fast enough. By chance, when scoping out the SPI BUS, I realised the problem disappeared, so after reading up on Oscilloscope probe resistance, I tested a series of low value resistors on the CLK line and the problem was resolved!
There are two videos here, the first is showing the first boot and the station switching to a wireless access point mode, which enables a webserver. Once the webserver is running, you can connect to the Wi-Fi, plug in the IP address and setup the Weather Station parameters, including your OpenWeather API key and your geographical location.
Once configured, the unit restarts.
The enclosure, I have to say thanks once again to Ken Venables, Signs Express Norwich for his efforts.
Hopefully you enjoyed reading and watching my project. If anyone wishes to have a go in building one, please let me know if you need any assistance. Should there be any interest in the PCB, I can easily get a batch made and then sell them individually to cover the costs.
Please leave comments as it is always great to read them good or bad.


Comments
Please log in or sign up to comment.