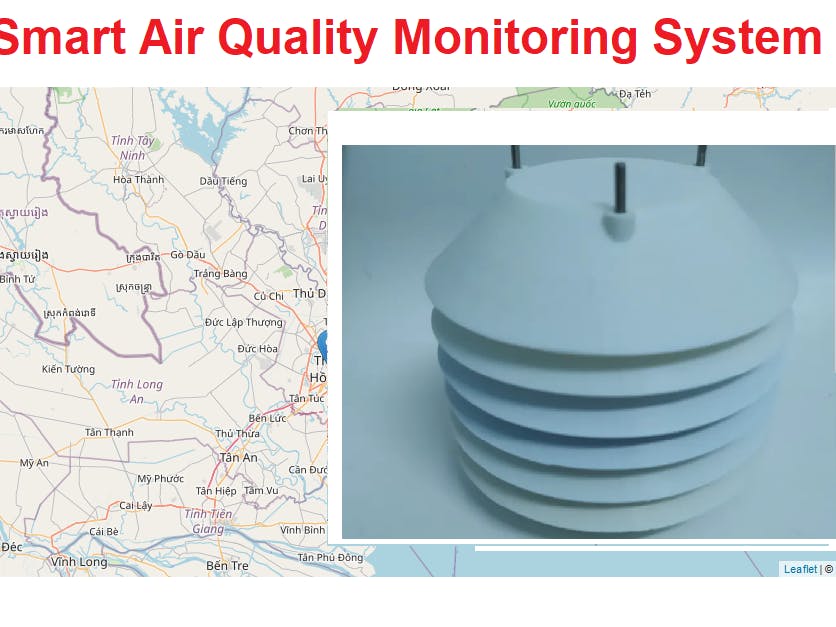
Smart Air Quality Monitoring System is a system of Air quality Device, each device will get data air quality and send to server, save to database and Iota Tange automaticaly.
This data can be purchase in Iota DatamarketPlace any time.
a) Schematic
- The specs for the STM32, ESP8266, Dust Sensor, SVM30 sensor, Ozone sensor: please check attached file for datasheet.
- Here is schematic of MCU connect with all sensor and ESP8266
- ESP8266 layout same modul Node MCU, we can debug, upload firmware through micro-usb port
See full schematic in Download section
b) Layout
- I make a round PCB with dia = 8cm, 2 layers, you can order in web https://jlcpcb.com/
- Here is Layout and 3D:
c) Soldering
- Prepare the part in BOM and solder to PCB
- This is PCB after solder all part:
d) Firmware for MCU and ESP8266
Flowchart for MCU:
- Setup timer, every 5 min will get data from sensor and store it.
- When receive request from ESP, MCU send data to ESP
Flowchart for ESP8266
- When start, ESP will connect to Internet with old setting SSID+Pass, If cannot connect, it will go to Acess Point mode, and we'll config new SSID + Pass.
- Connet to MQTT broker and subscribe to topic /server-request/xxxxx, with xxxx is id of device
- When receive request from server thought MQTT, ESP8266 will send request to MCU, receive data from MCU, send back to server.
e) The cover box and holder for sensor
The cover box
- The box have round shape, and have 3 layer: top, mid and bot. Each layer have space for air go through.
- Make by 3D printing
The holder for Sensor
- I use mica acrylic sheet and laser cut.
Here the box and cover after assembly
3) Build Servera) Flowchart of Server
- Server have web interface with user,
- Subcribe and publish to MQTT, request and receive data from device
- Save data to database and to Iota Tangle
- Link to DataMarketPlace to purchase data.
b) Web tree:
We have 3 page:
- Main Page: show map of Air Quality Monitor Device
- Chart Page: chart of data of Air Quality Monitor Device in Hour or Day
- Login Page: for Input data of new Device
c) Install server
- Download source code from git.
- Open terminal and install all dependence
npm install- Run server local
npm starta) Build and deploy myversion of the Data Marketplace application.
- Five-part blog series to provide more information about the updated Data Marketplace, including technical specifications and user guidelines. You can check it out here:
https://blog.iota.org/part-1-iota-data-marketplace-update-5f6a8ce96d05- After follow 5 part to make my own datamarket in firebase:
https://data-iota.web.app/#/dashboard- Add new device to DatamarketPlace
- After add new device, you will download Publish Script to get Key, ID and Endpoint Url
- After download, insert 3 file below into Server code, each Device will have ID and "secretKey", save it for register new device to Server.
a) Run server
npm startIn this demo, i make server request to all device in every 5 min. This console log of server when start:
b) Register Device to Server
http://localhost:3000/login.htmlAfter login, add new device info:
- Mac device: The unqui Mac address of ESP
- Sensor ID: The ID register in Iota DataMarket
- SecretKey: The key of device in Iota DataMarket
- Lattitude: The latitude of Device
- Longtitude: The Longtitude of Device
c) Power on Air Monitor Device
After power on Device, if Device can not connect to internet, it will go to AP mode, connect to that wifi and config new SSID and Pass.
d) Result:
- Server request to device:
- The device will send to server data in Json format, sever will save to local database and send to Iota Tangle
Data update in Tangle
Now go to
http://localhost:3000/divice-chart.htmland click on Buy This Data Stream, it will link to url to purchase in DatamarketPlace
https://data-iota.web.app/#/sensor/Sensor_envi_01


Comments
Please log in or sign up to comment.