
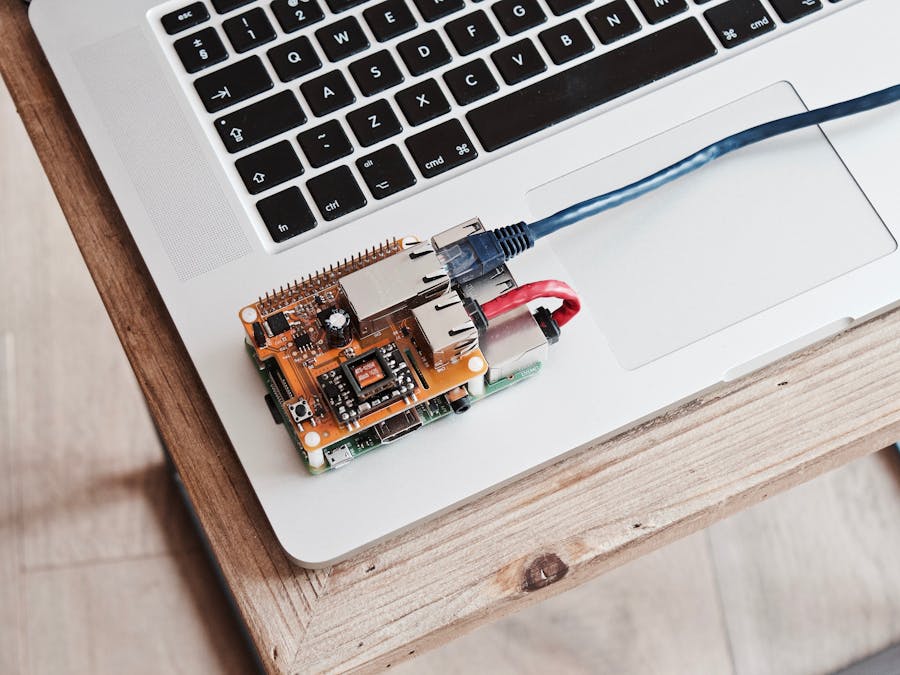
Hardware components | ||||||
 |
| × | 1 | |||
Software apps and online services | ||||||
 |
| |||||
 |
| |||||
By following the procedure below, anyone can get started with Raspberry Pi and ThinCloud. There are two parts to this tutorial: the installation procedure and setting up a ThinCloud test device. Make sure you are using the supported hardware kits and have all the prerequisites before getting started. Please note: before you continue with Part II in the tutorial, you will need to create a new instance with the Yonomi team. You can contact us here to do so.
Part I: Installation ProcedureSupported Hardware Kits- Raspberry Pi 'A+' 'B', '3 B+', 2, 3, Zero W, Zero WH
- Raspberry Pi 'A+' 'B', '3 B+', 2, 3, Zero W, Zero WH installed with Raspbian
- AWS-IoT certificates
Follow the installation procedure to get your Raspberry Pi setup for Thincloud.
In order to have your PI communicate with the cloud you would need to follow this installation procedure to successfully integrate with your ThinCloud instance.
Installing OSThe preferred linux OS is Raspbian.
Installation instructions can be referenced from here: https://www.raspberrypi.org/downloads/raspbian/
Updating OSThe OS needs to be updated with the latest modules available. Run the following commands to update your Raspbian OS to latest.
Reference: https://www.raspberrypi.org/documentation/raspbian/updating.md
$ sudo apt-get update$ sudo apt-get dist-upgrade
The preferred way to install Node on the pi is by downloading the binary from nodesource based on your processor architecture i.e. armv7 and then installing it. Follow the steps blow to install NodeJS on your device.
Reference: https://nodejs.org/en/download/package-manager/
$ curl -sL https://deb.nodesource.com/setup_10.x | sudo -E bash -$ sudo apt-get install -y nodejs
**Note: at the time of this doc, Node 10.15 was the latest stable version of NodeJS. Check https://nodejs.org/en/ to see the latest and adjust the curl command to whatever version you are installing. For example, for an older version it was setup_8.x for the latest version of Node 8.
You can check your system info using the following command:
$ cat /proc/cpuinfo
Certain node modules require git in order to be installed.
Reference: https://git-scm.com/book/en/v2/Getting-Started-Installing-Git
$ sudo apt-get install git-core
--*-- Don't install via git-all source
Setting up PM2PM2 provides a way to manage your node processes. We prefer users to run node process via PM2 and let it do the heavy lifting to keep the process up and running. It provides a lot of out of the box functionality like starting process on boot and restarting when there is a system fault. It also provides performance metrics and insights into your processes.
Reference: http://pm2.keymetrics.io/docs/usage/quick-start/
$ sudo npm install pm2@latest -g
Yonomi provides a virtualized nodejs testing-device to do quick prototyping which uses the Thincloud-Device-SDK. The test-device can be used as a reference to build prototypes that implements Thincloud-Device-SDK
Installing Thincloud-test-deviceThincloud-test-device can be cloned from our git repo.
$ git clone https://github.com/Yonomi/thincloud-test-device.git
Please note: Before you continue the tutorial, you will need to create a new instance with the Yonomi team. You can contact us here.
The test-device needs to be configured to be able to talk to your ThinCloud instance. There are couple things you would need as prerequisite to configure your test-device to be able to successfully connect to your cloud.
Prerequisites- AWS-IoT Certificate for your device *(Note: the certificate has 2 files <xxxx-certificate.pem.crt>, <xxxx-private.pem.key>)
- AWS-Iot broker details. This can be retrieved from the AWS-IoT console form the settings tab i.e <xxxxxxxxxxxxx.iot.us-west-2.amazonaws.com>
- Thincloud deviceType i.e. 'Bulb/Hub/Gateway'
Test-device has a configuration file that requires to be modifed based on your Thincloud-instance. The configuration file is located in your project root under config i.e <thincloud-test-device/config/device.config.json>
{
"deviceType": "hub",
"physicalId": "10000",
"requestTimeout": 5000,
"timeoutCommission": 40000,
"log": {
"level": "trace"
},
"privateKey": "certs-us-west-2/private.pem.key",
"clientCert": "certs-us-west-2/certificate.pem.crt",
"caCert": "rootCA.pem",
"shadow": true,
"port": 8883,
"host": "<xxxxxxxxxxxxx.iot.us-west-2.amazonaws.com>",
"region": "us-west-2",
}
The config file requires the certificates path and the host information to be able to connect to your Thincloud instance. The other properties functionality can be referenced from the Thincloud-Device-SDK docs.
The certificates can be placed on int your project root directory and can be referenced as shown above if its the root of your project. The host information is the AWS-IoT broker info that needs the SDK needs to point to the specific aws-iot instance. The region also needs to be the same as the host region.The directory structure looks something like this for the files you would need to modify:
You can start your test-device by simply running it through npm. you can use the npm start script that we have provided with out client.
$ npm start
Running the test-device using this command is good for debugging/quick prototyping but not great for running a process that needs its lifecycle to be managed.
Running test-device using PM2The preferred way to run the test-device is by having PM2 manage your process. This can be done by executing following command
$ pm2 start server.js
you can also setup pm2 to automatically boot/restart your process by executing the following commands
$ pm2 startup
this command will generate a command as such: sudo env PATH=$PATH:/usr/bin /usr/lib/node_modules/pm2/bin/pm2 startup systemd -u pi --hp /home/pi this needs to be executed for PM2 to be added to systemd which basically starts PM2 when the devices is powered on
$ sudo env PATH=$PATH:/usr/bin /usr/lib/node_modules/pm2/bin/pm2 startup systemd -u pi --hp /home/pi
You need to save the running process in order for PM2 to know which of your process to boot
$ pm2 save
There are several tools available for performance and monitoring. We recommend using the following tools due to their easy to configure and remote monitoring features. *(Note: These services are third party and are paid services. They do have a limited free version)
Setting up Keymetrics(PM2) remote monitoringThis is very useful to monitor your node process. Its very easy to integrate with your test-device
Reference: http://pm2.keymetrics.io/docs/usage/use-pm2-with-cloud-providers/#link-to-keymetrics
Setting up DataDog OS monitoringDataDog agent can be installed on your linux client and can be monitored remotely. Follow the reference below to integrate DataDog with your device.
Reference: https://docs.datadoghq.com/developers/faq/deploying-the-agent-on-raspberrypi/
Hassan Khokhar
 Camille Vargas


Comments