

Hardware components | ||||||
_ztBMuBhMHo.jpg?auto=compress%2Cformat&w=48&h=48&fit=fill&bg=ffffff) |
| × | 1 | |||
 |
| × | 1 | |||
| × | 1 | ||||
| × | 1 | ||||
| × | 1 | ||||
Hand tools and fabrication machines | ||||||
| ||||||
| ||||||
| ||||||
Please watch this video for more detail about how to set up the website.
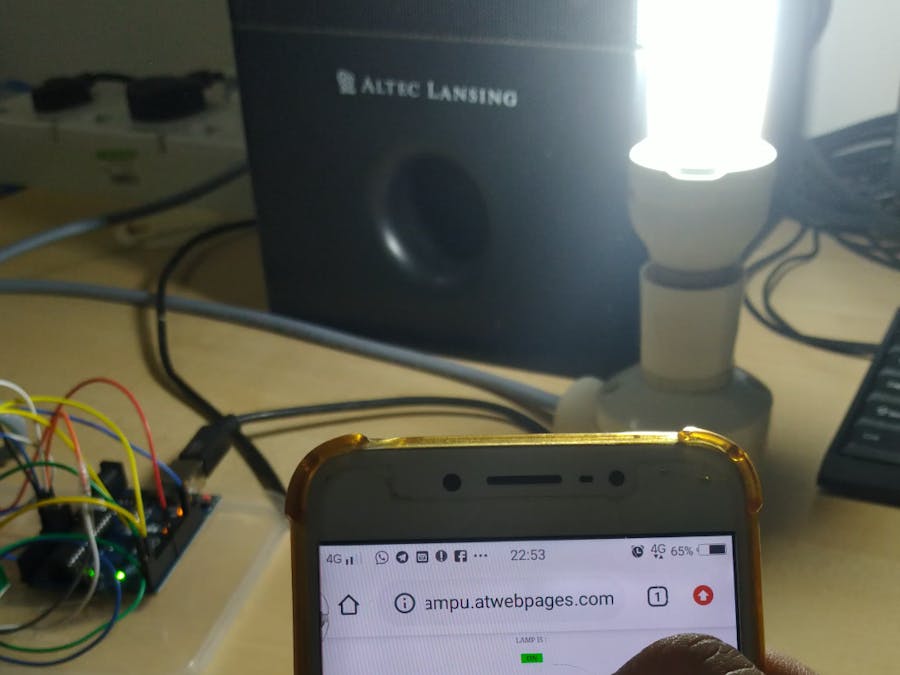
This project is about how to switch on/off a lamp over the internet through personal website even you are not in your home LAN(Local Area Network). You can access the website anywhere around the world using any web browser which installed in any devices like personal computer, notebook, smartphone or something else. In this simple project, I just create a simple website with button to switch on or off the lamp. For more security you can create on your own a log in page before the switch on/off page for your website to make it safe.
ESP8266 ESP-01 PINOUT :
CIRCUIT DIAGRAM :
*NOTE :
Please make voltage divider between Arduino TX and ESP8266 ESP-01 RX.
ARDUINO SKETCH :
int output1=0;
void setup() {
 // put your setup code here, to run once:
 pinMode(8,OUTPUT);//FOR output1
 Serial.begin(115200);
 int connectionSuccess=0;
 while(connectionSuccess==0)
 {
   Serial.println("AT+RST\r\n");
   delay(2000);
   while(Serial.available()>0)
   {
     char c=Serial.read();
   }
   Serial.println("AT+CWMODE=1\r\n");
   delay(2000);
   while(Serial.available()>0)
   {
     char c=Serial.read();
   }
   Serial.println("AT+CWJAP=\"TP-Link_F338\",\"20955250\"\r\n");
   delay(5000);
   while(Serial.available()>0)
   {
     //char c=Serial.read();
     if(Serial.find('K')==true)
     {
       connectionSuccess=1;
     }
   }
 }
}
void loop() {
 // put your main code here, to run repeatedly:
 String requestGet="GET /index.php HTTP/1.0\r\nHost: switchonthelamp.atwebpages.com\r\nAccept: */*\r\nContent-Type: text/html; charset=UTF-8\r\n";
 Serial.println("AT+CIPSTART=\"TCP\",\"switchonthelamp.atwebpages.com\",80\r\n");
 delay(1000);
 while(Serial.available()>0)
 {
   char c=Serial.read();
 }
 Serial.println("AT+CIPSEND="+String(requestGet.length()+2)+"\r\n");
 delay(100);
 while(Serial.available()>0)
 {
   char c=Serial.read();
 }
 //RECEIVE DATA FROM SERVER AND SEARCH FOR KEY BETWEEN TWO HASH TAG
 //----------------------------------------------------------------
 int firstHash=0;
 int secondHash=0;
 String tempText;
 Serial.println(requestGet);
 char arrayByte[1000];
 int saizHuruf=Serial.readBytesUntil('^',arrayByte,1000);
 for(int i=0;i<saizHuruf;i++)
 {
   char a=arrayByte[i];
   tempText+=a;
   if(a=='#'&&firstHash==0)
   {
     firstHash=i;
   }
   if(a=='#'&&firstHash!=0)
   {
     secondHash=i;
   }
 }
 if(firstHash!=0&&secondHash!=0)
 {
   String result=tempText.substring(firstHash,secondHash+1);
   Serial.println(result);
   //OUTPUT 1
   int output1temp=(String(result.charAt(1))).toInt();
   if(output1temp!=output1)
   {
     output1=output1temp;
     if(output1==1)
     {
       digitalWrite(8,HIGH);
     }
     else
     {
       digitalWrite(8,LOW);
     }
   }
   //OUTPUT 1
 }
 //----------------------------------------------------------------
 //RECEIVE DATA FROM SERVER AND SEARCH FOR KEY BETWEEN TWO HASH TAG
 delay(1000);
 Serial.println("AT+CIPCLOSE\r\n");
 delay(2000);
 while(Serial.available()>0)
 {
   char c=Serial.read();
 }
 delay(1000);
}
*NOTE :
- Please change SSID Name & Password to your WIFI SSID Name & Password. ESP8266 will use your WIFI with internet connection to retrieve status of the lamp from your website. The website will store 0 for OFF and 1 for ON.
- Please change switchonthelamp.atwebpages.com to your website URL. You can watch my video for tutorial how to create free website using free web hosting like 000webhost or webfreehosting.net.
- Before upload this sketch, please remove RX and TX connection on arduino board. After upload done, you can connect it back.
SETUP WEBSITE (Please watch my video for more detail):
- Sign Up for new account on webfreehosting.net (You can use other free webhosting service).
- Sign In on webfreehosting.net.
- Set up free domain name.
- Set up database.
- Set up all three.php file (index.php, control.php & update.php).
COMPLETE PROJECT FILE (DOWNLOAD HERE) :
https://drive.google.com/file/d/1V2NW7Xp4ljk0WP4gY0RyByy4EovzFpKk/view?usp=sharing


Comments
Please log in or sign up to comment.