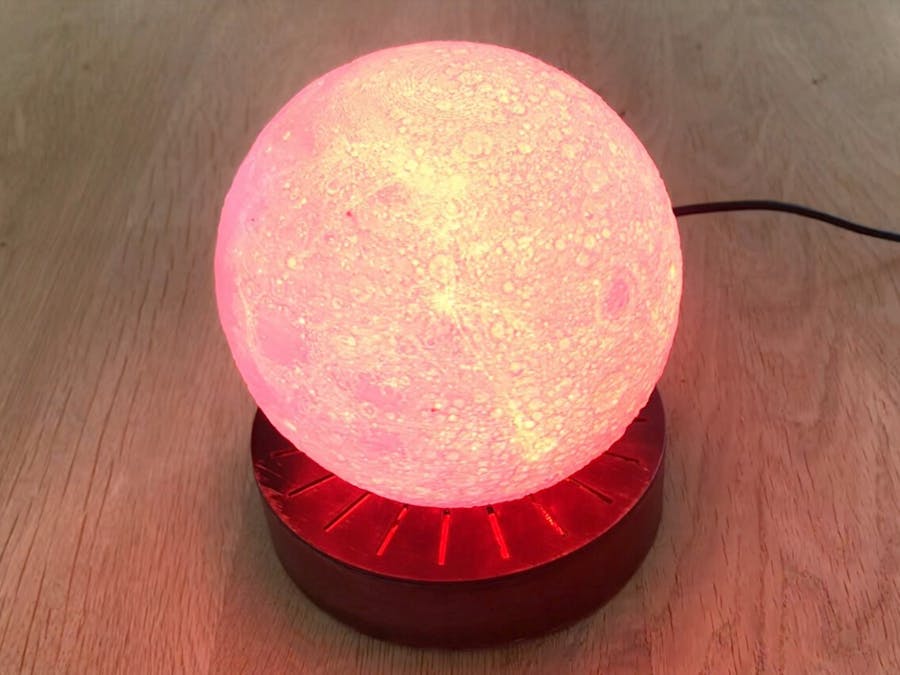
This is the complete end to end build of my 3D Printed Moon Lamp - design, 3D printing, electronics and final assembly.
The RGB LED is driven by an ESP32 and has a web interface for choosing the Red, Green and Blue levels. I designed and build a custom PCB for the electronics.
There are detailed videos for each step available below:
Printing The MoonI downloaded my moon model from here: https://www.thingiverse.com/thing:4102658
The model is pretty big so quite hard to manipulate inn Fusion 360 so I'm using Blender for this part of the project. You need to make the base of the moon flat so that it can be printed and I added a small ring of material so that it would fit nicely into the moon base.
Printing the Moon - https://youtu.be/nMxH-cpmX6c
Electronics PrototypeWe need to drive the 3W RGB LED from an ESP32. Obviously an ESP can't provide that much current so we need to have a MOSFET to drive the LED. This is driven from the ESP32 using PWM to give us a dimmable LED.
Electronics Prototype - https://youtu.be/YwgShZYEB6Q
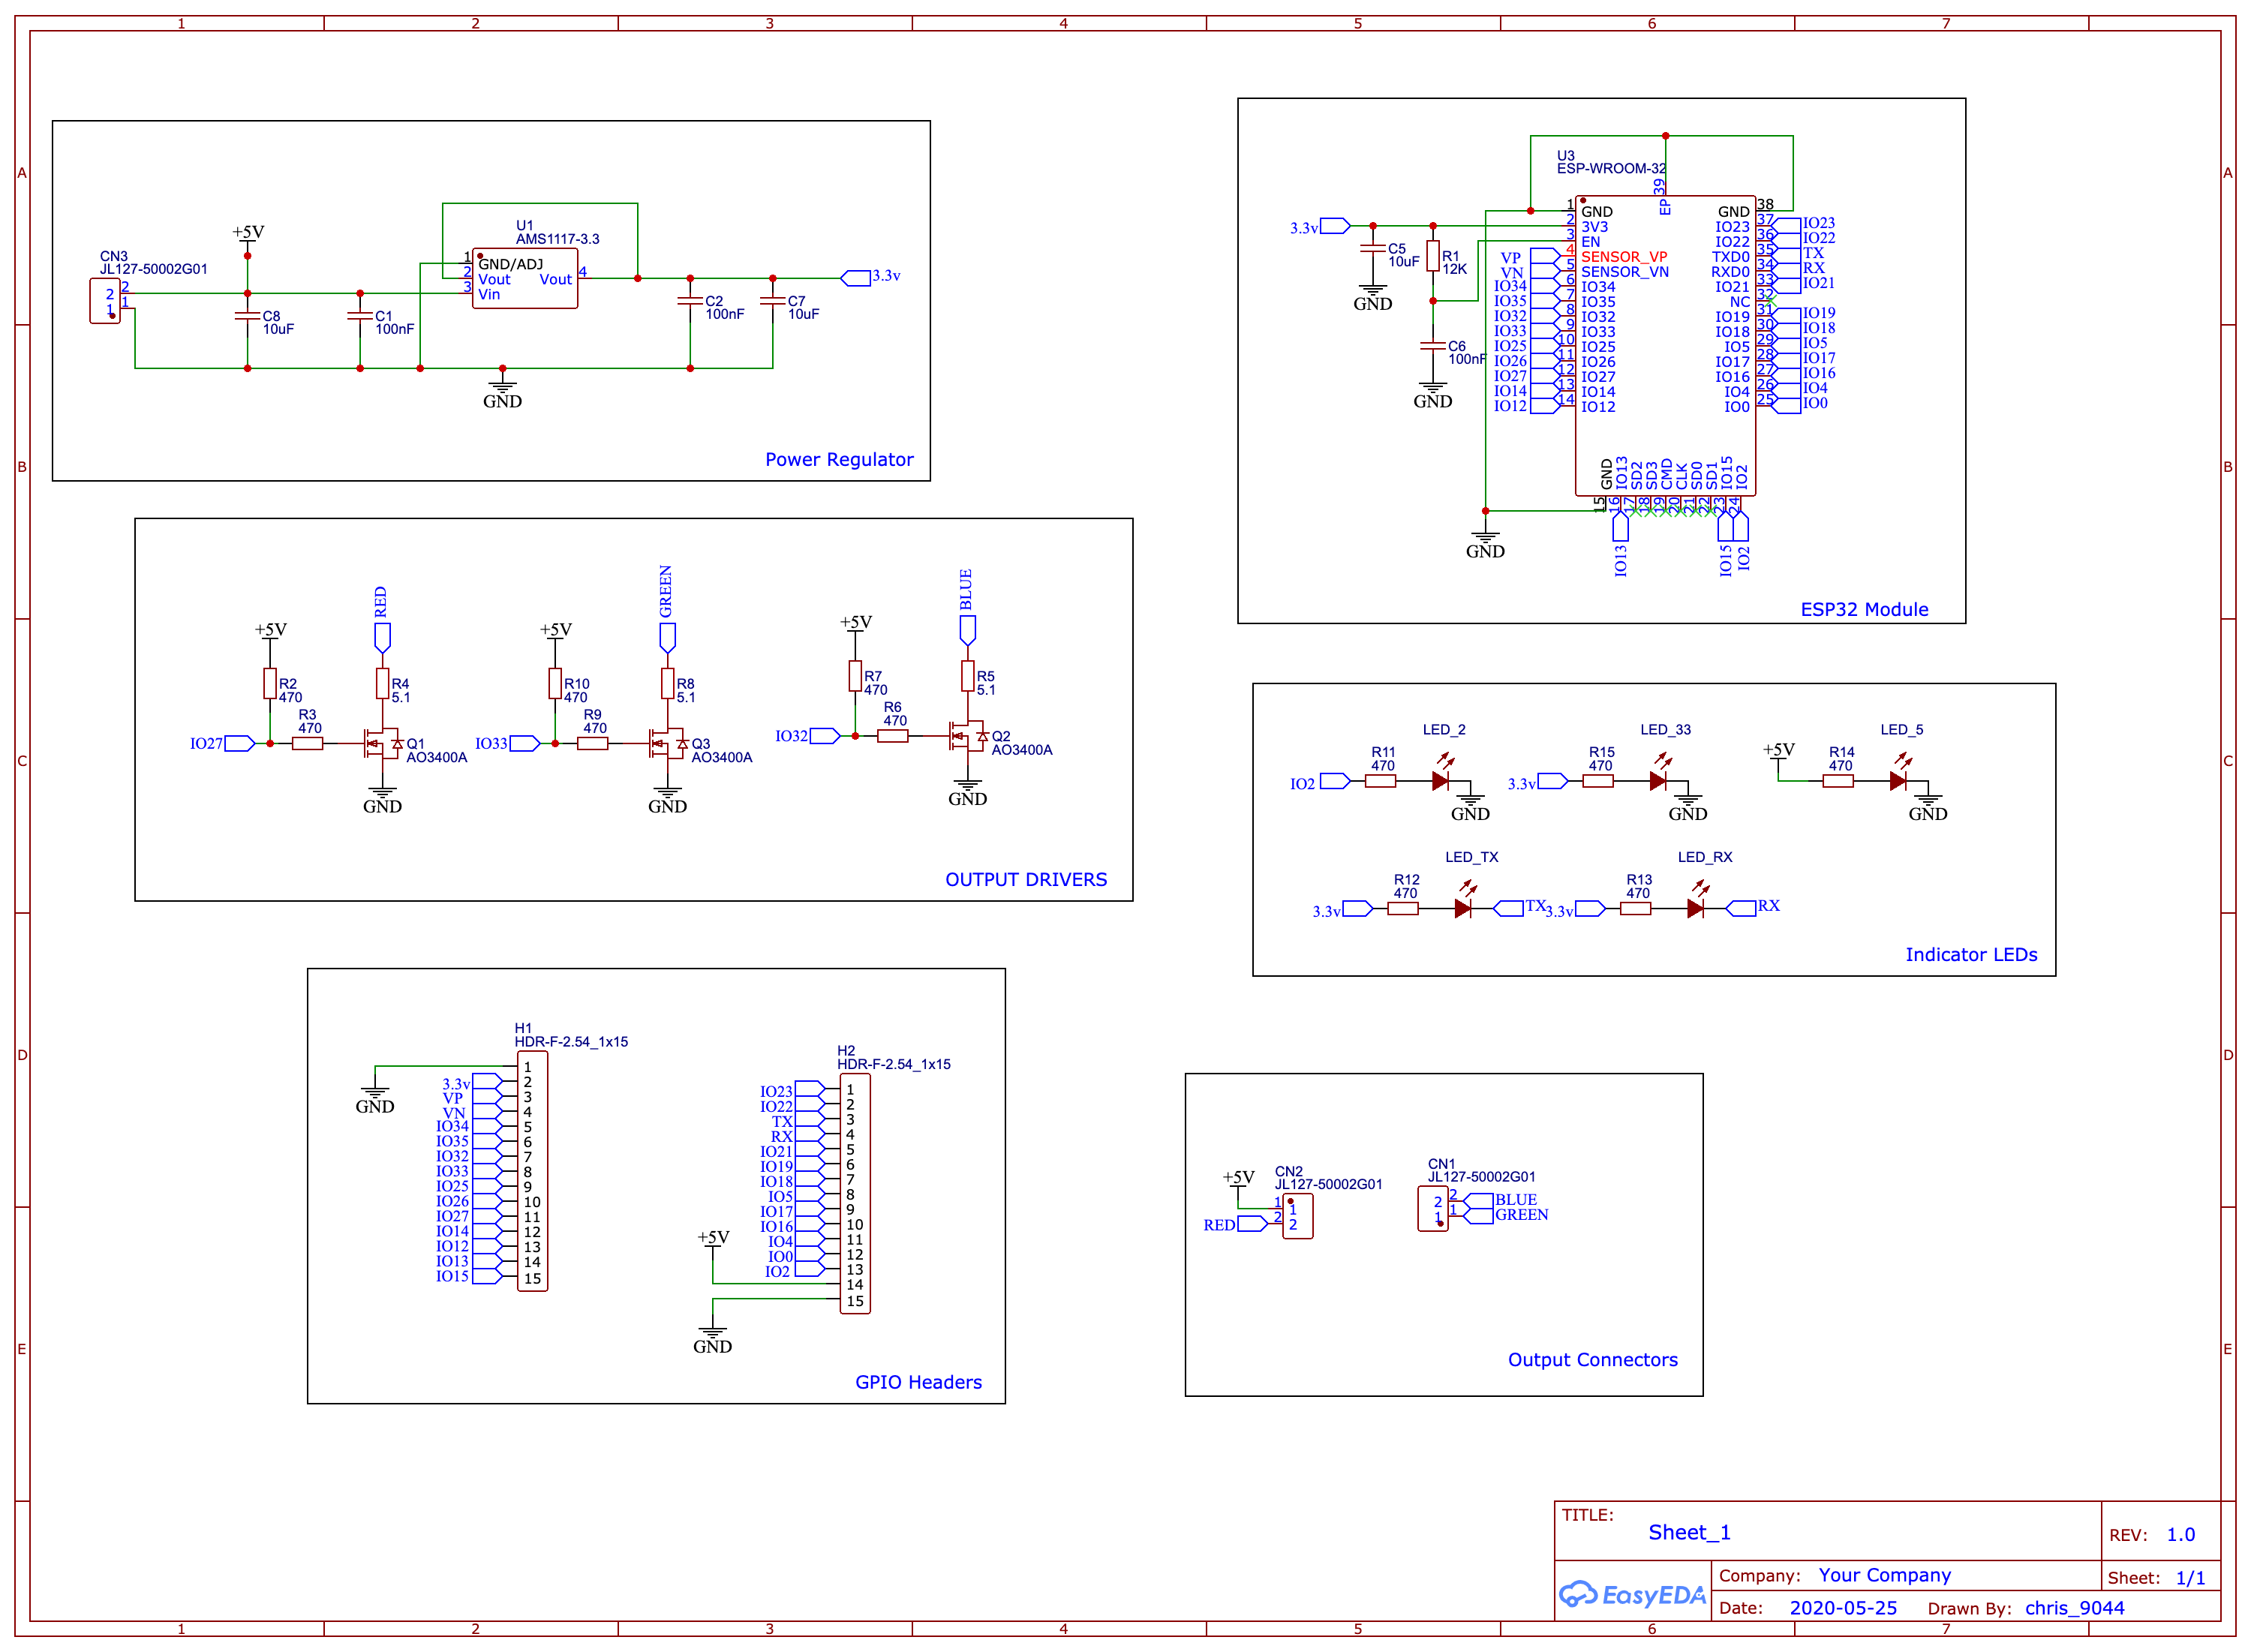
SchematicWith the breadboard prototype done I then designed a full schematic for the complete circuit with an ESP32 the FETs and a power regulator to turn the 5v from the USB power supply to the 3.3v required by the ESP32.
Full schematic - https://youtu.be/vV0tDvrrLvU
Custom PCB LayoutI wanted to build a custom PCB to keep all the wiring tidy in the base of my lamp. So in this section, we take the Schematic and layout a custom PCB that is then sent off to JLPCB for manufacture.
PCB Layout and Manufacture - https://youtu.be/WhvRPu1jyVA
PCB SolderingJLPCB can only do the surface mount components so in this section we add the ESP32 WROOM module, the header pins and the screw terminals.
PCB Soldering - https://youtu.be/Pq9HckRTRO4
Moon Base Design and PrintingWith the PCB complete we can design the base for the moon lamp making sure we have sufficient space for the PCB, the LED and the Heatsink.
Designing the Moon Base - https://youtu.be/GTtWQctYfEs


_t9PF3orMPd.png?auto=compress%2Cformat&w=40&h=40&fit=fillmax&bg=fff&dpr=2)


Comments
Please log in or sign up to comment.