ABOUT
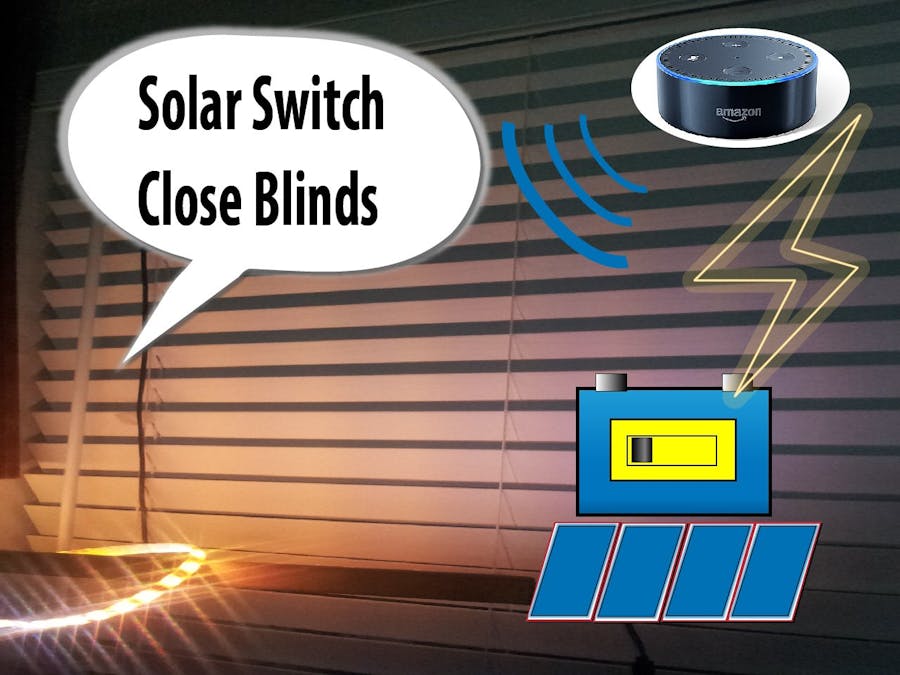
The Solar Switch is an automated switch / battery monitor that responds to voice command to operate DC / AC devices.
- Automate solar battery bank charging when voltage falls below fixed level at night
- Operates DIY Window Blinds with stepper motor.
- Use voice command with Amazon Echo to Turn on/off Window Blinds, LED, charger, alarm, and other AC devices.
- Option to Automatically close blinds at night and turn on Lights
STORY
I have couples of solar panels to charge deep cycle battery for powering various DC devices like led lights and automated motion sensor lights. On extended cloudy day, the lead-acid battery become sulfated and lose capacity over time when undercharged.
Many times when I over use the power and depleted the battery, I need to manually check and charge the battery with a battery charger to avoid permanently damage the battery. I want to check the state of battery and it's usage patterns - how often it charges.
Also, I want to automate the task of shutting down the blinds for two windows and turn on light every night.
IMPLEMENTATION
Using Arduino Yun with its build in Wifi and separate processor running Linux, I Installed Amazon Web Service Library in Python. It'll allow the state of connected devices to be saved on the cloud - using AWS IOT Things Shadowed to update and modify the device's state information.
When user say a command, Amazon Echo will invoke Alexa Skill to interpret voice input into textual command called Intentions in Json data format. Data is passed and processed by serverless code ( AWS Lambda function implemented in Python). The script will process the intent by modify Things Shadowed settings - A virtual representation of the acutual device settings and acting as a message broker that will notify device or other connected clients.
When Arduino Solar Switch is turned on, it'll connect to the AWS IOT Things Shadowed via light weight messaging protocol (MQTT) . Then subscribe and listen to changes in the parameter settings and control the desired device.
HARDWARE SETUP
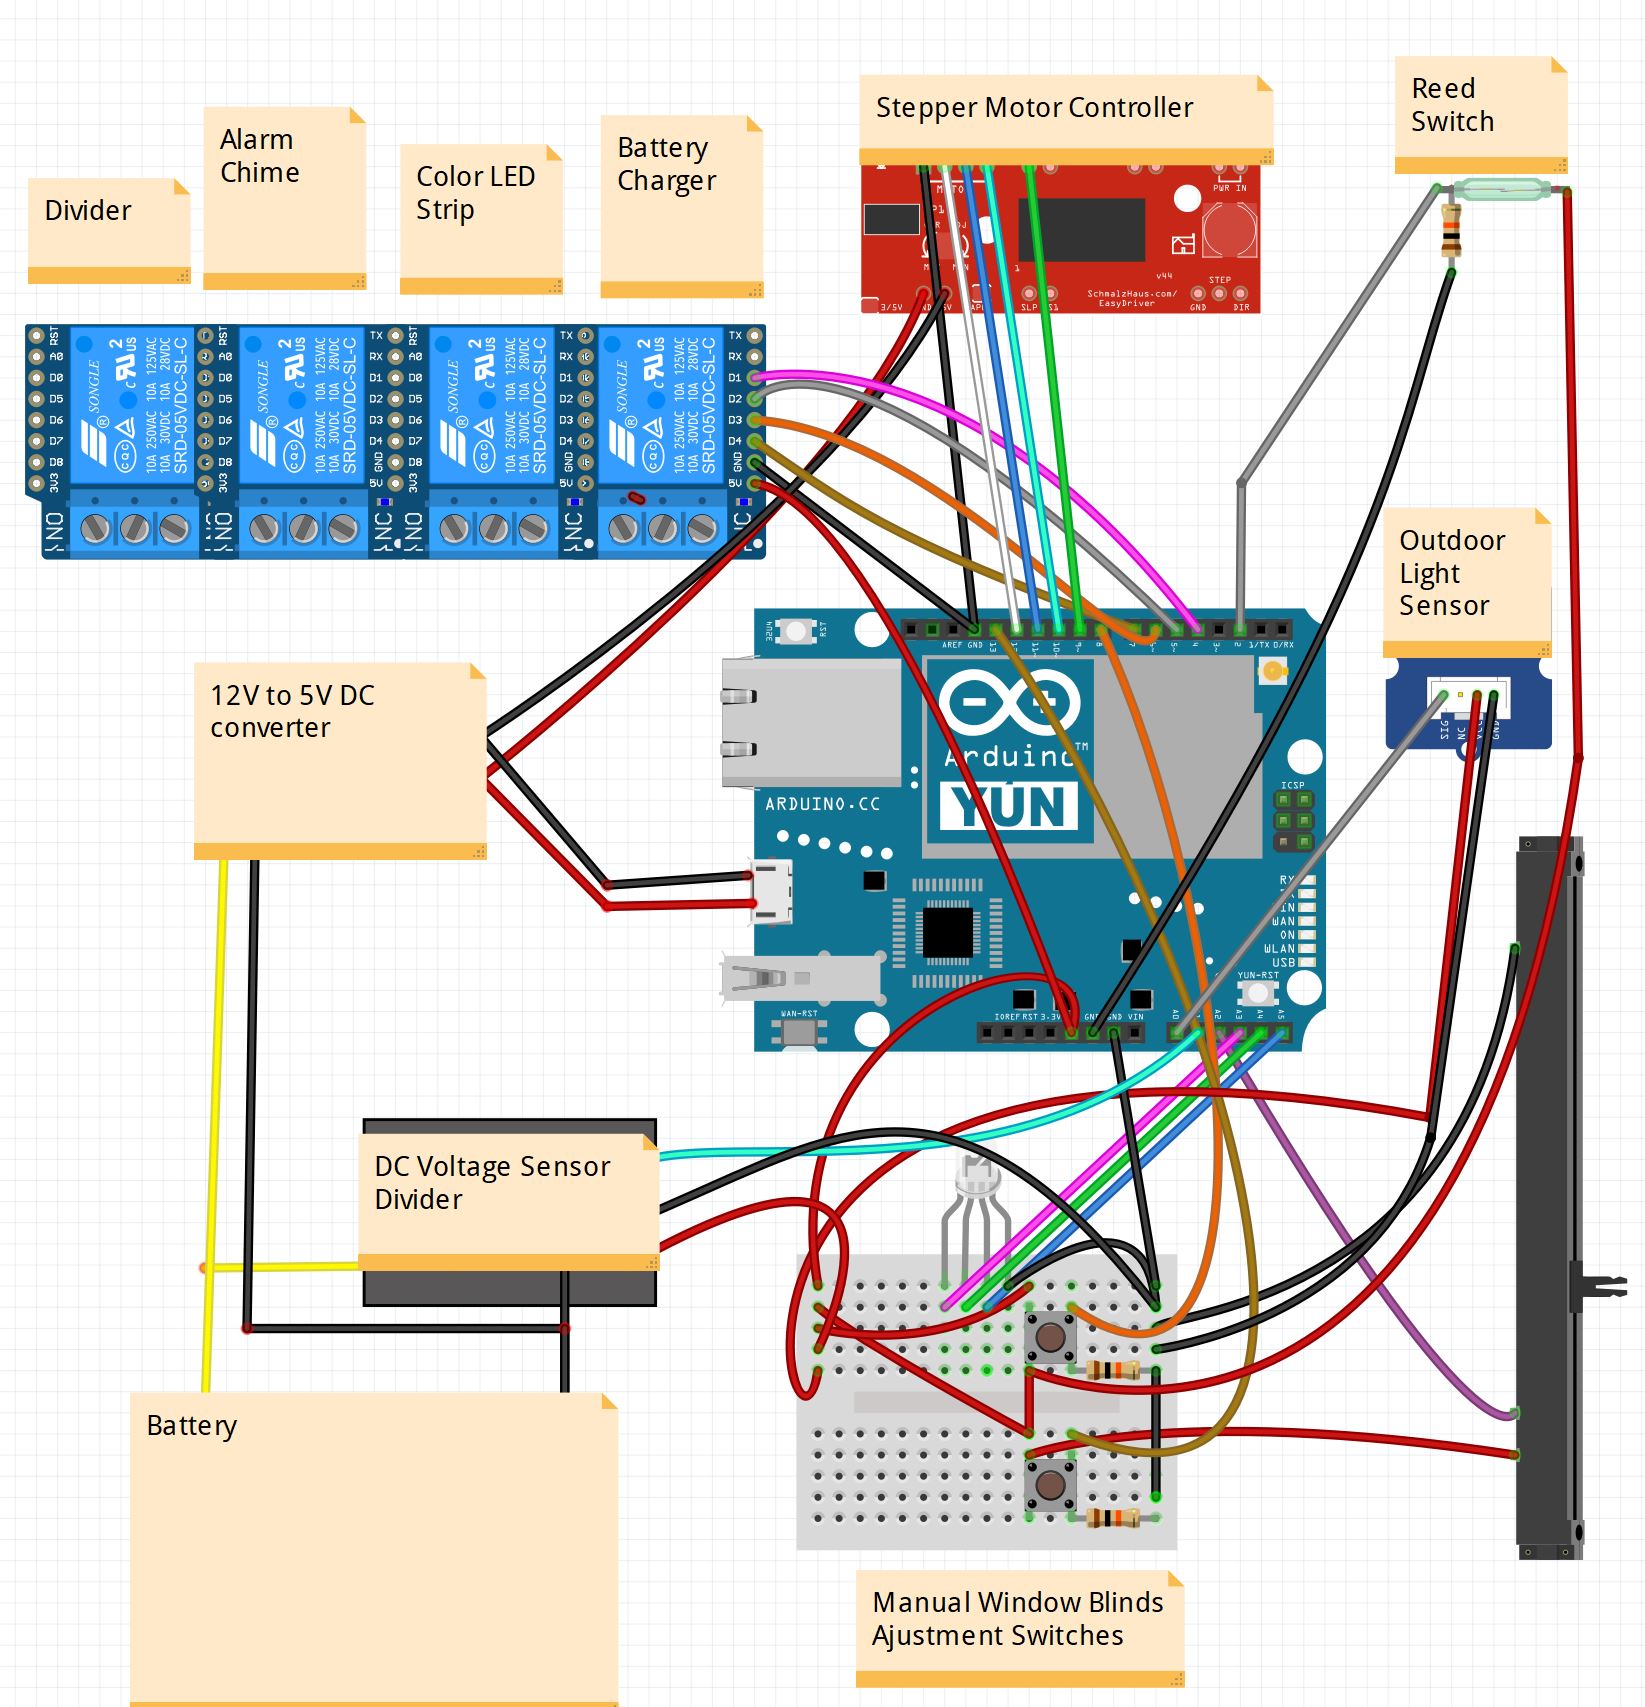
- DC Power source is a 12 Volt deep cycle battery charged by solar panels.
- 12V to 5V step down converter powers the Arudino Yun and stepper motor for the window blinds.
- One relay switch operates AC powered 10-amp Car Battery charger connected to lead-acid battery.
- Remaining Relay and output pins operates DC devices drawing power from battery.
DIY Windows Blind Controller
I used a stepper motor housed within a bracket mount attached side wall of the window blinds. I can adjust the fitting by rotating the mount during testing.
I 3d printed an adapter to fit the blind wand to motor rod. Grip has minimum grip and will slip off the turning wand if stuck. This is to prevent breaking the blinds gear with too much torque on already closed blinds. I taped the exterior with tape to help with grip.
Blinds Configuration
To sync with the motor, I count how many turns to fully close and open the blinds. Register the value and change it in configuration sketch file of the blinds.
#define STEPS_PER_REVOLUTION 64
#define MOTOR_INC_STEPS 300
// Set the number of motor steps to fully turn blinds from closed facing down to facing up.
#define MAX_STEP 12000
When initially powering on Arduino, set the blinds position to mid open position with blinds parallel to the window to remain in sync. For manual control. I used a potentiometer to dial in a position between 0 and 100. Position 50 is when the blades of the blinds in parallel.
Once setup, I used 2 steppers with control wire in parallel to turn 2 large blinds in sync.
Outdoor Light Monitor
I hooked a light level sensor on the window side of the blind to determine day or night. I want AC powered charger activated at extreme low light. During the daytime battery is charged by solar panel.
Relay controller
I used 4 port relay. One port is connected to the AC for the charger. Rest are used for operating 12V DC devices. These are LED colored strips, White LED light bulb, and alarm.
Battery discharge monitoring
I hooked a voltage sensor and a car battery charger that outputs up to 120 Watts It'll charge the battery when specified battery voltage drop to low level. It'll trigger the charger and charge for fixed amount of time. It'll also shut off when exceeding the max voltage to avoid boiling electrolyte in Lead Acid battery.
At night, solar charged battery provides power to connected DC devices until low cut off point. Then charger will automatically turn on to charge the battery to maintain minimum level until daylight.
The activation voltage is configurable in the Battery Monitor sketch module .
#define ACTIVATE_CHARGE_VOLTAGE 12.2
#define CHARGE_CUTOFF_VOLTAGE 14.7
Colored LED Lights
I used a multi color LED strip mounted inside a L shaped door guard strip for night time decorations. Graduation of color reflected on the white window blinds makes a nice atmosphere for night time movie watching.
Alarm
I have an alarm light and bell that chimes when circuit is broken. Or when some one enter the room. It is a reed switch mounted to doors and windows.
SOFTWARE SETUP
A good portion of this project involves configuration of Amazon services. For voice activated control setup. You'll need an Amazon Echo and set up 2 Amazon accounts and services.
Before starting, I recommend reading and going through following tutorials:
- Amazon Web Services.
Following are steps to re-create my configuration.
VOICE COMMAND Alexa Utterance
Here are some sample commands you can say to operate the switch by voice.
Alexa, ask solar switch to check status
Alexa, tell solar switch to set blinds position to 30
Alexa, tell solar switch turn blinds off
Alexa, ask solar switch turn on light
Alexa, ask solar switch turn off charger
Alexa, tell solar switch turn alarm off
Configuring Alexa Skills
- Sign up for an account at developer.amazon.com
- Login, Open Alexa Console, and select Voice Skills
- In Lambda section. Create a new function
- Enter name for the skill, "Solar Power Switch"
- Click on "Code Editor",
- Copy and Paste in the Alexa Skill Utterance from code section at bottom of this page.
- Press "Build Model"
- Go to Configuration section.
- Select default End point using AWS Lambda. We'll create the function that process the voice command next.
Setup Alexa Voice Input Skill
SERVER SIDE SETUP
Creating Server Lambda Function
- Setup AWS Account
- Login to Developer Console
- Go to Lambda service
- Select Create function
- Select Author from scratch, Enter Function name "Solar Smart Home" , Runtime: Select Python 2.7, create custom role
- Select "Interaction Model" and click "Code Editor"
- Copy and Paste in the Lambda Code file in the code section at bottom of this page
- Press "Save"
- Copy the ARN address highlighted at top of the function
- Go back to Alexa Skill Configuration page. Paste in Lambda function address into the End point Default field
Configure Lambda function on AWS
IOT Things Shadowed Setup
Things Shadowed creates a virtual version of device’s latest state. This allows applications to interact with that device even when offline.
I followed this tutorial to understand the detail on the interaction process. To set up, here are the steps:
- Sign up and create user account at aws.amazon.com
- Login to developer console and go to AWS Iot section.
- On manage Things section, press "Create" button
- Select Create a single thing
- Give things a name "Smart Solar Home". Press NEXT
- Click "Create certificate"
- Download things certificate, public key, private key, and root CA for AWS files. You'll need these later
- Press "Attach a policy" ( How to create policy)
- Press "Register Thing"
AWS IoT Device Shadow. In this instance it will update the ‘desired’ section of the Device Shadows to control the device. AWS IoT In this example, the blinds will check the desired position and activate the motor based on the value. The state of the Solar Switch is kept in Shadow state file. You can verify the state of the settings with the device by checking this shadowed file's value and version number.
Arduino Yun SETUP
I followed this tutorial to set up Arduino Yun with AWS IOT Shadow. Here are basic steps:
- Install AWS Arduino IoT SDK.
- Place AWS Root certificate, public and private key file for Iot Things into the root directory.
- Download Arduino Sketch for SolarSwitch from GITHUB
- Open project sketch and change configuration file settings
- Modify settings in aws_iot_config.h file in the Aruduino Source (Make sure certificate, private key file names matches the ones placed in the root directory)
- Tweak device module values based on your desired hardware setup. Blinds maximum turns step, Voltage cut off, Voltage sensor scale factor, Relay pin assignment etc,
- Upload sketch via serial port to Arduino Yun.
Conclusion
Using Alexa with AWS Things Shadowed opens many possibilities for home automation voice control. I plan to use similar setup for other solar powered outdoor projects. For example, a rain barrel water level status monitor with auto valve flow control for irrigation.


_3u05Tpwasz.png?auto=compress%2Cformat&w=40&h=40&fit=fillmax&bg=fff&dpr=2)


Comments