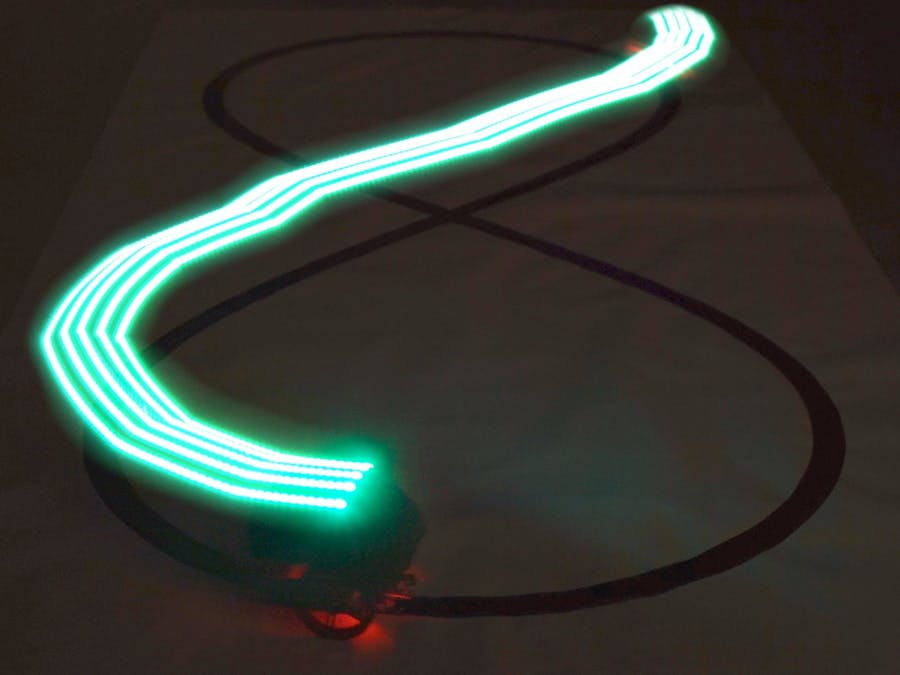
Line followers are very popular projects probably because they're fun, interactive and relatively easy to make and operate.
How does it work?The mechanism is pretty simple - the line follower sensor has an IR transmitter and an IR receiver and it detects reflections of light. If there is less reflection of light, it assumes that there is an object or a dark color that absorbs the light. On the other hand, if the reflections that are returned are more powerful, this means that there is nothing blocking the way.
Clicking on this Magic Link will redirect you to circuito.io, where we've already pre-selected the components for this project. You'll see the main components for the project: Arduino pro-mini, IR line followers, L298N motor drive board with 2 dc motors, and an LED strip. You can add or remove different components from the circuit if you want. For example you can add a Piezo speaker if you want the line follower to make sounds or maybe use a LiPo battery instead of the 9v battery. It's really up to you.
Once you click Generate you'll be sent to your circuito.io reply.
Here you have 4 sections:
- BoM - where you have all the parts you selected for the project, but also auxiliary components that you need to build the circuit.
- Step-by-Step wiring guide - here you can see exactly how to connect your circuit, step-by-step.
- Code - The code you get here is an example code that connects between the different components of your project. Please follow the instructions on circuito.io, and upload the code to your Arduino. Once the code is up and running, replace the void loop () from the original code, with the code in this tutorial. This is the specific code for the line follower robot.
- Test - we have a new section on circuito.io that allows you to test the different components of your circuit. If something isn't working as expect it, you can follow the steps and debug it.
Moving on to the mechanical part of the project.
- Mini Round Robot Chassis Kit - This kit has 2 wheels with DC motors, an anodized aluminum frame, and a plastic caster ball. It’s great for basic robotic projects because it’s easy to assemble and the differential drive, meaning the two wheels are controlled separately, gives it a nice smooth turning ability. Another plus for this kit is that it elegantly fits the power supply, Arduino and the rest of the electronics.
- 3D printed hood - The 3D design file is added to this tutorial.
- Place the LEDs on top of the hood. You can use 5 LEDs from a strip or use a Neo-pixel ring.
That's it! It's time to play!


_3u05Tpwasz.png?auto=compress%2Cformat&w=40&h=40&fit=fillmax&bg=fff&dpr=2)
Comments
Please log in or sign up to comment.