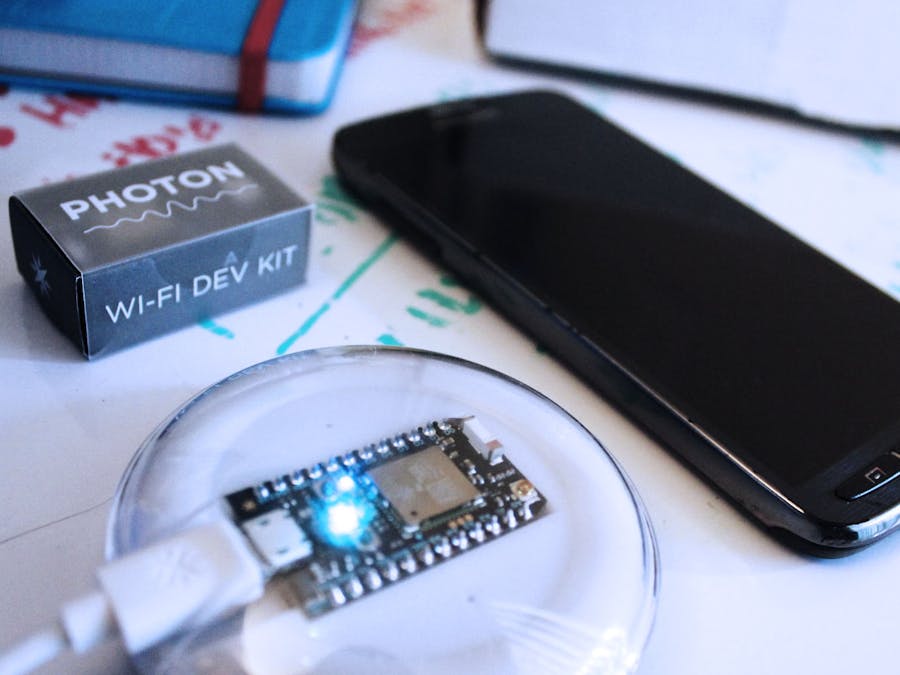
Everyone who owns a mobile phone has misplaced it at least once. If you're like me, then you've probably turned your own home upside down more times than you care to admit trying to find the damn thing.
A common solution is to just call it, right? But what if you live in the 21st century and don't own a landline? Or if you are alone and you can't contact someone in time to call it because you're already running late? Or worse... what if the phone is on silent? At that point, calling it is useless.
Using Particle's Internet Button and Photon in combination with a recipe on IFTTT, here's a super easy solution for this common first world problem.
PROJECT OVERVIEW - Press a button and music will start playing on your mobile device's default music player so you can locate it when you are unable to call it or if it is on silent using the cloud. Super easy project for absolute beginners!
HARDWARE
Fortunately Particle.io sells this entire kit on their online store to make hardware setup completely painless. In the pictures above, you'll see the Internet Button comes in cool packaging equipped with a Photon, a protective cover for the button, a USB, and the actual button component that has 4 directional buttons, a 3 axis accelerometer, and 11 RGB LEDs.
One of the reasons why I like working with Particle devices is how versatile their environment set up can be. In addition to their web IDE and mobile SDK, you also have the option to program your devices locally through their professional IDE built on Github's ATOM IDE. For this project, I'll be showing you how I did this using my Android device and the web IDE.
STEP 1 - CONNECTING YOUR PHOTON
1.1 - Download the Particle app on the Play Store
1.3 - While the Photon is in listening mode, follow the screen instructions on your Particle app. Check out the screenshots below.
When you click on your device you'll see the pins associated with the board. We aren't going to mess with them for this project but for future reference you can update the code directly from your device in real time. Pretty neat!
STEP 2 - WEB IDE
2.1 - Go to build.particle.io and log into your account. This should be the same credentials as the Particle app.
2.2 - Create a new app. For this project, I am naming it LOCATEPHONE.
2.3 - Find your device by clicking on the device icon in the lower right hand corner as shown in the screenshot. If you're photon is already connected to the WiFi, it should automatically detect it. Otherwise, click on ADD NEW DEVICE.
2.4 - Particle has a great documentation and community contributions. We'll be using a couple of their libraries. Go ahead and click on the LIBRARIES icon and grab the InternetButton.cpp and InternetButton.h files.
2.5 - Code (See code section below for text). If you refer back to the BUTTON COMPONENT image above, I've chosen to use button3 (opposite of the USB input) as my "phone finder" button. You can program the other buttons using this same tutorial but for now I'm only showing one. When button3 is pressed, the LED at the 6 o'clock position will light up purple for a half a second. Since we will be using the cloud and IFTTT, our call function is Particle.publish( ). I've named the event "LocatePhone". For the abosulute beginners, the reason for this will make more sense in STEP 3.
2.6 - Verify your code using the VERIFY icon in the upper left hand corner and cross your fingers.
2.7 - Flash firmware using the FLASH icon in the upper left hand corner. The photon will blink magenta while it's being flashed.
STEP 3 - CREATING RECIPE ON IFTTT
3.1 - If you don't have one already, create an account on www.IFTTT.com.
3.2 - Add the PARTICLE and ANDROID DEVICE channels. See screenshots below on how to do this step-by-step.
3.3 - Create the recipe you want the button to execute. See screenshots below on how to do this step-by-step.
STEP 4 - TEST
4.1 - Push button 3 and wait for the music to play. Currently, the time between the button being pushed and the music playing is 10-15 seconds. Music will continue to play until you turn it off or if the device runs out of power.
FINAL NOTES
So if it wasn't obvious, this will only work if your Internet Button is connected to the internet and your mobile device is powered on. If you live in a multi-person household, you can program a button for each person up to 4 people. This is just a simple idea of what you can do with this set up but the possibilities are endless.


Comments
Please log in or sign up to comment.