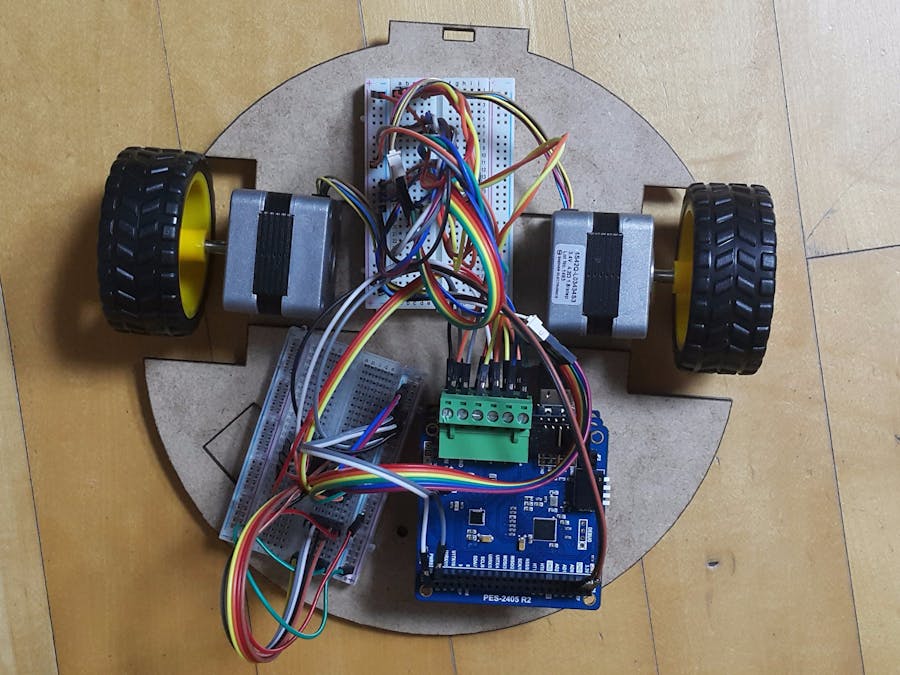
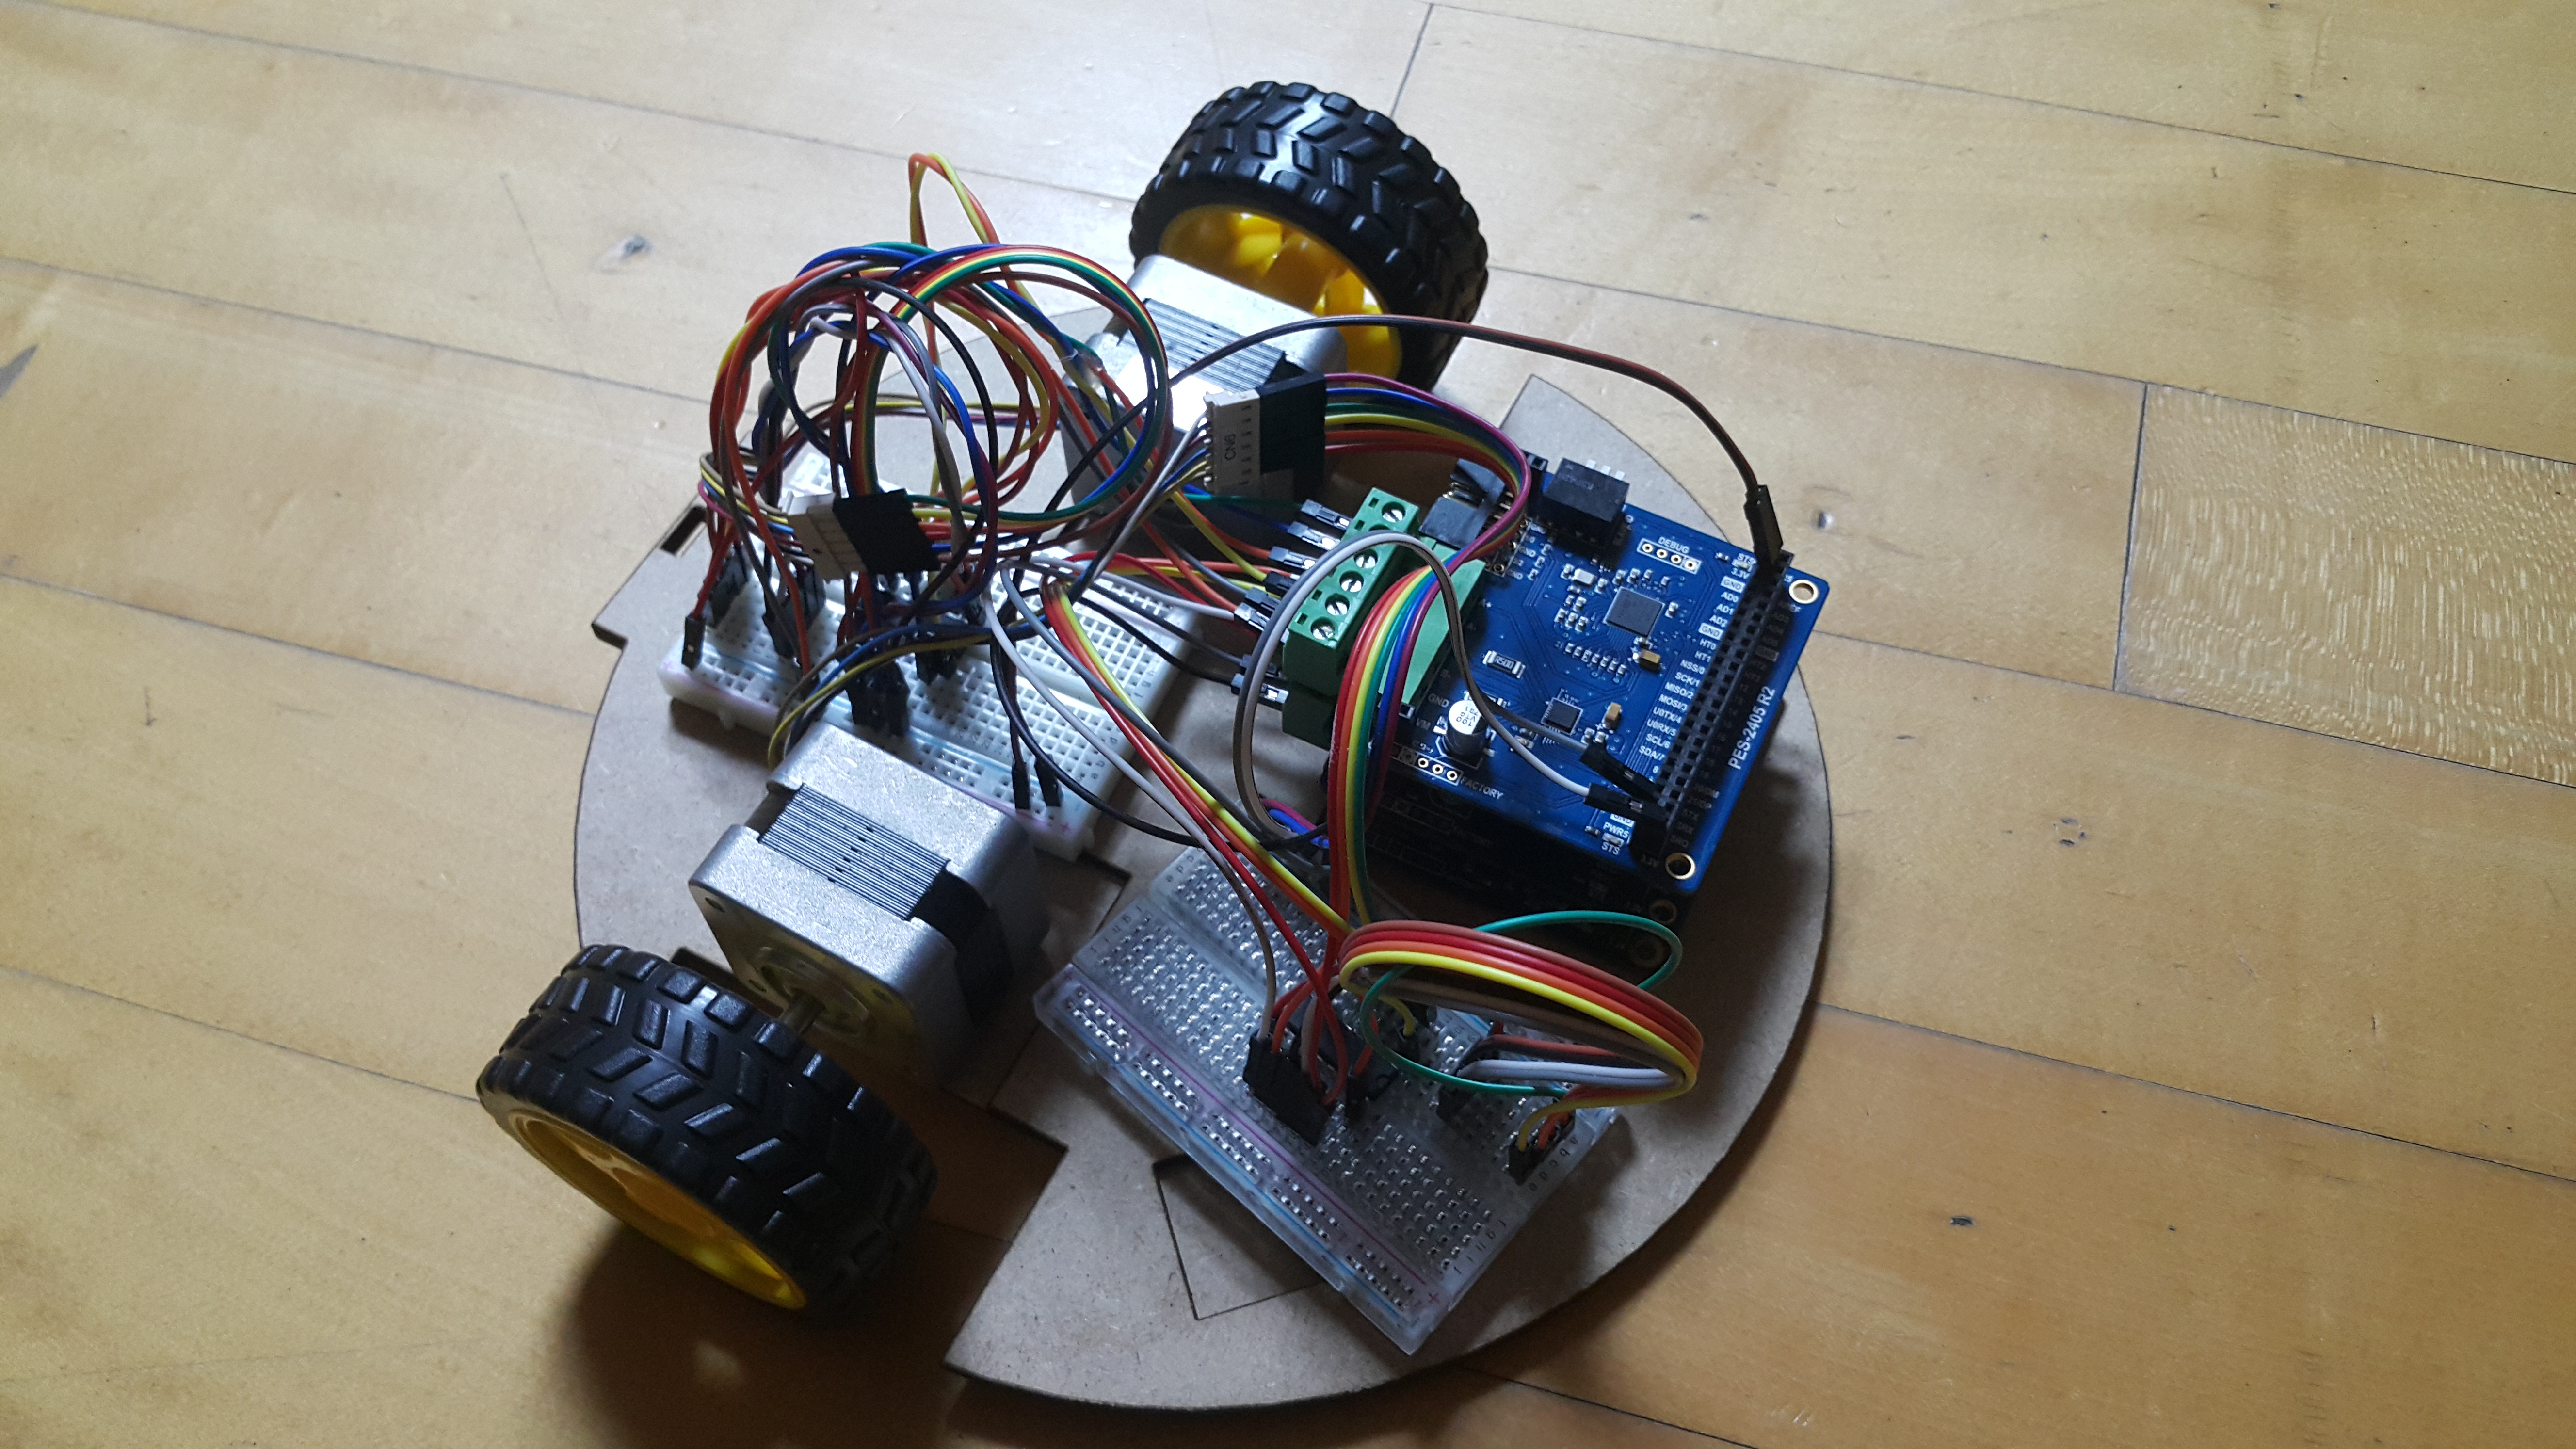
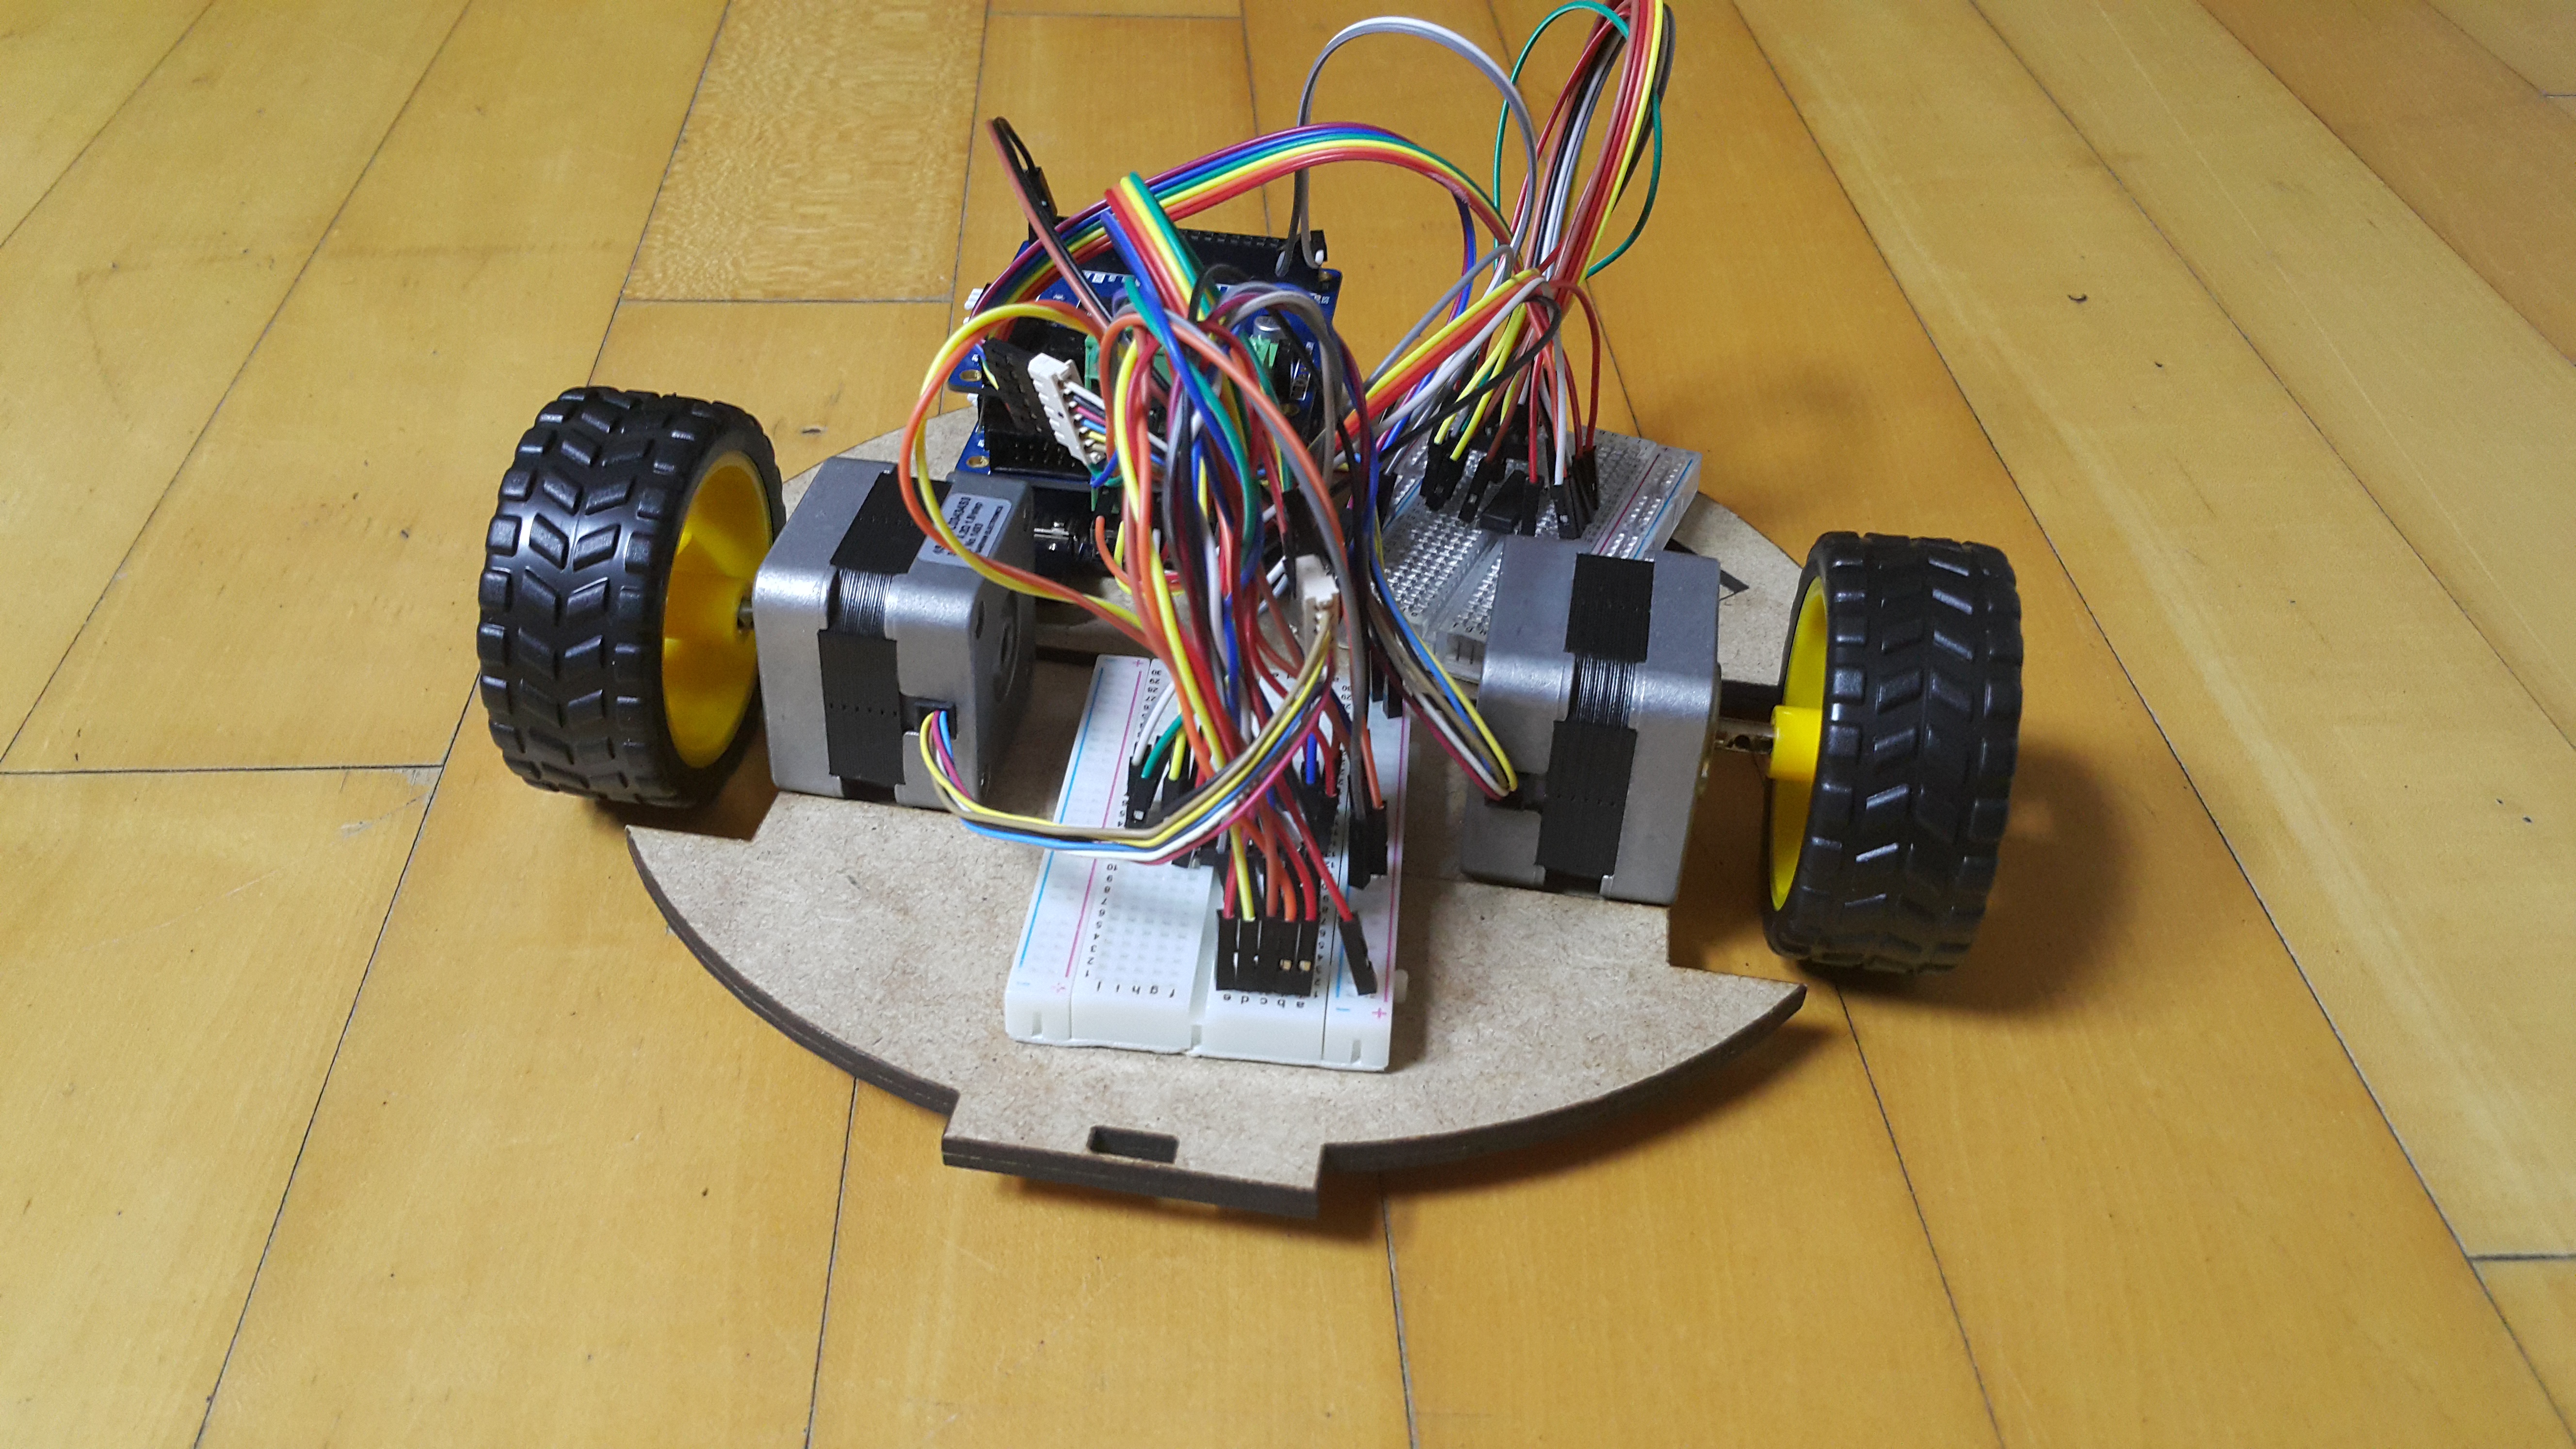
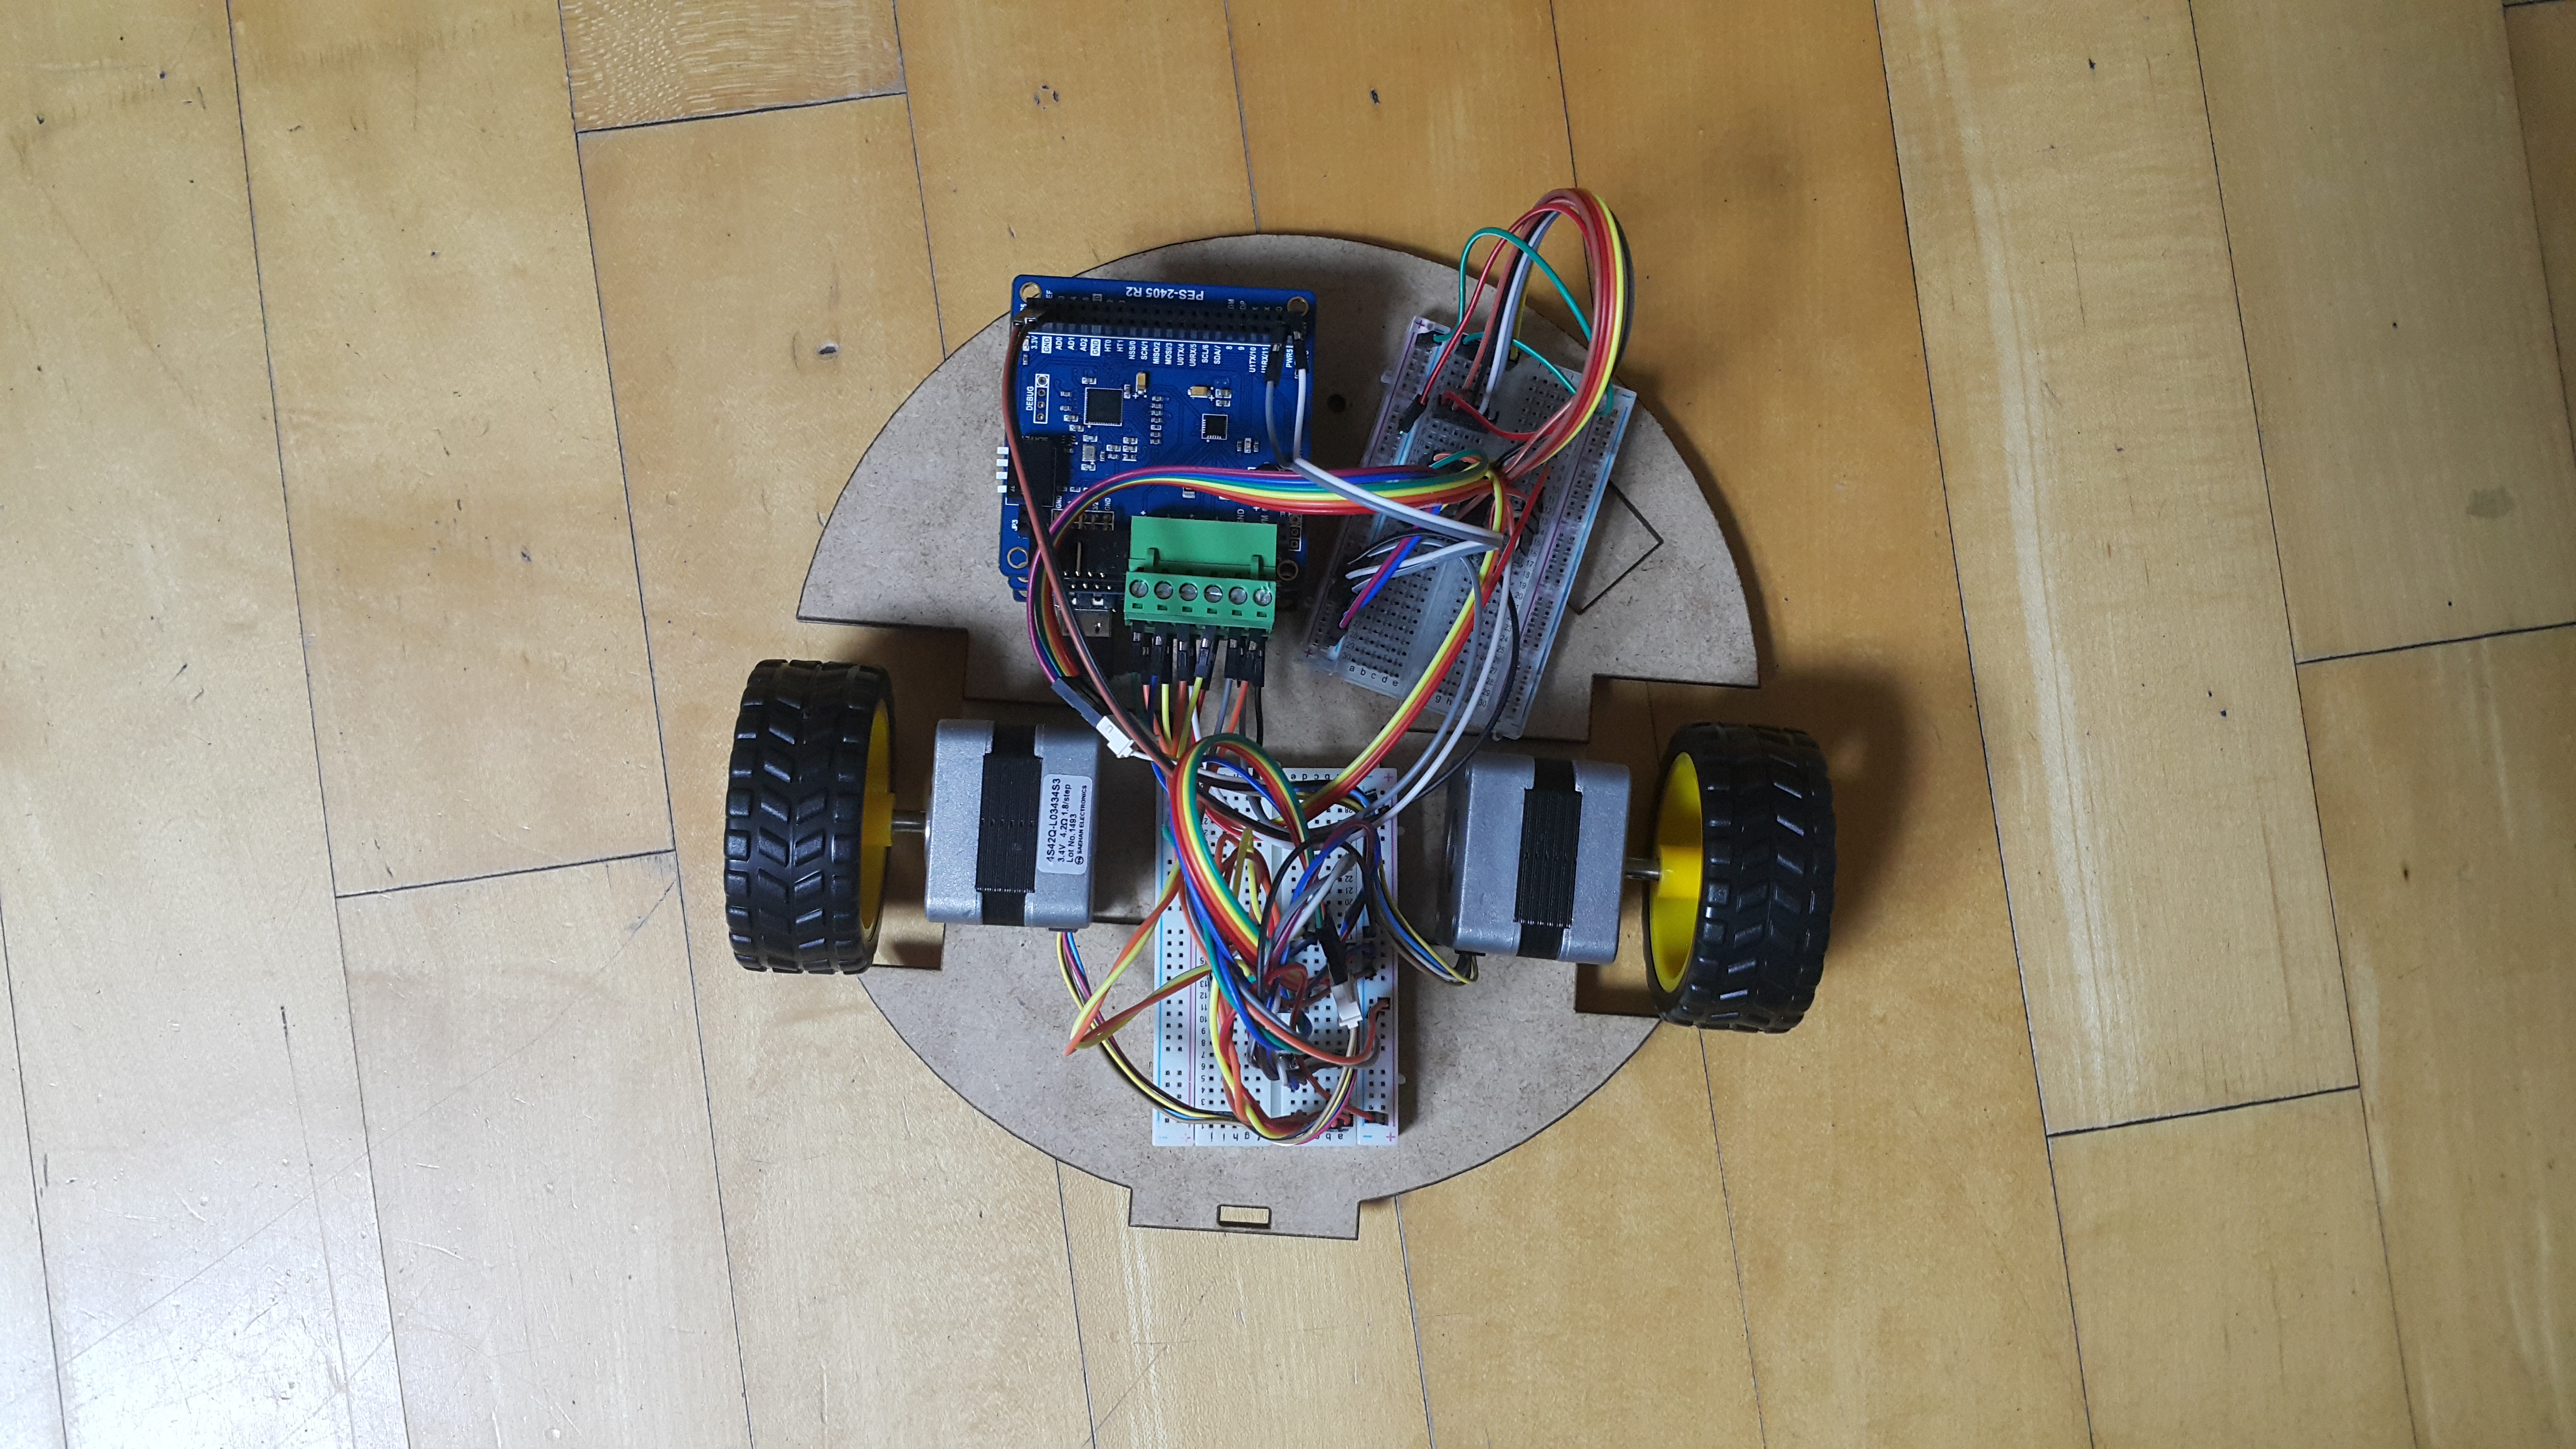
This project is not completed. There is a reason why we do not use a joystick. Our team wanted to make this vacuum for patients with Parkinson's disease. This disease makes the muscles difficult to move. The cause of the disease is also unknown. Anyway, we thought the people with Parkinson's disease is hard to control this car with joystick. It was the touch that came out as an alternative to the joystick. To touch the screen is more intuitive and simpler. Please let me know if you have a better idea.
Before we startWe need a room map that is proportional to the actual size. We recommend that you resize the map to fit your mobile size. The first position and orientation of the robot should be set to the first position programmed. This doesn't use GPS. Compares the current location with the point where the screen is touched, and sets the direction and movement distance. So there are many numbers to set.
If you use this, you must use PHPoC Stepper Motor Controller (T-type). (I thought it was possible without <font color=blue size=3> it </font>
at first, but it is impossible. So this is expensive to make.) If you have any problems, go to this web site http://www.phpoc.com/forum/ or https://www.hackster.io/phpoc_man/drawing-route-for-car-on-the-office-s-map-0c356d.
Materials needed: map, step motor, step motor controller, PHPOC blue and a battery for the motor.
How to make it workTouch a finger on the web-based map:
- The coordinates of the place you touched will be sent to PHPoC.
- PHPoC converts the received coordinates to actual coordinates.
//Code of the above description
//pixel to millimeter
$ratio = MAP_IMG_WIDTH / MAP_REAL_WIDTH; //pixel / millimeter
$target_x /= $ratio;
$target_y /= $ratio;
MAP_IMG_WIDTH is width of map image in pixel unit.
MAP_REAL_WIDTH is real width of your office in millimeter unit.
- PHPoC calculates the direction (rotated angle) and distance based on: current position, previous direction and target position
//Code of the above description
// calculate the rotate angle
$vector_x  = $target_x - $pre_x;
$vector_y  = $target_y - $pre_y;
$length_1 = sqrt($pre_vector_x * $pre_vector_x + $pre_vector_y * $pre_vector_y);
$length_2 = sqrt($vector_x * $vector_x + $vector_y * $vector_y);
$cosin_alpha = ($pre_vector_x * $vector_x + $pre_vector_y * $vector_y) / ( $length_1 * $length_2);
$angle = acos($cosin_alpha) * 180 / M_PI;
$dir = $pre_vector_x * $vector_y - $pre_vector_y * $vector_x;
//save new values
$pre_x = $target_x;
$pre_y = $target_y;
$pre_vector_x = $vector_x;
$pre_vector_y = $vector_y;
// calculate the distance
$dist = sqrt($vector_x*$vector_x + $vector_y*$vector_y);
- PHPoC converts the rotated angle to number of step the motor has to move and send command to step motor controller to move the motor.
//Code of the above description
//angle to step
/* Theory
$chord = $angle * M_PI / 180* TRACK;
$dist_per_step = HALF_STEP_ANGLE * M_PI / 180 * WHEEL_RADIUS;
$step_num  =round($chord / $dist_per_step);
*/
// Simplify
$step_num  = round(($angle * TRACK) / (HALF_STEP_ANGLE * WHEEL_RADIUS)/2);
- HALF_STEP_ANGLE is angle per a step in haft-step drive mode (since motors is operated under this mode).
- WHEEL_RADIUS is radius of wheel.
Track is distance from one wheel to another:
- PHPoC converts the distance to number of step the motor has to move and send command to step motor controller to move the motor.
//Code of the above description
//distance to step
$step_num = $dist / WHEEL_PERIMETER * HALF_STEP_NUM;
- WHEEL_PERIMETER is perimeter of wheel.
- HALF_STEP_NUM is number of step per a revolution of motor in haft-step drive mode (since motors is operated under this mode).
Since this car use two step moter, we need two PHPoC Stepper Motor Controller (T-type) (XD too expensive.)
The hardware settings will finish if you see the picture below. (very convenient :D)
Firstly, connect each motor to each controller according to this instruction. (don't care about which motor connect to which controller). When we runs source code, if the direction is inverted, just switch slave ID (13-> 14 and 14 -> 13).
In fact, you need to connect it with a motor. <HAHAHA>
Connecting distance sensor to PHPoC
Ultrasonic distance sensor is used to detect and avoid obstacles.
Now look into source code and see which parameters we need to change to suit to your car.
Parameters of your car
In task0.php:
define("TRACK",				191); //in mm
define("WHEEL_RADIUS",		48.2); // in mm
define("WHEEL_PERIMETER",	2*M_PI*WHEEL_RADIUS); // in mm
- TRACK : see a above images
- WHEEL_RADIUS is radius of wheel.
- WHEEL_PERIMETER is perimeter of wheel
Parameters of motors
define("FULL_STEP_ANGLE",	1.8); //degree0
define("HALF_STEP_ANGLE",	0.9); //degree
define("FULL_STEP_NUM",		200); //step per round
define("HALF_STEP_NUM",		400); //step per round
You will get FULL_STEP_ANGLE from specification of motor. and then we can calculate the the remaining value
- HALF_STEP_ANGLE = FULL_STEP_ANGLE /2
- FULL_STEP_NUM = 360 / FULL_STEP_ANGLE
- HALF_STEP_NUM = 360 / HALF_STEP_ANGLE
Parameter of map
In task0.php:
define("MAP_IMG_WIDTH",		1140); //pixel
define("MAP_REAL_WIDTH",	25*450.0); //millimeter
- MAP_IMG_WIDTH is width of map image in pixel (check property of the image)
- MAP_REAL_WIDTH is real with of your area corresponding to map. it need to be manually measured. Tips: just measure size of brick and count number of brick in your area.
In index.php:
var IMAGE_WIDTH = 1140, IMAGE_HEIGHT = 1562;
Initial position of car
Initial position is position of car when PHPoC boots or resets. It must be the same among: real position (where you put your car), position setting in task0.php and index.php. In my setting, I set my car at position (15th brick, 20th brick) (see below image)
In task0.php (line 227, 228), initial position is in millimeter (450 is width of brick):
$pre_x = 15*450.0;
$pre_y = 20*450.0;
In index.php (line 59. 60), initial position is in pixel (25 and 34 is number of brick in width and height, respectively):
//initial position
x = 15 * IMAGE_WIDTH / 25.0;
y = 20 * IMAGE_HEIGHT / 34.0;
Design a robotic vacuum body using TinkerCad. (Tag https://tinkercad.com/things/ju0fsqzBIjw ) The body of the robot vacuum is made close to the circle to be suitable for the rotation, and the base is made precisely with the laser cutter using MDF plywood to lighten the weight.


Comments
Please log in or sign up to comment.