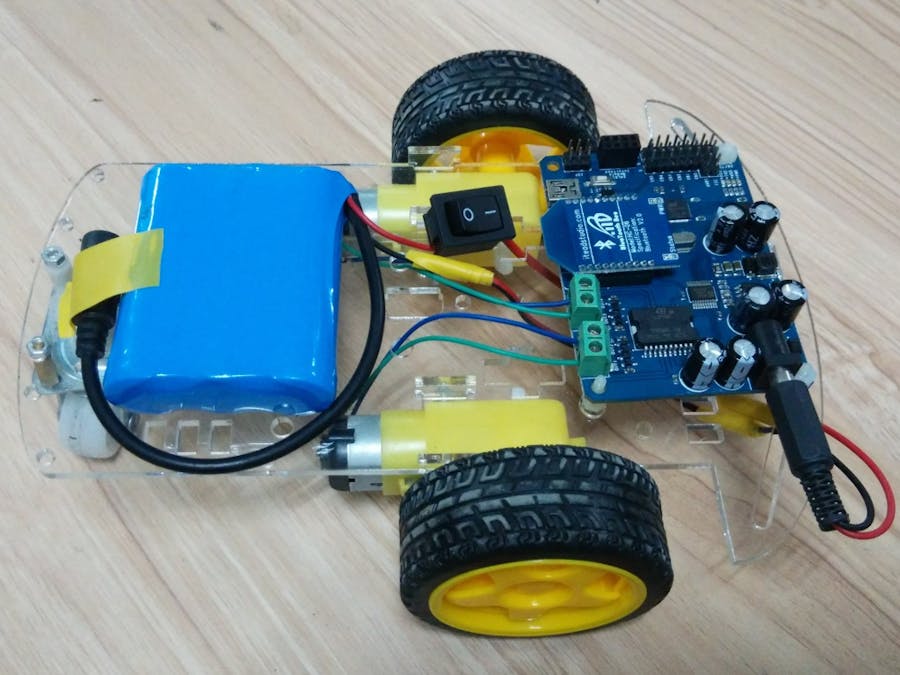
In this application note, we will combine several products in imall.iteadstudio.com to make a joystick wireless remote control car. The car kit is controlled by mboard, and you can install this car kit by following its instruction in imall page. We will use BTboard as the remote controller. It’s a UNO development board with Bluetooth function and compatible with the master-slave mode. The last important component we use is Joystick shield. In the tutorial, its buttons won’t be used, but you can use them to develop other functions such as light controlling and camera opening by yourself.
Set Iteaduino BT1. Pull out the jumpers of A, B side in Iteaduino BT, and upload an empty demo into it.(This step aims to test whether the blutooth serial port can work.)
void setup(){}
void loop(){}
2. Plug the two jumpers in A side, and switch the Bluetooth mode to CMD end, then press the BT-RST button. Open the serial monitor of arduino IDE, and set the baud rate 38400 and the mode Both NL&CR.
3. Send the content “AT+ROLE=1” and “AT+CMODE=1” to Iteaduino BT respectively. If you receive "OK" twice, that means commands sending successfully.
4. Pull out the jumpers and upload the joystick demo into Iteaduino BT (Board option choose Arduino Duemilanove), then plug jumpers into B side, switch the Bluetooth mode to DAT and reset the Bluetooth.Attention: the jumpers should be unplugged when uploading demo into Iteaduino BT.
5. Plug Joystick shield in Iteaduino BT, reset the mainboard. The set of Iteaduino BT is done.
Construct Car KitUpload car demo into Mboard and construct car kit with Mboard, then plug BTBee into the Xbee socket on Mboard. Power the car with 9V lithium battery.
When the Bluetooth of Iteaduino BT and BTBee paired, you can use the joystick to make the car moving forward or back, turning right or left.


Comments