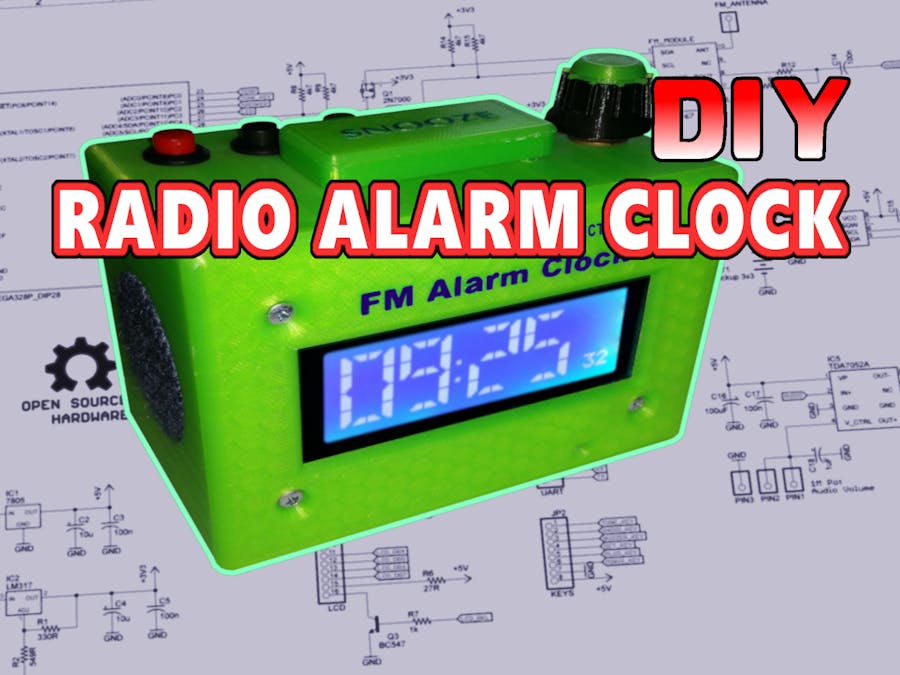
This is a project I designed and built from scratch. The Software and Hardware are provided as Open Source. There may be bugs or issues I will correct or redesign. You may use, modify and distribute both software and hardware as long as you give credit.
With a little bit of work and dedication, you will be able to build this.
You can watch the whole build series on my YouTube channel: https://www.youtube.com/@coreWeaver
There will be 6 or 7 parts in total for this series and I'm gonna walk you through the whole design process, explaining the principle, starting with the block schematic, then showing you the electrical schematic and the PCB, soldering and testing the board, writing the software, designing, printing and building the case and then assembling everything into a finished product.
Please visit my github repo here:
https://github.com/coreWeaver/RAC-the.Radio.Alarm.Clock
for a complete list of the parts I used (BoM), Gerber Files, Schematic, Software (AVR's Firmware, UART Tool to modify the Radio Stations List and a tool to create custom LCD chars), plus all the STL files for the 3D Printed Case, datasheets, and the user guide of the Radio Clock.
First part of the series (Intro, Features, Block Schematic):
Second part of the tutorial (i2C Level Translator, Parts, Schematic and PCB):
Part 3 (How to draw graphics on a char LCD) is available here:
Part 4 (Board soldering and the Software) is now online:
Part 5 (Designing the Case and the Assembly process) is now available:
Stay Tuned !
Part 6 (Testing, Explaining the functions) will shortly follow !


_0qnxhBFE1W.png)


Comments
Please log in or sign up to comment.