What is the Project About?
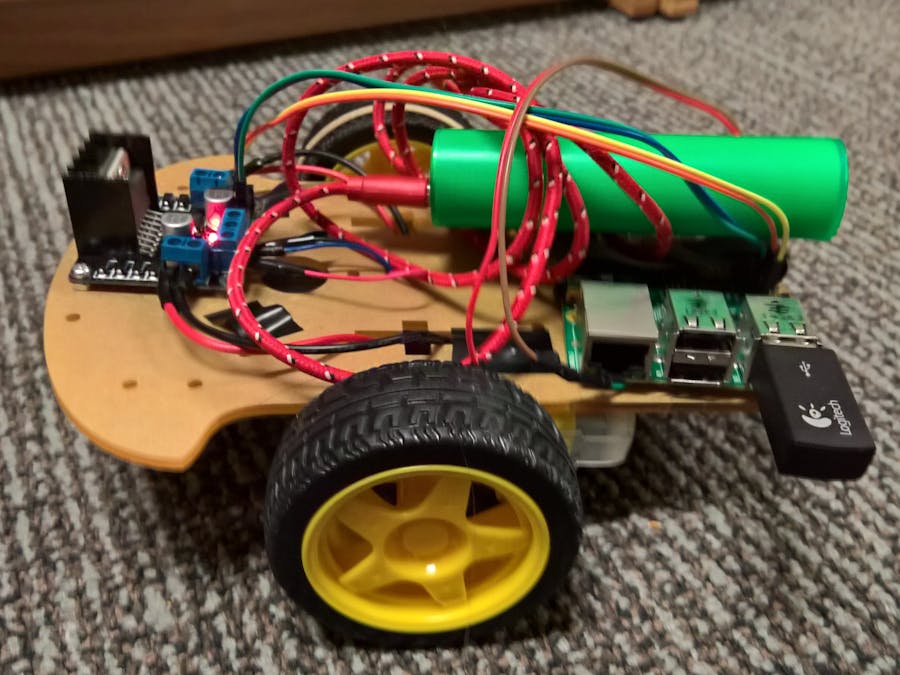
I saw some of these projects on hackster.io and I have been out of touch with IoT for quite some time so I decided to gather the necessary hardware and build my own version of this robot without following anyone's guide.
Future Features List:
- Ultrasonic sensor for auto-pilot mode
- PWM controller to control motor speeds
- Webcam for fpv mode
- Wireless Control
How does it Work?
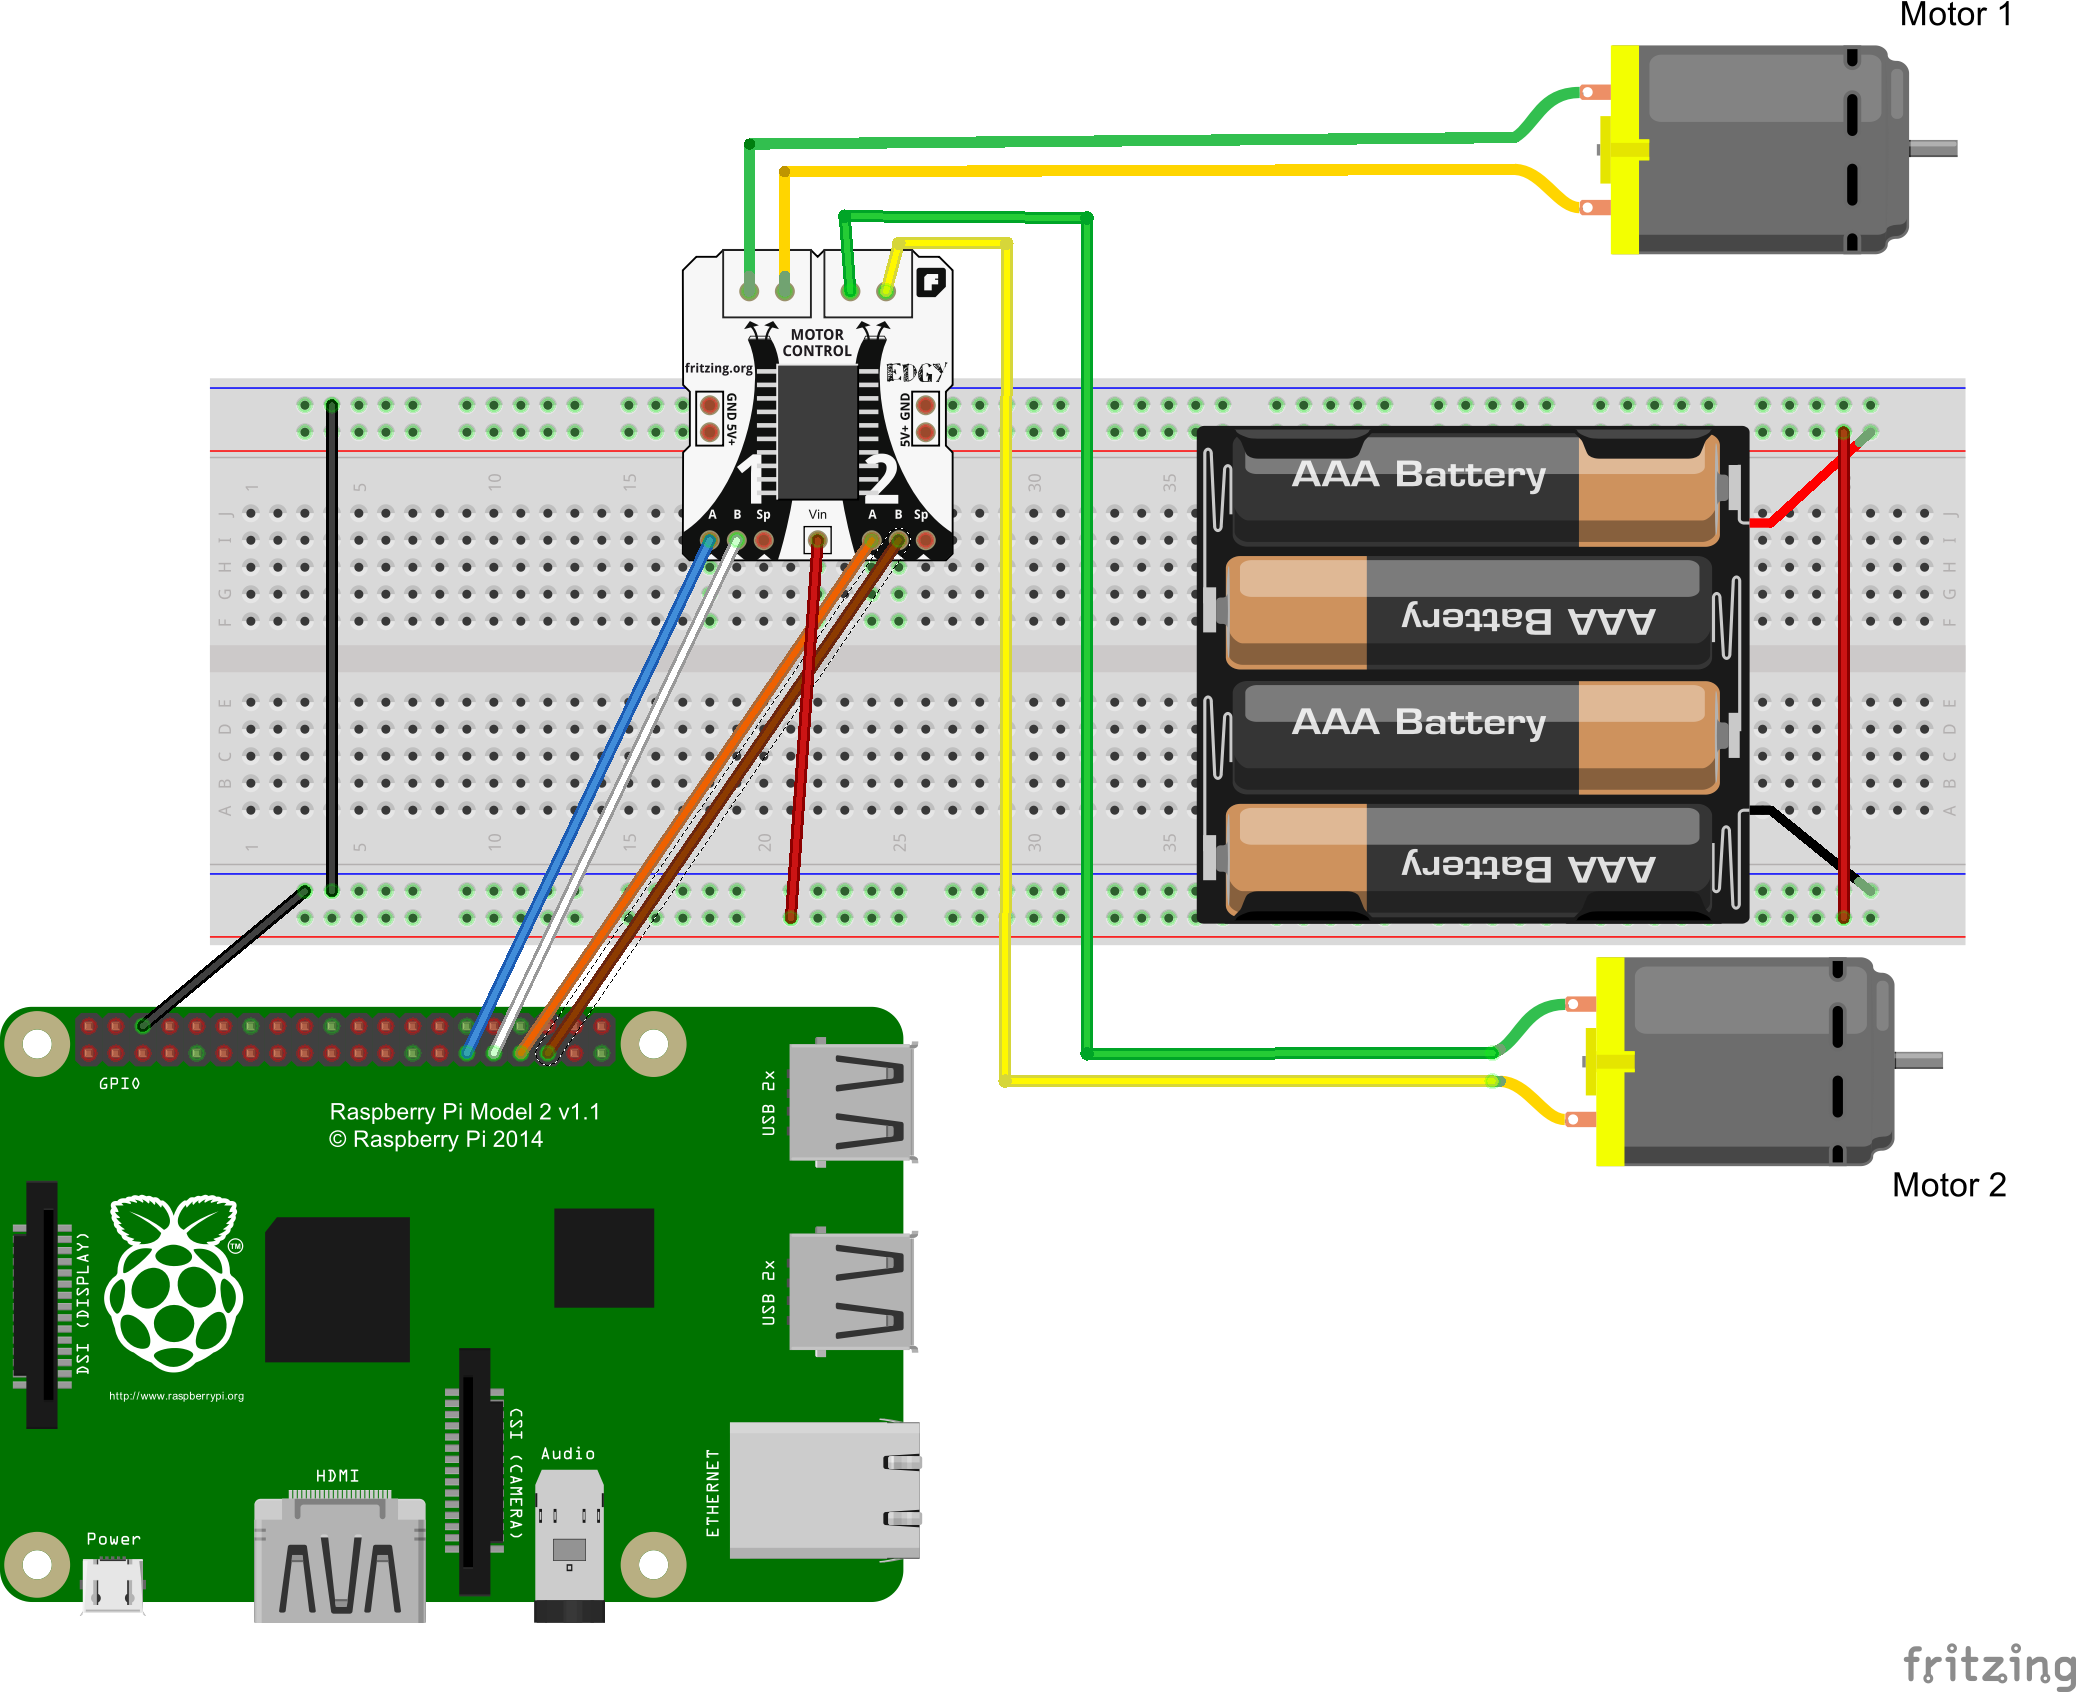
There are two 5v-12v motors power the two wheels and since the Raspberry Pi 2 isn't capable of working with high loads on the GPIO pins I used a L298N H-Bridge to take care of the possible high current draw. Since a DC motor wires are reversible we take advantage of this by just switching the state of the pins. So in total we only use 5 GPIO pins from the Raspberry Pi (Motor1Pin1, Motor1Pin2, Motor2Pin1, Motor2Pin2 and Ground).
Assembly of the Car:
Assembly of the car is fair straight forward, two motors, a caster wheel, and a battery pack. The motors can be installed either way since as I stated before, we can reverse the voltage on either pins of the motor which ultimately changes directions
Wiring it all Up:
For wiring again it is straight forward. Four GPIO pins are used on the Raspberry Pi (I used pins 5, 6, 13, 26). On the H-Bridge I used had two inputs for 5v and 12v since our battery pack is running at 6v I supplied the 12v terminal of the H-Bridge with the 6v battery pack. From here you will just need to connect your two motor wires to the terminal for motor 1 and motor b.
The Code:
I have provided a few different Visual Studio solutions with different implementations (Wireless Keyboard control [requires a USB or wireless USB keyboard], Windows 10 UWP wireless control). In general, we set each GPIO pin to high which translates to no motor movement. When we flip one value of the two pins (i.e. Pin1=High, Pin2=Low) you will see your motor spinning counter clockwise or clockwise. Don't worry if they are not spinning in the right direction. Just reverse the motor wires on the terminal blocks on the motor controller.


Comments
Please log in or sign up to comment.