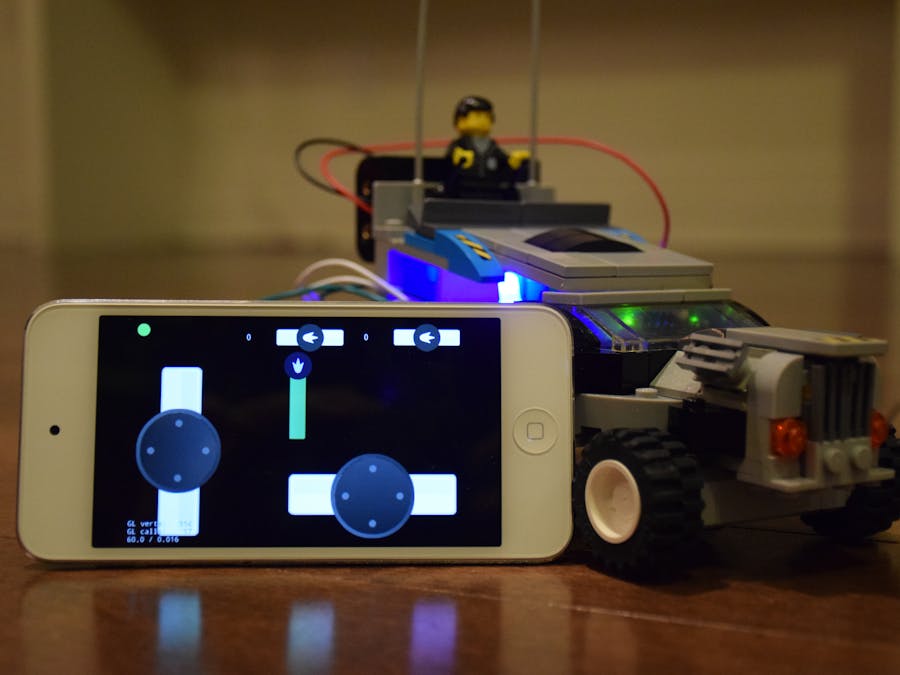
Here's an updated video, new body for the car! New 3.7V AA batteries as well.
Intro (why do this?!)
I decided to make an RC robot car, like so many other tutorials. But I had certain criteria to fulfill:
- The car had to be fast! As fast as the cheap RC cars you can buy in the store
- It couldn't be based on an existing RC car. I've seen tutorials where you hijack the control of the RC with an Arduino. I wanted something completedly custom.
- Kid proof. The car has to be robust, so it should be able to hit a wall without having all its wires pop out. Still working on this:)
- Small! I wanted a fairly small footprint, with room to shrink this even more.
This article is still a work in progress, as I am tweaking and changing things quite often, so stay tuned!
Setting upI bought most of my parts on Robotshop.com (super great, for Canada too!). I was experimenting a lot, so I decided to mount most of my hardware onto Lego piece, so I can connect them easily (I have a lot of Legos at home).
I even did this with my motors so I can attach them where needed.
Here's a very good website explaining some robot design when using differential steering (two wheel steering).
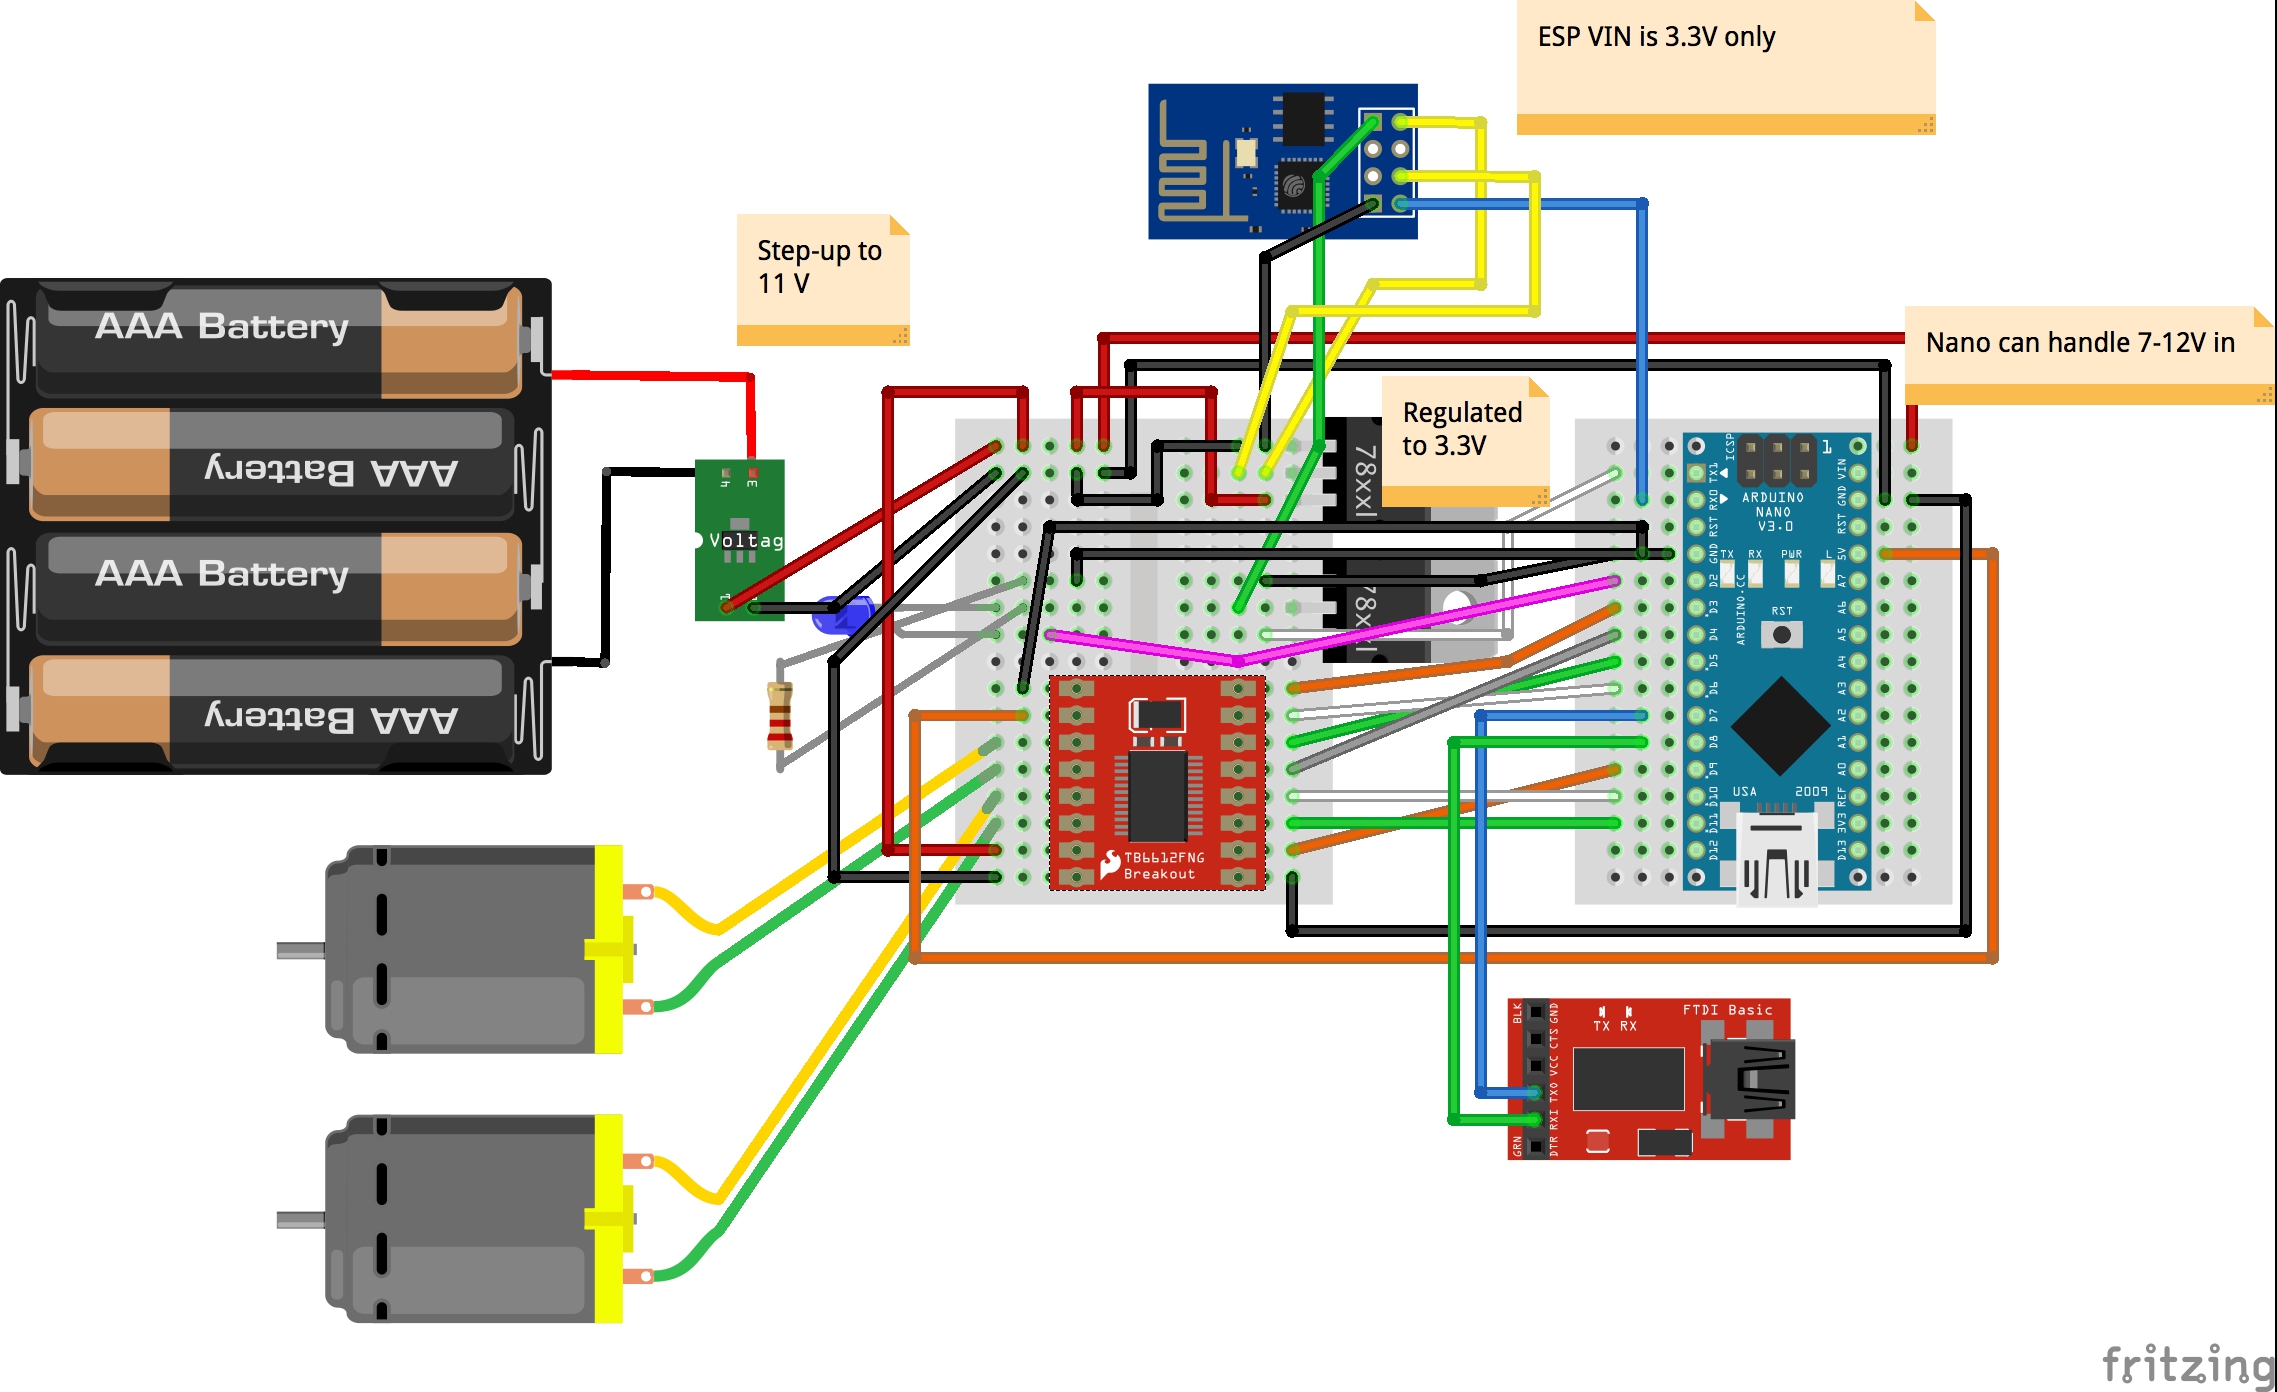
EvolutionAs I am writing this, I've gone through a few prototypes. Most recently, I've replaced the L298 motor driver (which is fairly large with the heatsink) to a TB6612FNG, which is a lot more compact.
The TB6612FNG does require you to solder the pins on, but I took it as a challenge, but I did it!
I'm also waiting on some 3.7V AA batteries (in a few weeks). I'm hoping two of these (7.4 V in all) can replace my 4x 1.2V batteries + step-up module. We'll see.
Problems and solutionsI had many many problems with my ESP8266 ESP01. It's a great chip, very cheap, but it's pretty...hairy sometimes. I'll try to list here problems I had with it, and other problems in general.
- Never assume all your wires are good. I spent way too much time assuming all my wires were good and thought my wiring was incorrect. In the end I made a small rig with a led light, and tested all my wires and put them in a "checked" bin, and threw away the bad ones.
- Match baud rate of software serial and hardware serial. My debug output would still display, but it always looked like data was missing. This lead me on a chase of why my data was "incomplete", when in reality it was just the debug output itself.
- Don't bother using those cheap 2$ DC motors with crazy RPMs. Always check how much torque they can produce, from my experience those cheap DC motors are useful for propeller type applications.
- If you want speed, you need to measure somewhat. If you buy motors with high-gear ratio, you'll have tons of torque, but no speed. So you need a good balance. This tool on Robotshop.com helped me pick the right motor.
- Legos + hotglue = easy to assemble components. I've glued down my motor driver, ESP chip, battery pack, wheels. Makes everything modular and easy to tweak
- Don't underestimate wifi interference from your neighbor's wifi networks and the ESP8266 ESP01 chip. Maybe the other chips are more shielded, but the ESP8266 ESP01 is super sensitive to interference. For me this translated into abysmal ping times to the ESP, leading to very slow response times when trying to control the car.
- Soldering is a bit scary, and hard. I'm still not good. Imagine trying to guide around a drop of water with a toothpick, that's how soldering is to me. I need more practice. There are two awesome Sparkfun tutorials, I recommend watching both (the basic and the advanced tutorial).
- AWG 22 wires are great to have clean wiring. You can bend and shape them in whichever place you need.
- When using solder wick, be sure to press down on the wick so it absorbs the solder! I struggled so much and couldn't figure out why it wasn't absorbing the solder.
Update on top of update. I've updated the body and insides, so this is an older model. Some more updates, with my new Pololu motor driver!
I'm still not done with my ESP8266. I ordered some protoboards so I'll be soldering that sucker to it, and then hot gluing to some Lego pieces. My step-up voltage regulator will be the last piece left outside of the car (until I get my new batteries!)


_3u05Tpwasz.png?auto=compress%2Cformat&w=40&h=40&fit=fillmax&bg=fff&dpr=2)
Comments
Please log in or sign up to comment.