


Hardware components | ||||||
| × | 1 | ||||
Hand tools and fabrication machines | ||||||
 |
| |||||
Do you live in constant fear of your robot being stranded as it gets you Taco Bell all because it’s motor became disconnected? Or do you have to treat your robot with the care of a heart surgeon because it’s connections are weak? Well, fear no more! In this tech tip, I’ll show you how to make sturdy motor connections.
MaterialsTools- DC Motor
- Wire
- Heat Shrink
- Zip Tie
- Soldering Iron
- Wire Strippers / Cutters
- Heat Gun (Or lighter, matches, etc.)
Overview
- Cut wire and heat shrink
- Solder motor leads
- Put on heat shrink
- Zip Tie wires to motor body
Pretty simple, but very useful! Stranded wire provides the best connection, but solid core will also work. Cut however much wire you need. I use about 6 inches. Do the same for your heat shrink. Two small sections of about 1/2 inch or less.
I like using red and black to differentiate my leads, but this isn’t crucial.
Solder on your wires, making sure to get good adhesion. If the motor tabs are too close to a plastic body, use something like needle-nose pliers or tweezers to act as a barrier between the soldering iron and the plastic. The tool will act like a heat sink!
Keeping the wires straight, slip the heat shrink on and get it as snug up against the motor as possible. Use your heat source to shrink the tubing. Rotate the motor so you evenly apply the heat. A heat gun is the best choice, but a lighter or matches are good alternatives.
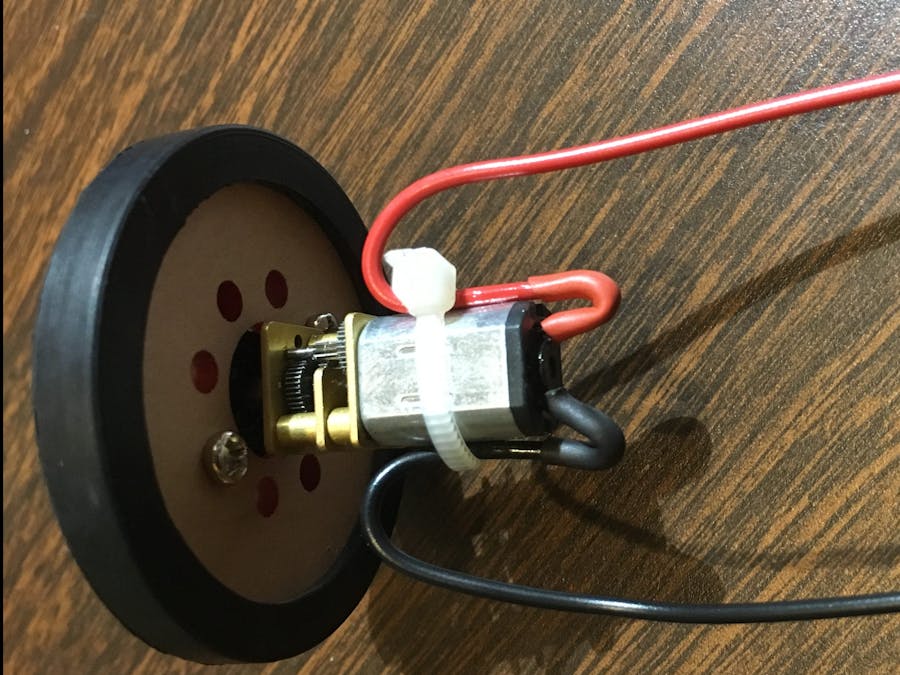
Now, very carefully bend the wires back towards the motor so that they lie flush against it’s body. Use a zip tie to secure the motors. Get it nice and tight and your motors will last much longer!
Thanks for checking out this tip. Hopefully it helps you on your next proect! If you liked this tech tip, check out our website: Cyperion Project for more!
Signup for our newsletter to stay up to date on Project Helios, Project Apollo, and the entire Cyperion Team as we make robotics education accessible to anyone, anywhere!


Comments
Please log in or sign up to comment.