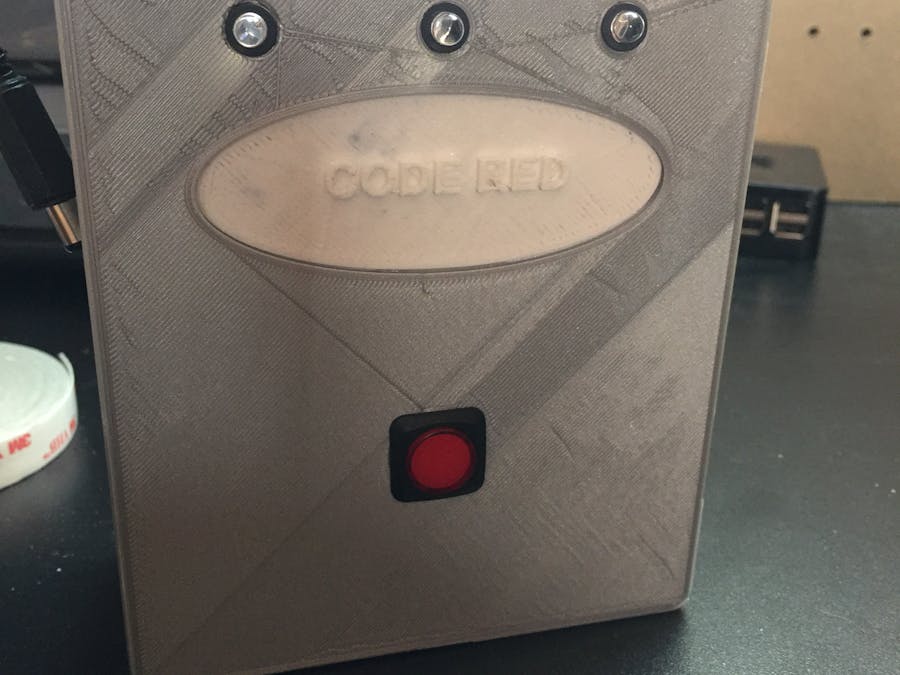
For those that work in healthcare simulation, we can often find ourselves trying to simulate different events or procedures. This DIY code red button can be used in lieu of a real wall button. Follow these steps:
- This is an advanced project that requires the use of multiple pieces of equipment. Gather all necessary supplies and equipment.
- If you own a 3D printer, print the attached CAD files. If not, you order locally from 3DHubs.
- Screw Arduino Uno board into back panel using nylon screws. Be careful not to apply too much force.
- Assemble the front plate and code red plate. Push the 5mm plastic flat LED holder into the 3 holes on the front plate. Glue code red plate in place, allow time for glue to dry.
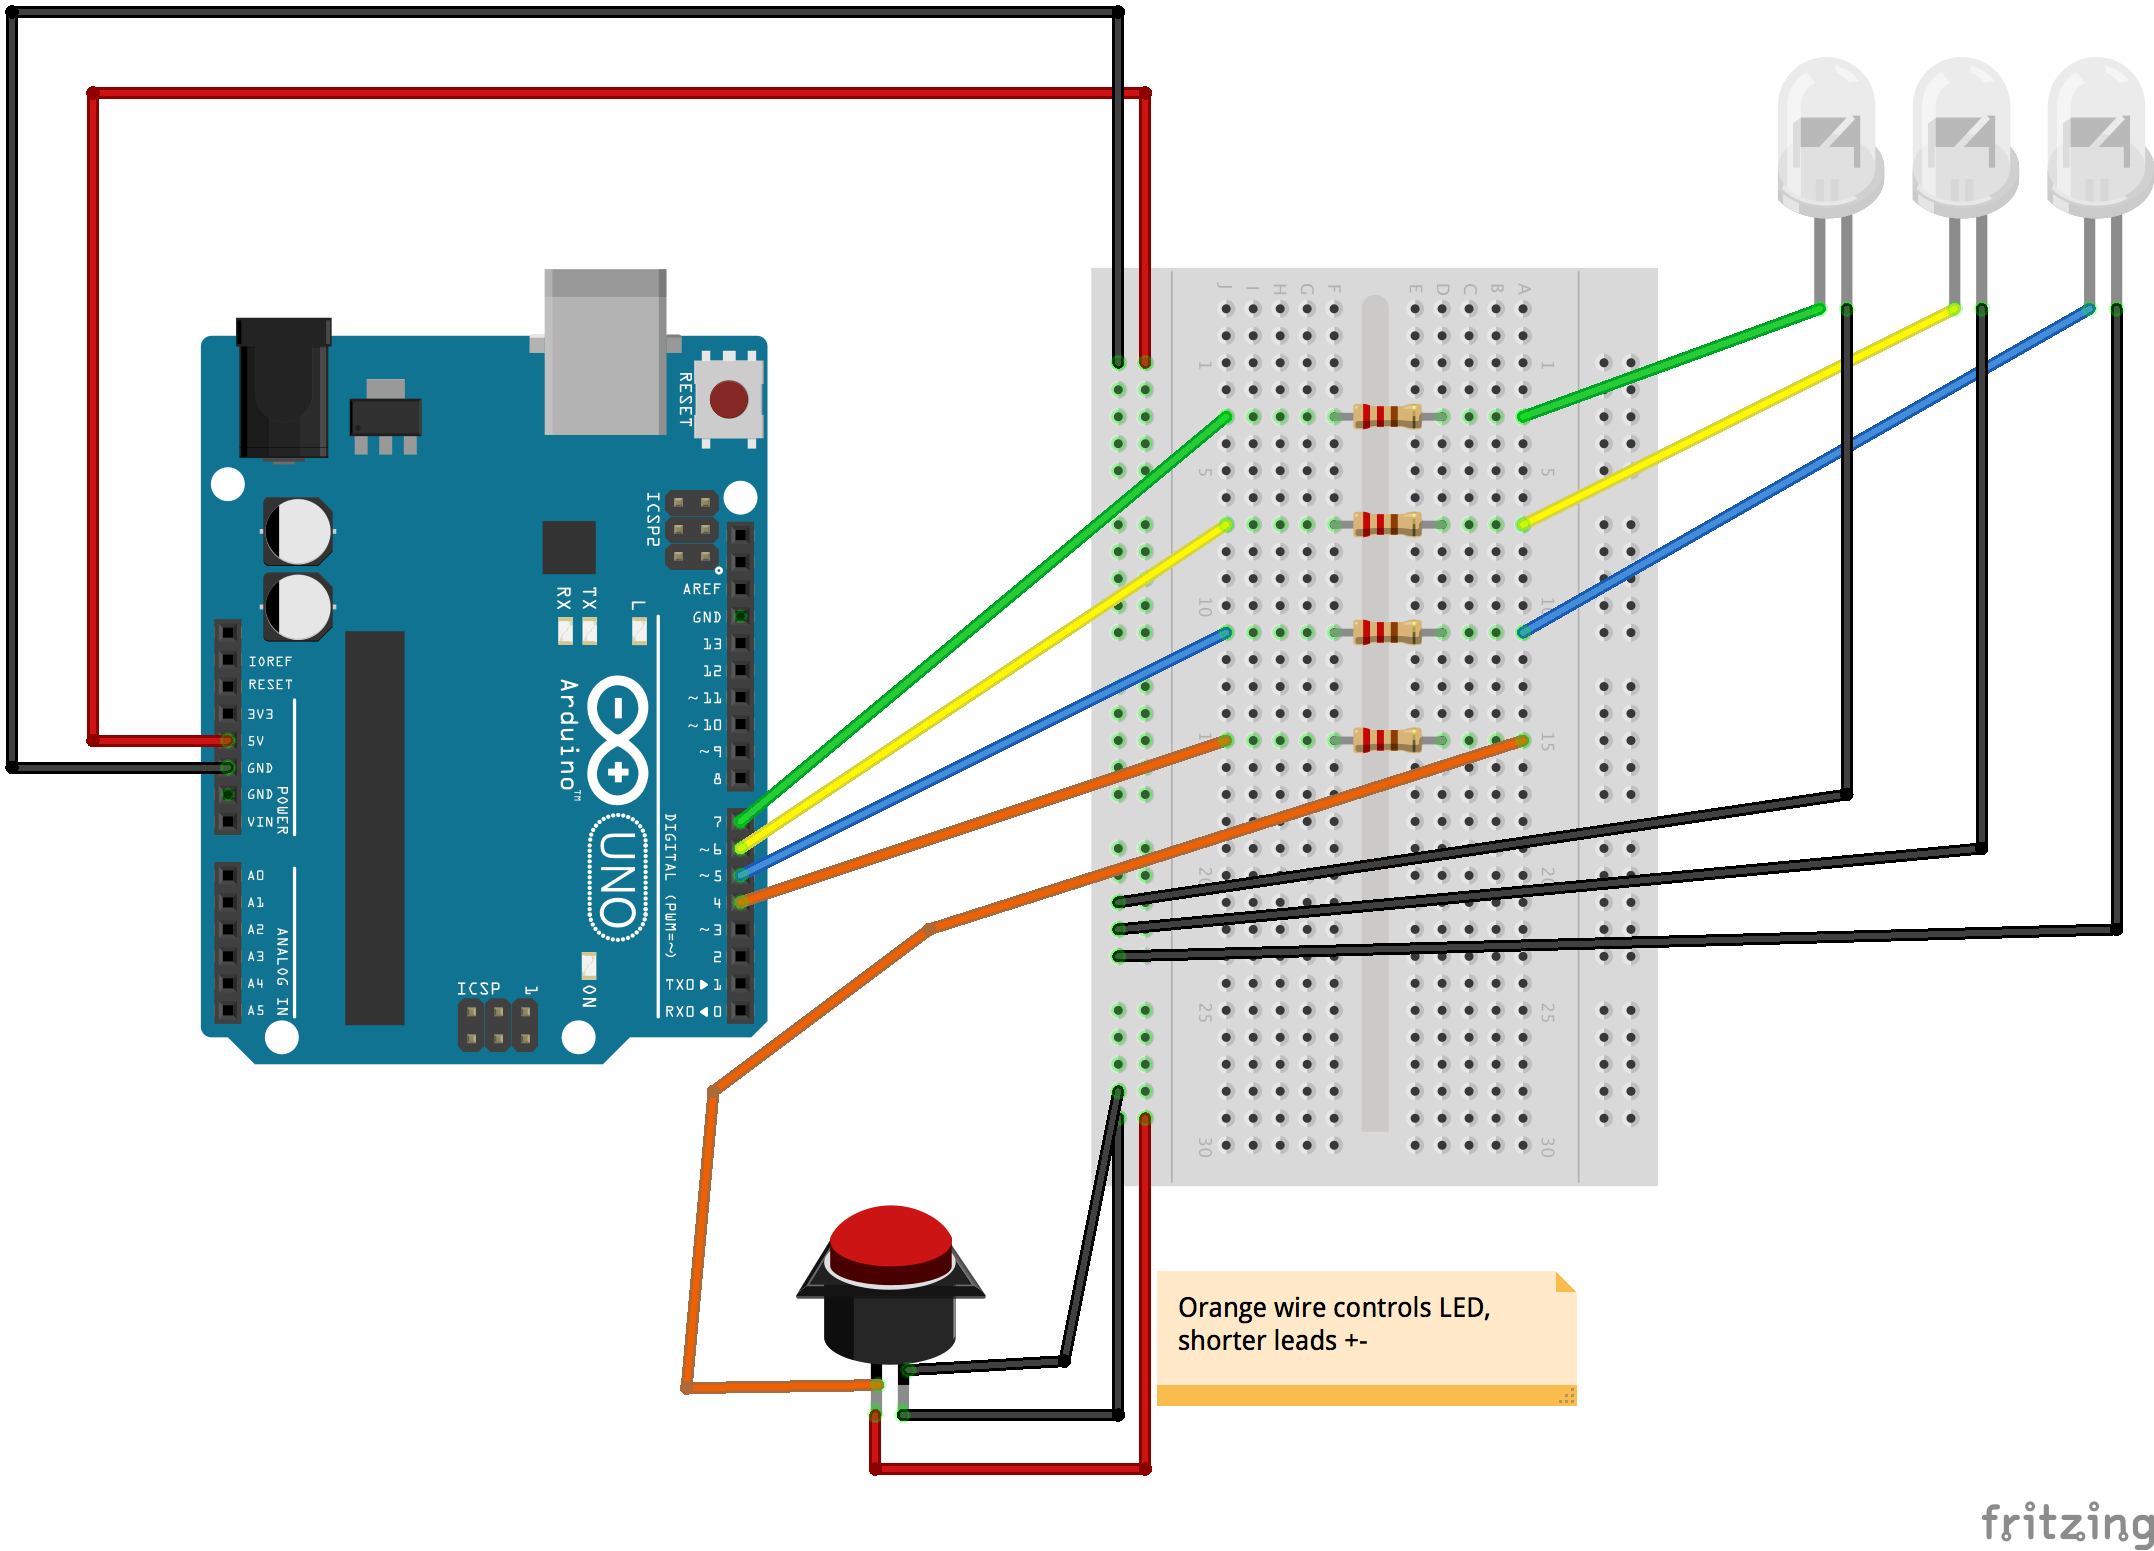
This is the electronics assembly part. Get your soldering iron ready with all the required components. Get your Perma-Proto breadboard and attach the resistors. Solder in place.
Start hooking up wires for connection to the LEDs and pushbutton On/Off. Solder wire connections to the LEDs, use heat-shrink tubing if needed.
Attach the push button On/Off switch. It does not need to be glued in place.
Place the LEDs into the flat LED holder through the back of the front plate. They will snap into place.
Connect both front and back panel. Power using Arduino cable or 9v battery. Push button, enjoy!


_ztBMuBhMHo.jpg?auto=compress%2Cformat&w=48&h=48&fit=fill&bg=ffffff)


Comments
Please log in or sign up to comment.